Trusted by leading brands worldwide


World’s first auto-responsive resize
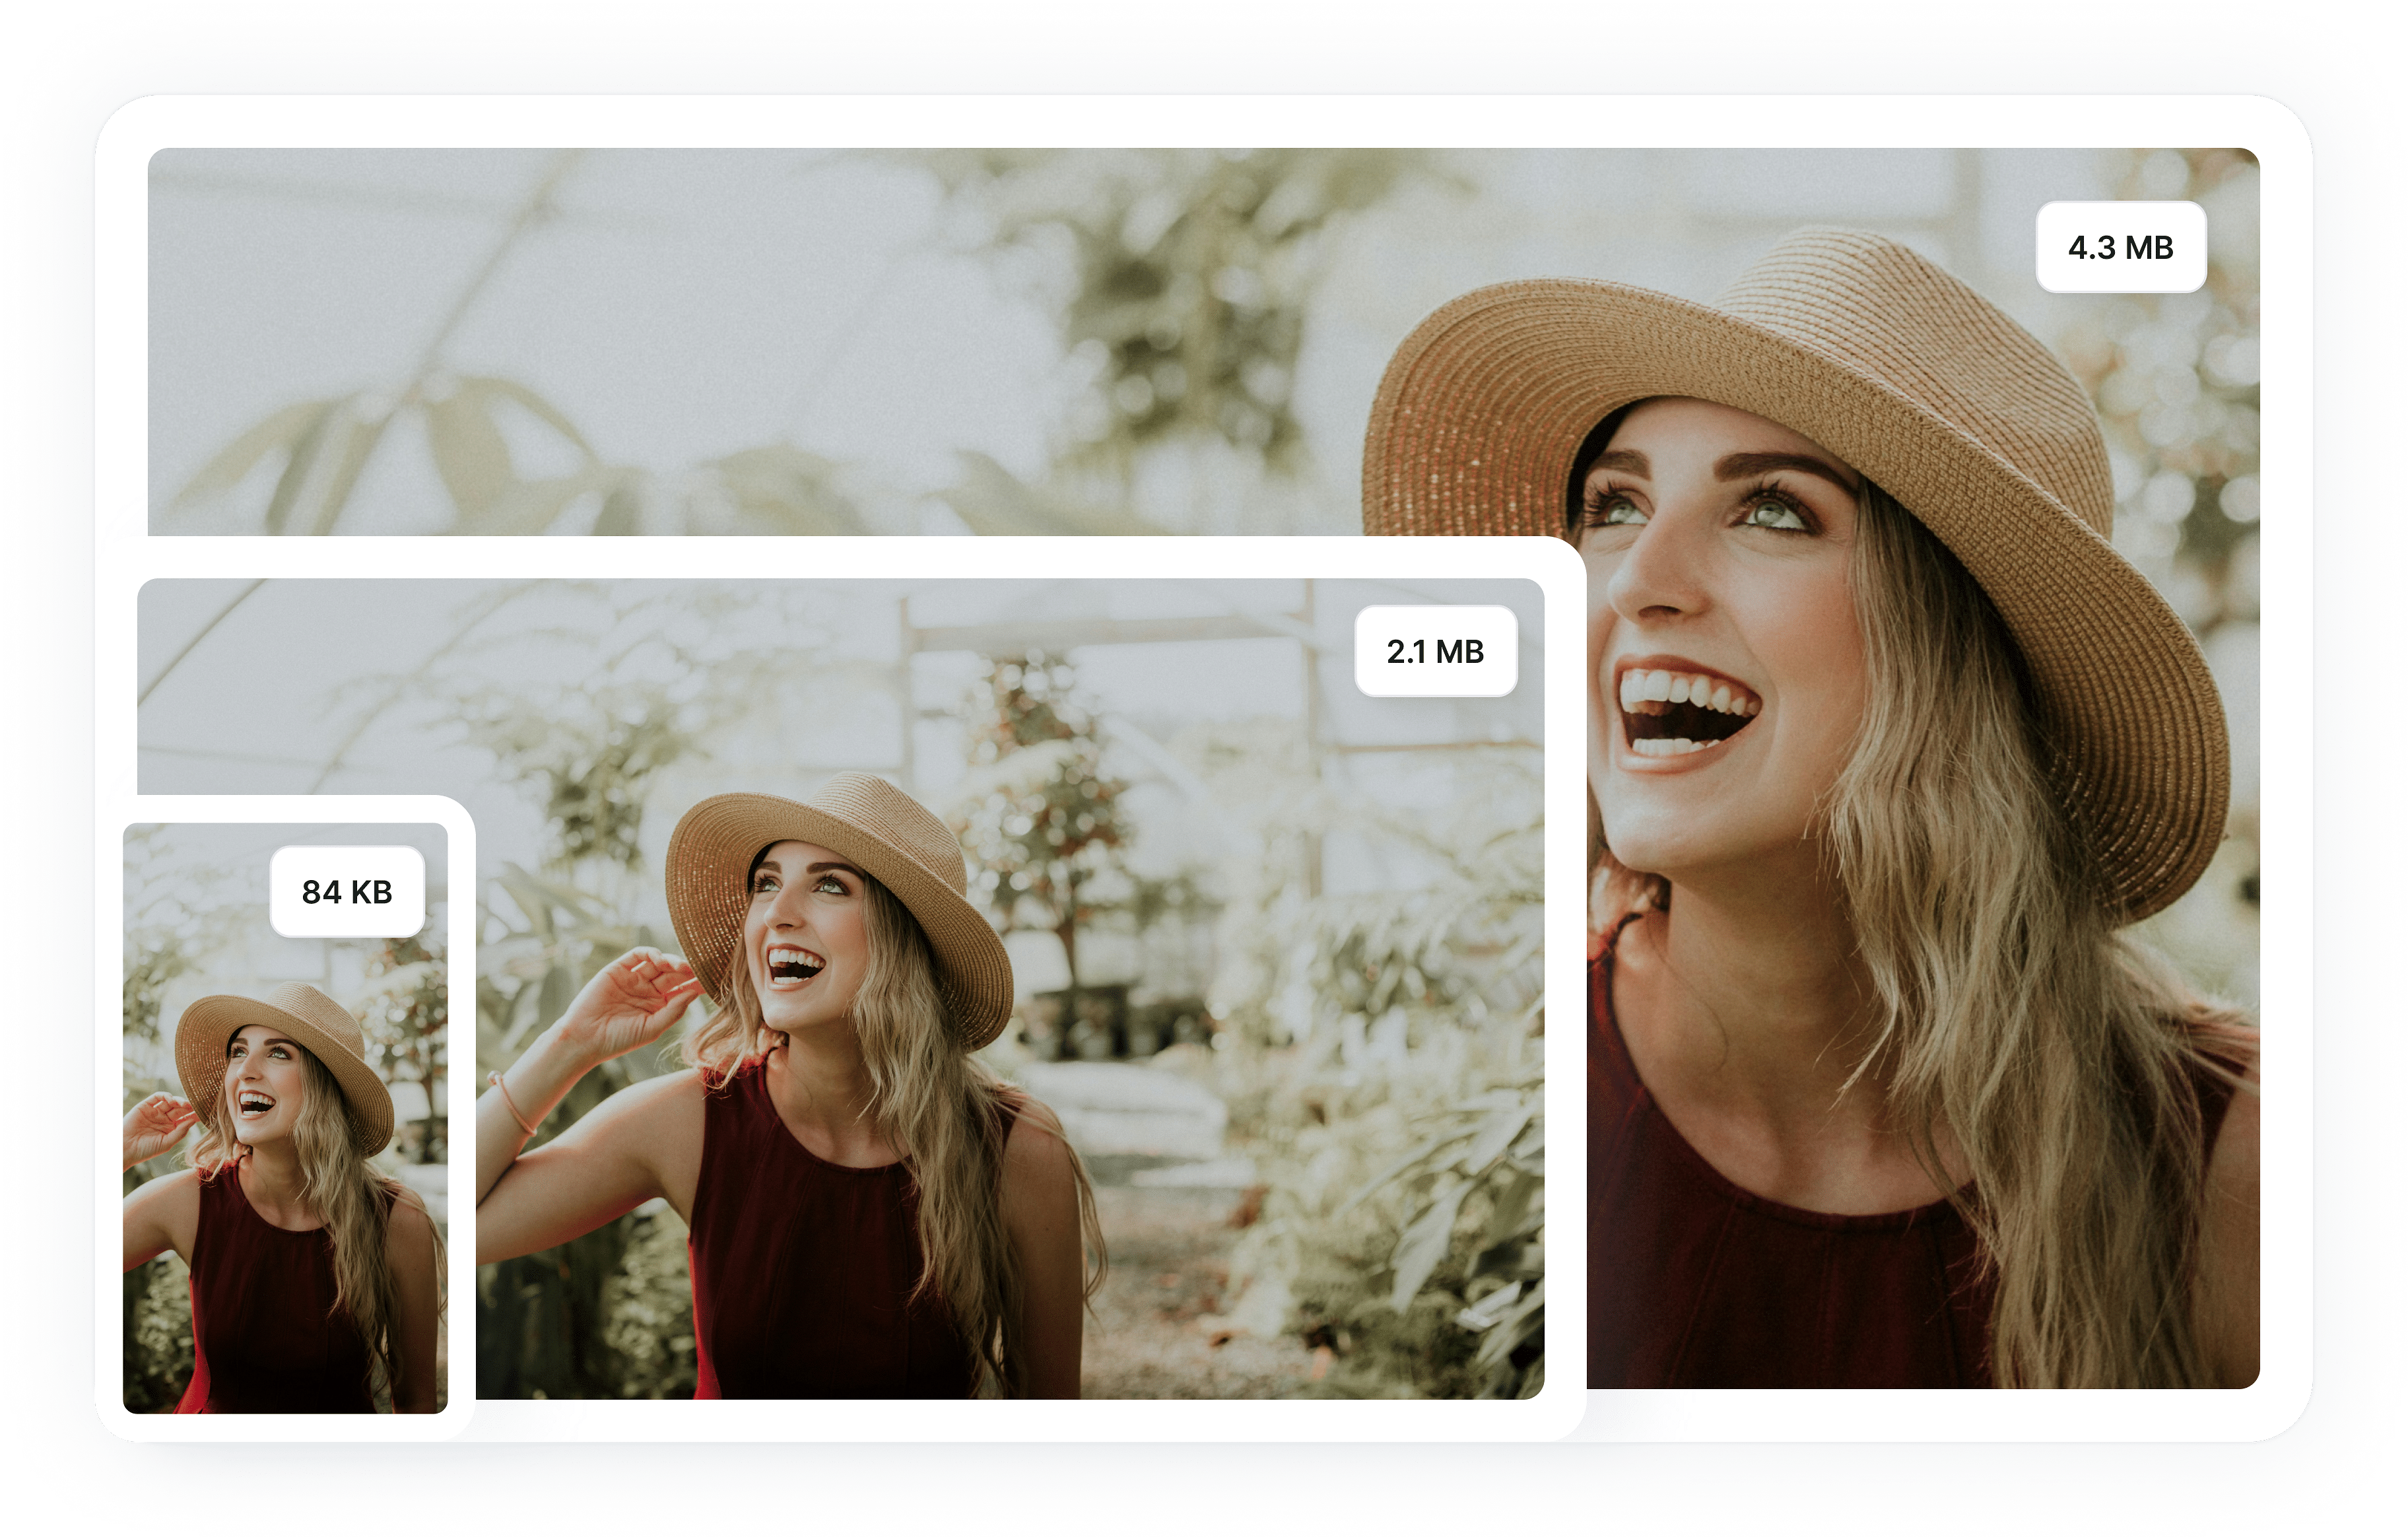
Stunning viewer experience
One image does not fit all devices; deliver retina-ready, crisp, and perfectly sized images across all devices for a seamless user experience.
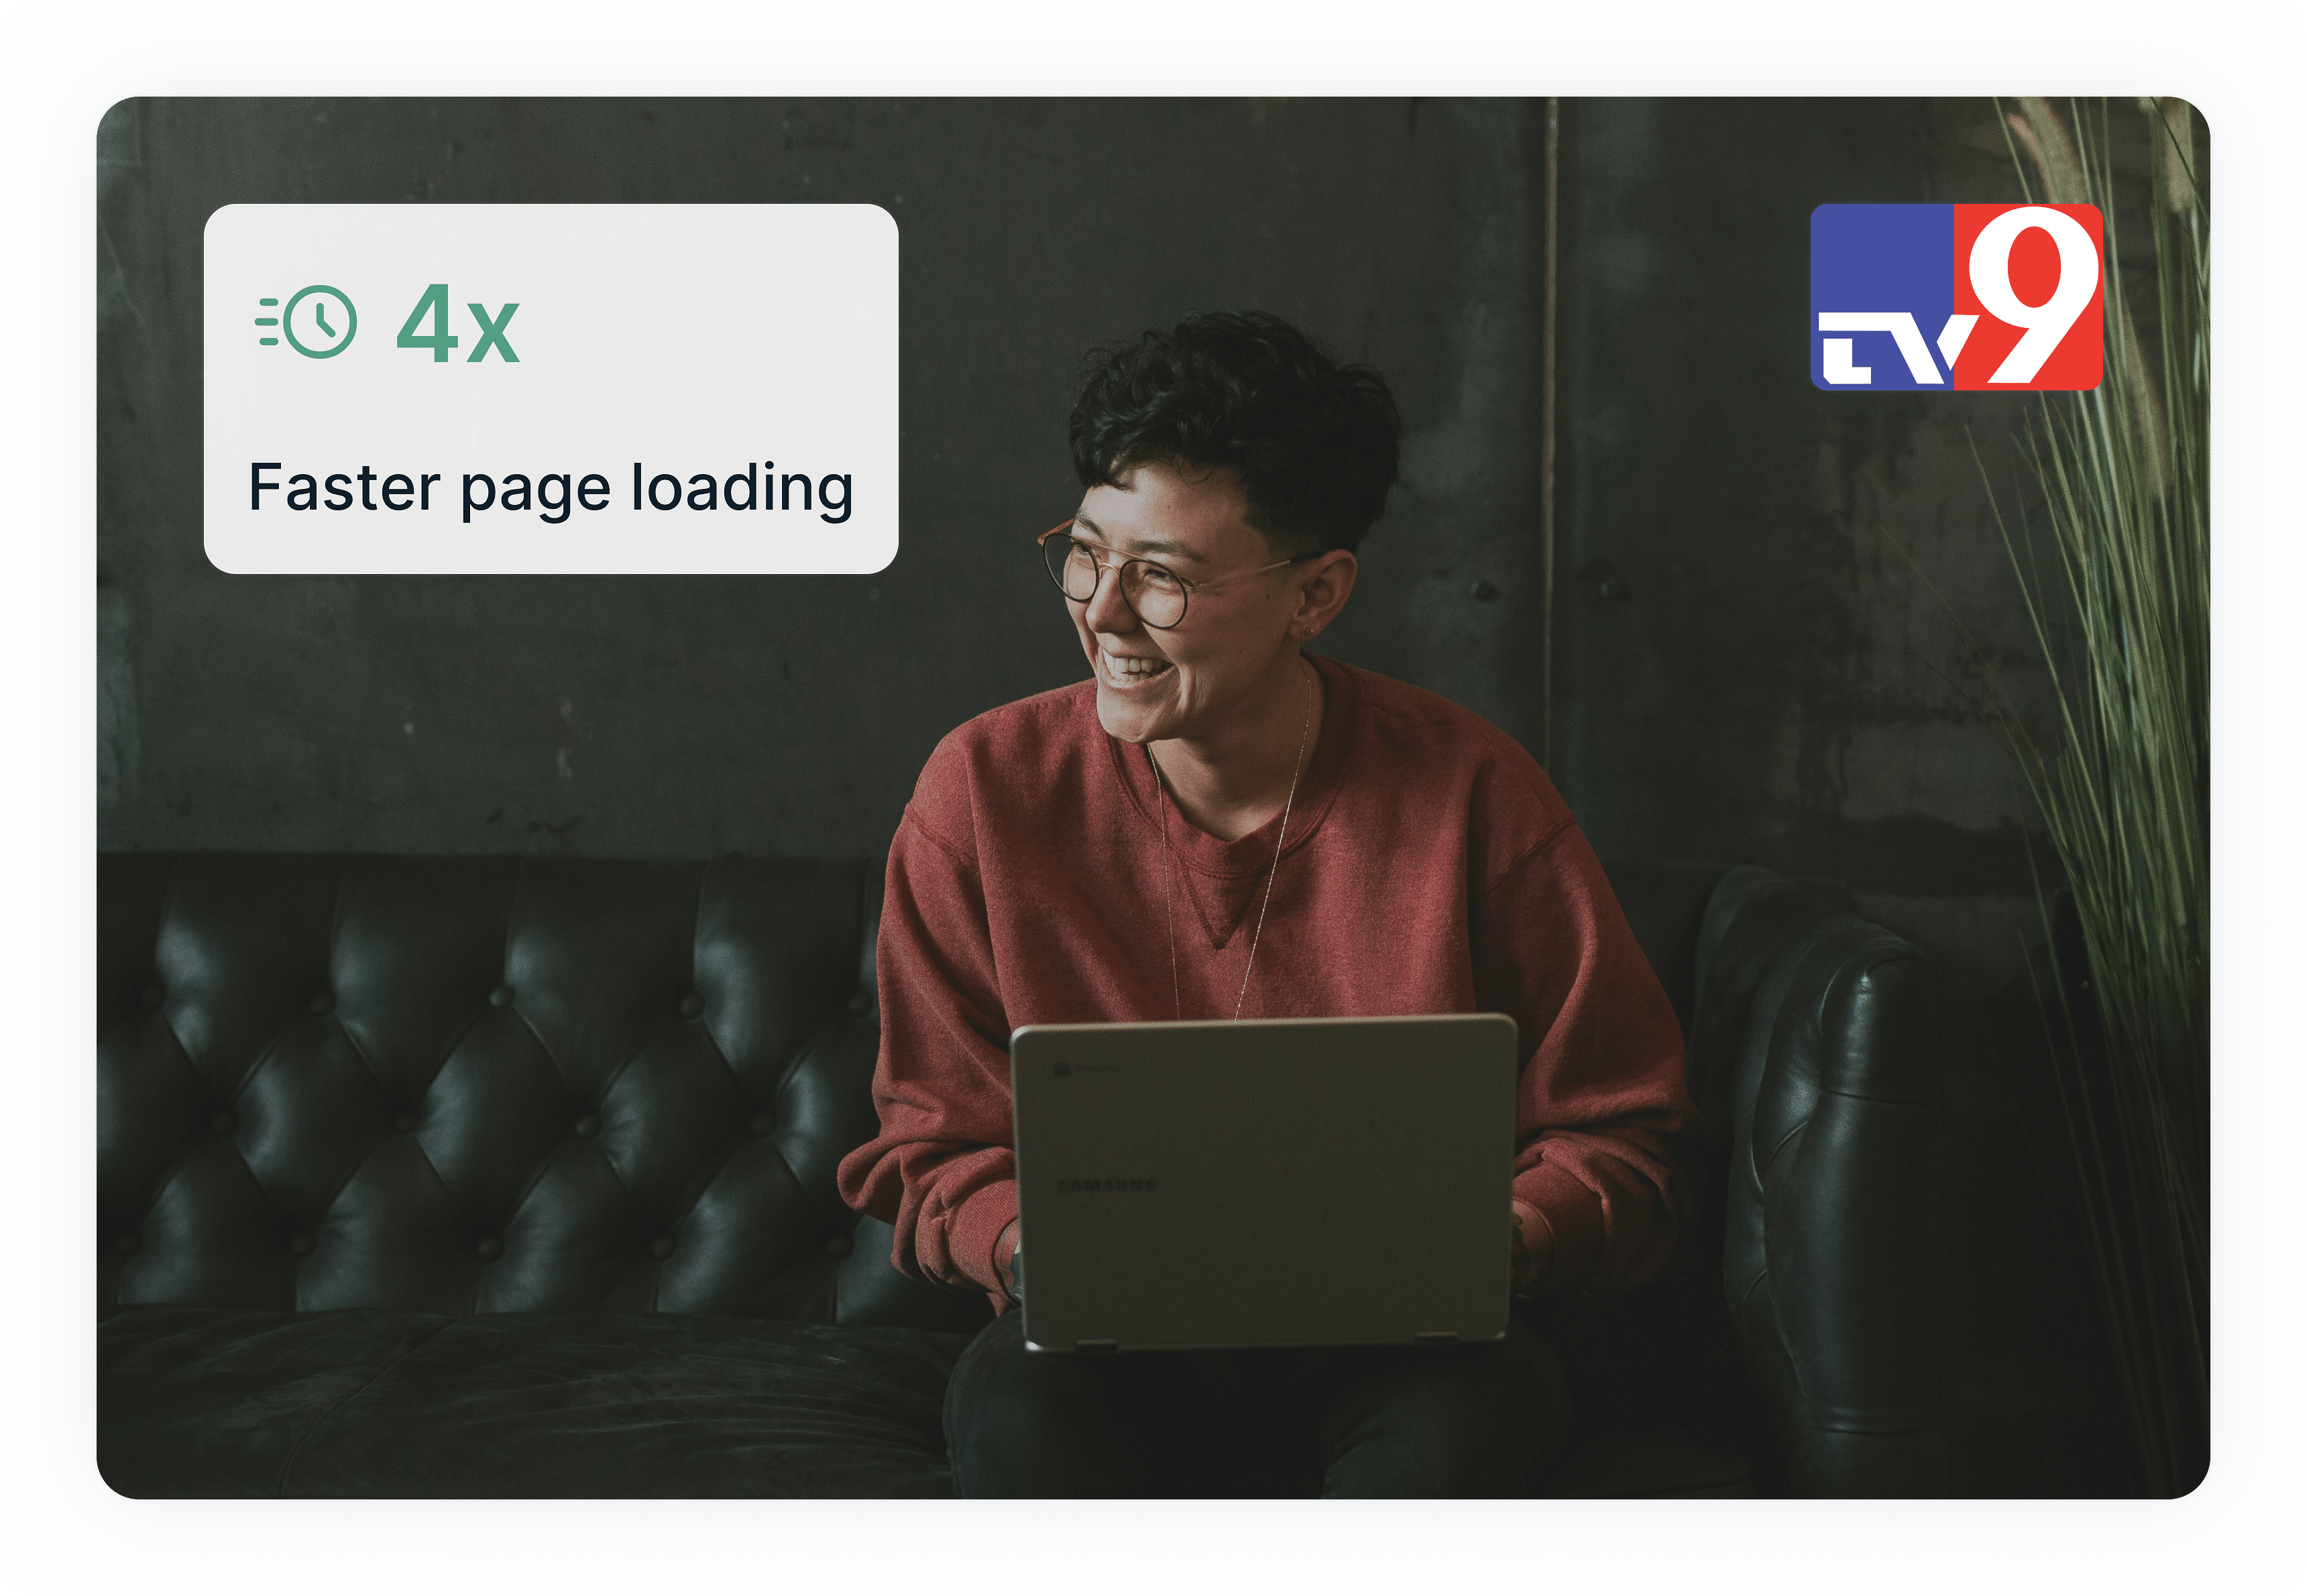
Snappy page loads
Improve your website's performance by delivering perfectly sized images with optimal compression, resulting in at least 30% faster page load time.
Simplified workflow
Automate the entire image publishing workflow without adding srcsets or implementing APIs in the image path for different devices, saving time and reducing developer efforts.
Transform image delivery with Auto-responsive resize
Custom size for every device
Implementing Gumlet.js in your front end dynamically adjusts image sizes based on device width, ensuring optimal rendering. This process, completed in under 30 milliseconds, adds a width parameter to image URLs on page load.

Device pixel ratio
Device-pixel ratio (DPR) for the device is automatically added to the image URL if and when applicable. This optimizes image resolution for various layouts and screen sizes, making images appear crisp across different devices.

Instant image delivery
Gumlet servers generate and cache optimized versions of images in under 50 milliseconds. Users accessing pages from various devices receive pixel-perfect images instantly, every single time, with the best browsing experience.


Analyze your website
Analyze the performance of your website against the core web vitals and receive a detailed report on ways to improve the performance.
Success Story
Complete image optimization solution
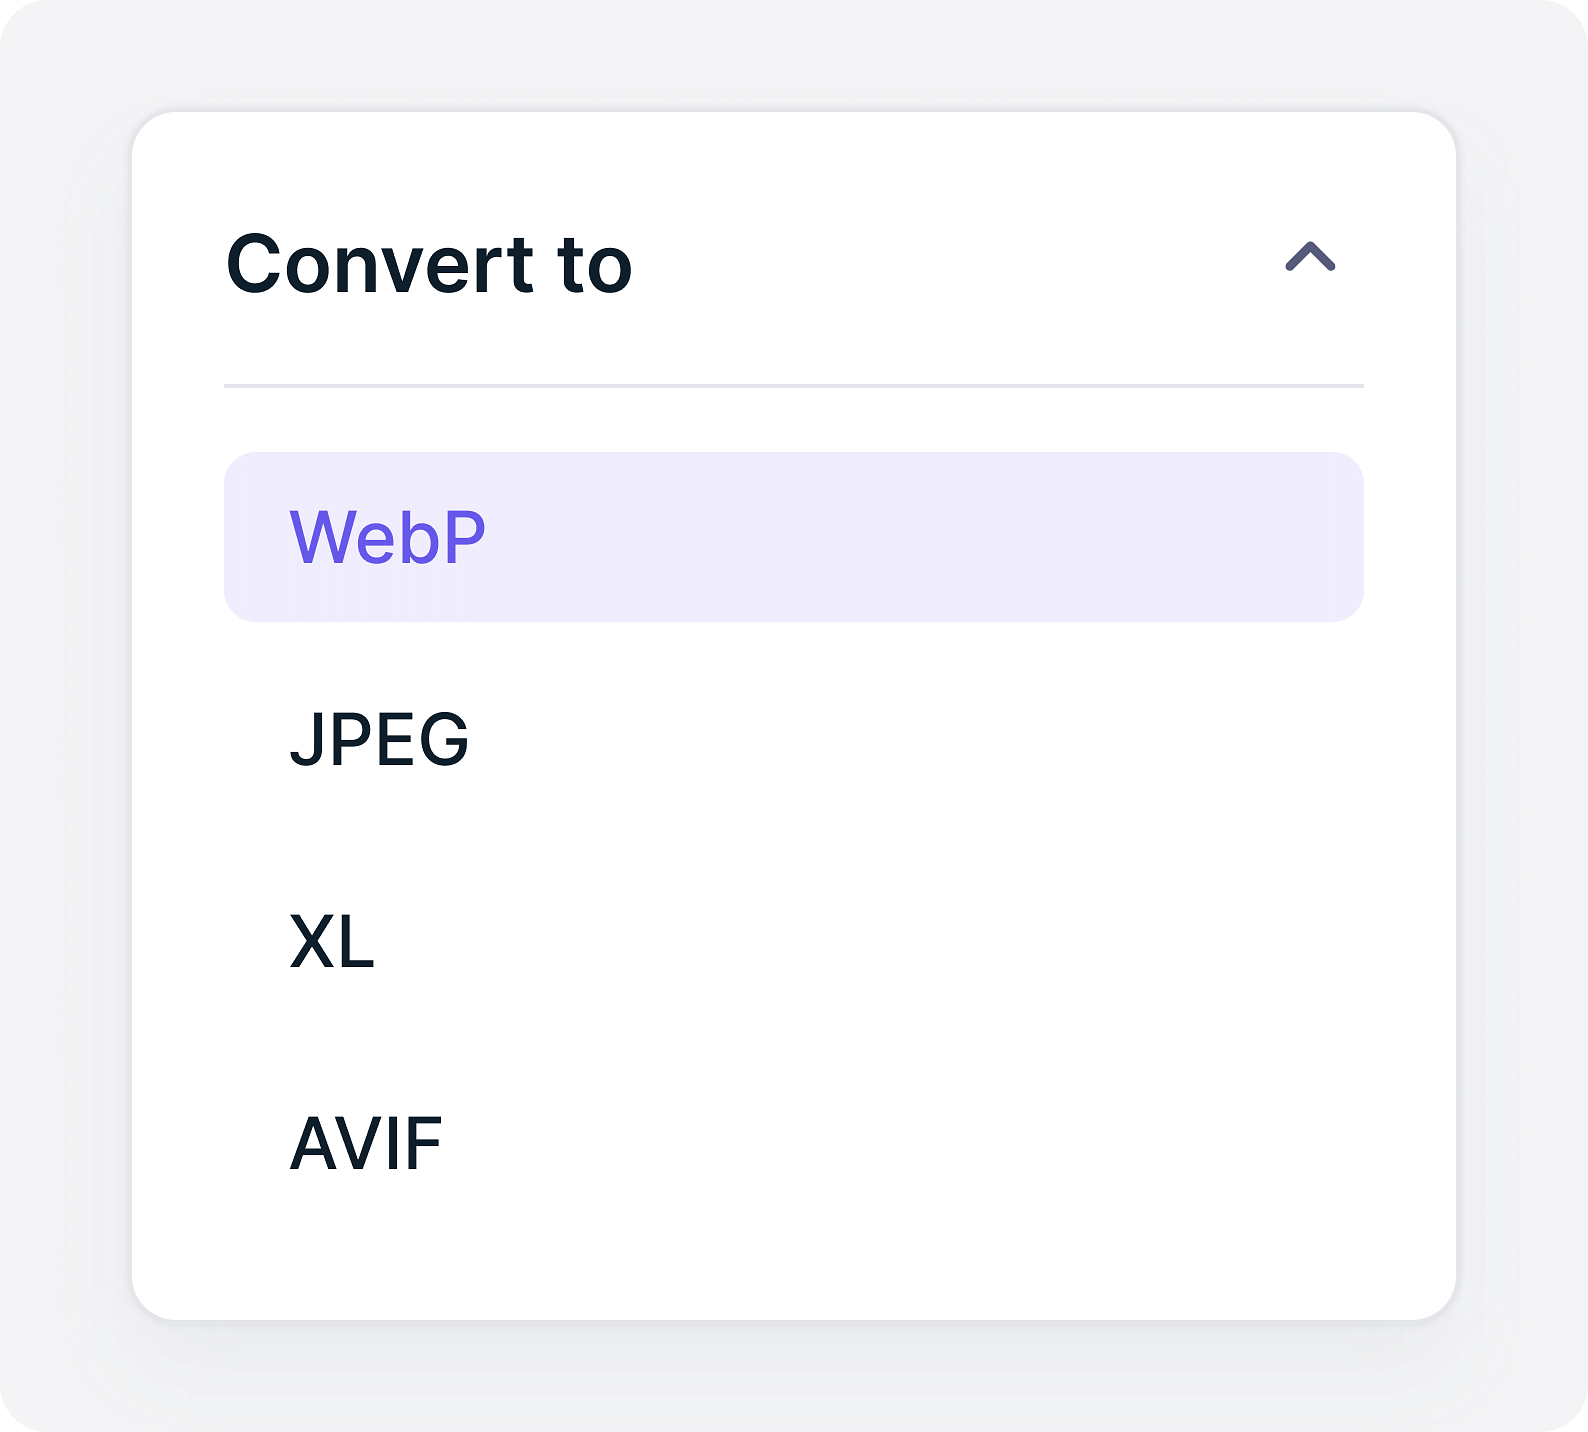
Auto-format conversion
Automatically detects users devices and delivers the latest image formats to each device.
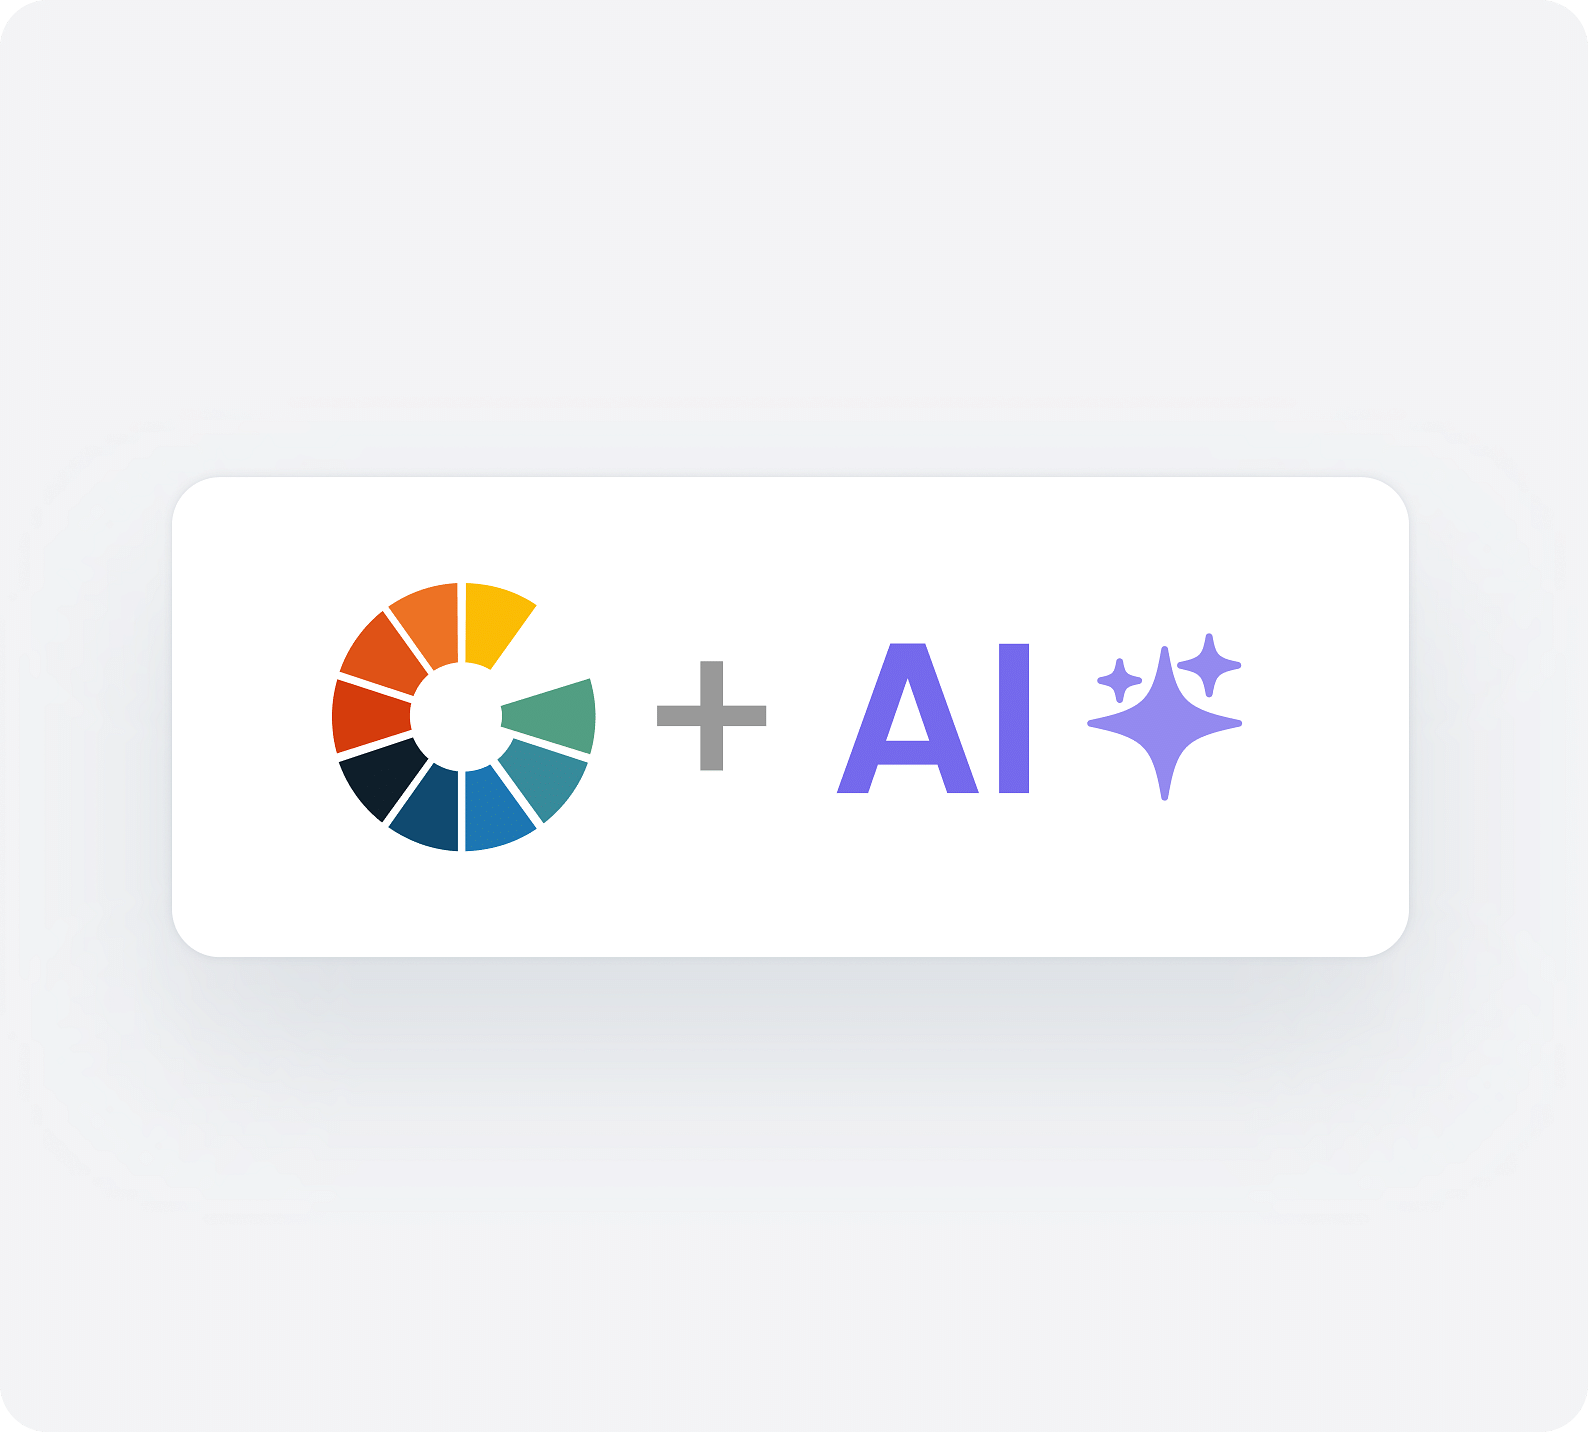
AI image glow up
AI-powered tools for smart cropping, face detection, background removal, and image upscale.
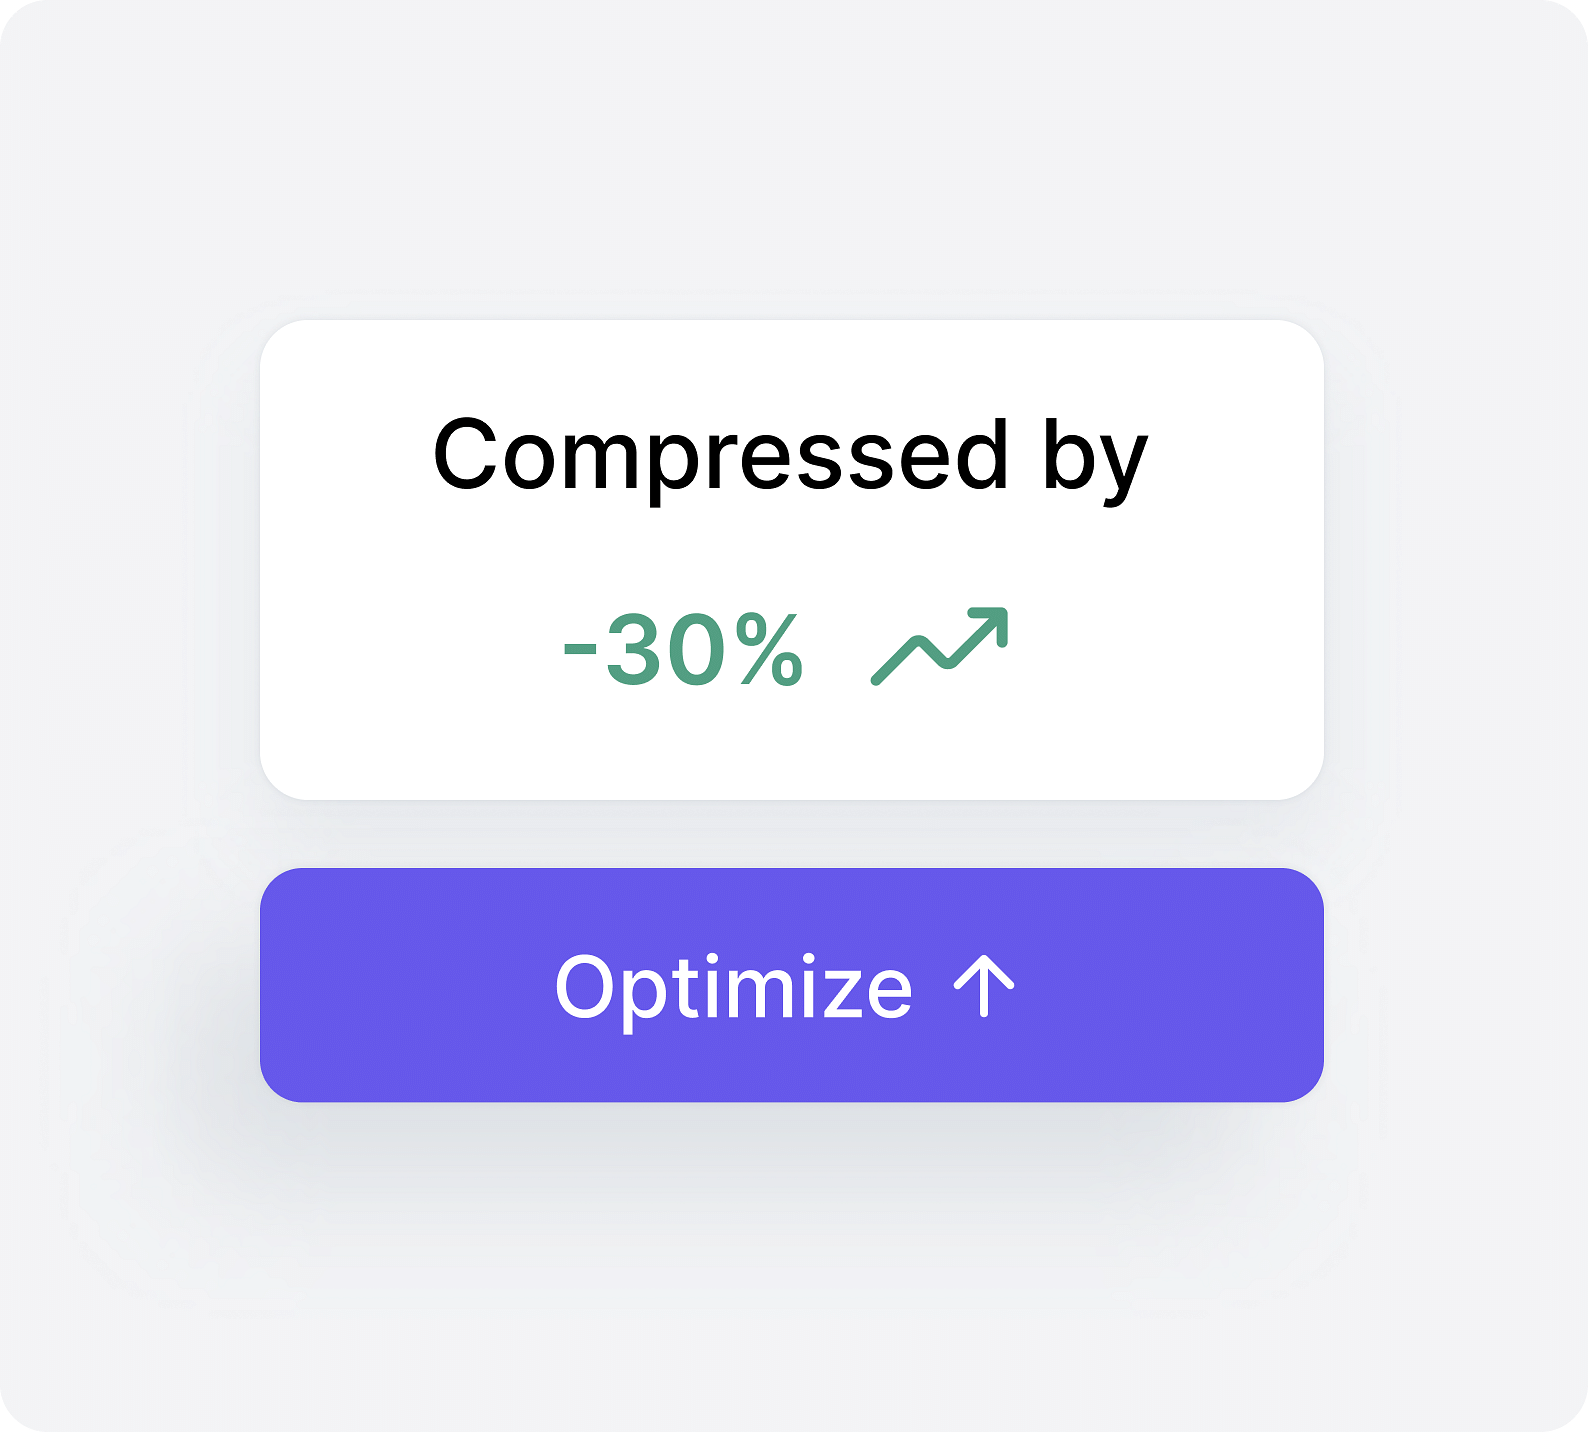
Image compression
Reduce bandwidth and CDN costs with highest possible compression without loss in image quality.
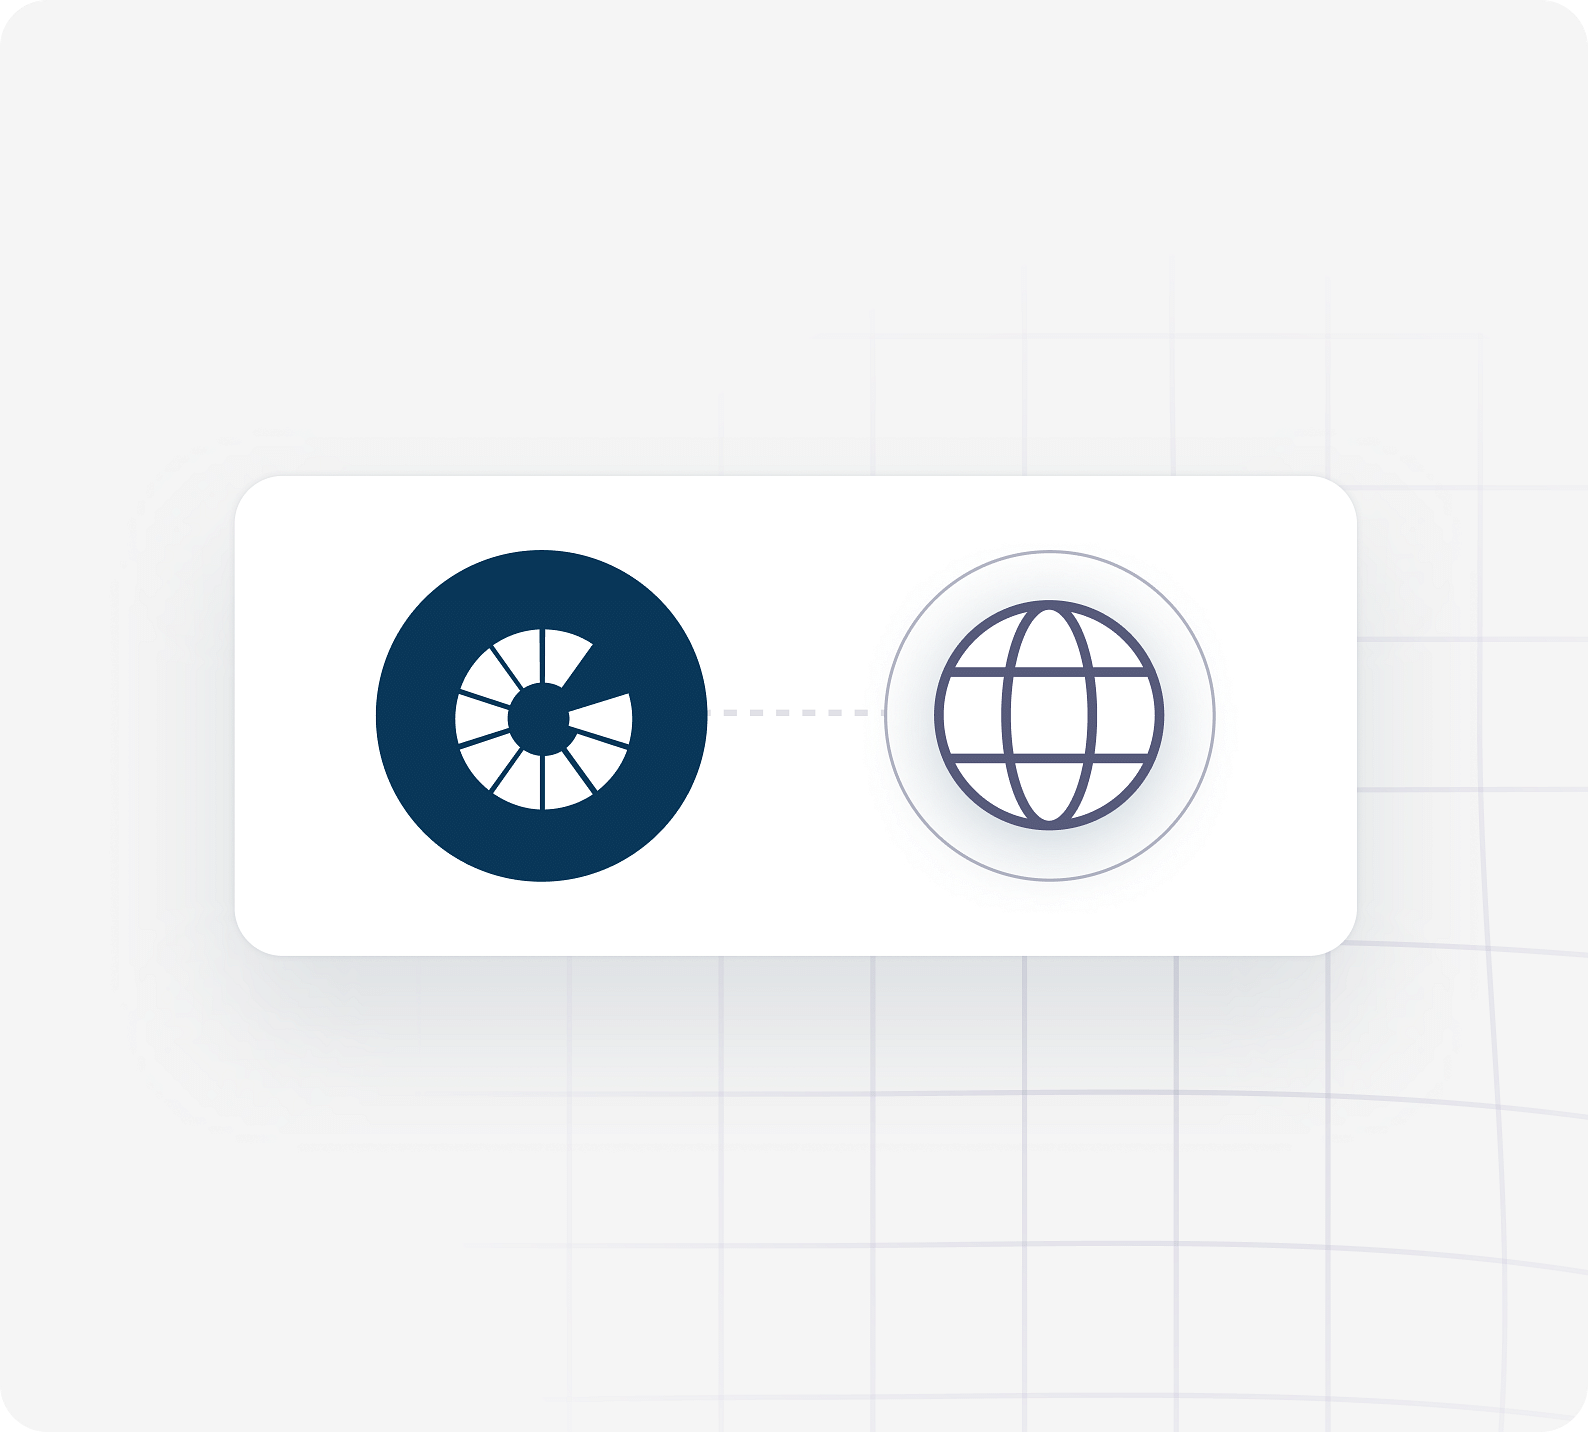
Multi-CDN
Deliver images globally with low latency with our Multi-CDN with over 440+ PoPs.
Explore Pricing
Check our pricing plans and explore the best plan for you as per the bandwidth requirements.