OBS Studio is one of the most powerful, free, and open-source tools available for content creators today. Whether you're recording YouTube videos, live streaming on Twitch, or conducting webinars, getting your OBS Studio setup right can make all the difference. In this guide, we’ll walk you through how to setup OBS for recording and streaming, plus share pro tips on OBS audio setup, Twitch integration, and more.
Let's dive in!
Downloading and Installing OBS Studio
Before setting up OBS, you first need to install it properly. Here’s how you can download OBS Studio safely:
- Go to the Official Website: Open your browser and head over to the official OBS Studio site
- Choose Your Operating System: OBS Studio supports Windows, macOS, and Linux. Click on the version that matches your OS.
- Download and Install
- Click on the download button and once downloaded, run the installer.
- Follow the on-screen prompts — it's straightforward: accept the license, choose install location, and complete the setup.
- First Launch: After installation, launch OBS Studio. It may prompt you with an Auto-Configuration Wizard. You can choose to run it or manually proceed with setting up OBS based on your needs.
Pro Tip: Always download OBS only from the official site to avoid malware.
How to Set Up OBS for Recording
Wondering how to setup OBS for recording? Here's a complete walkthrough:
1. Choosing Video Resolution and FPS
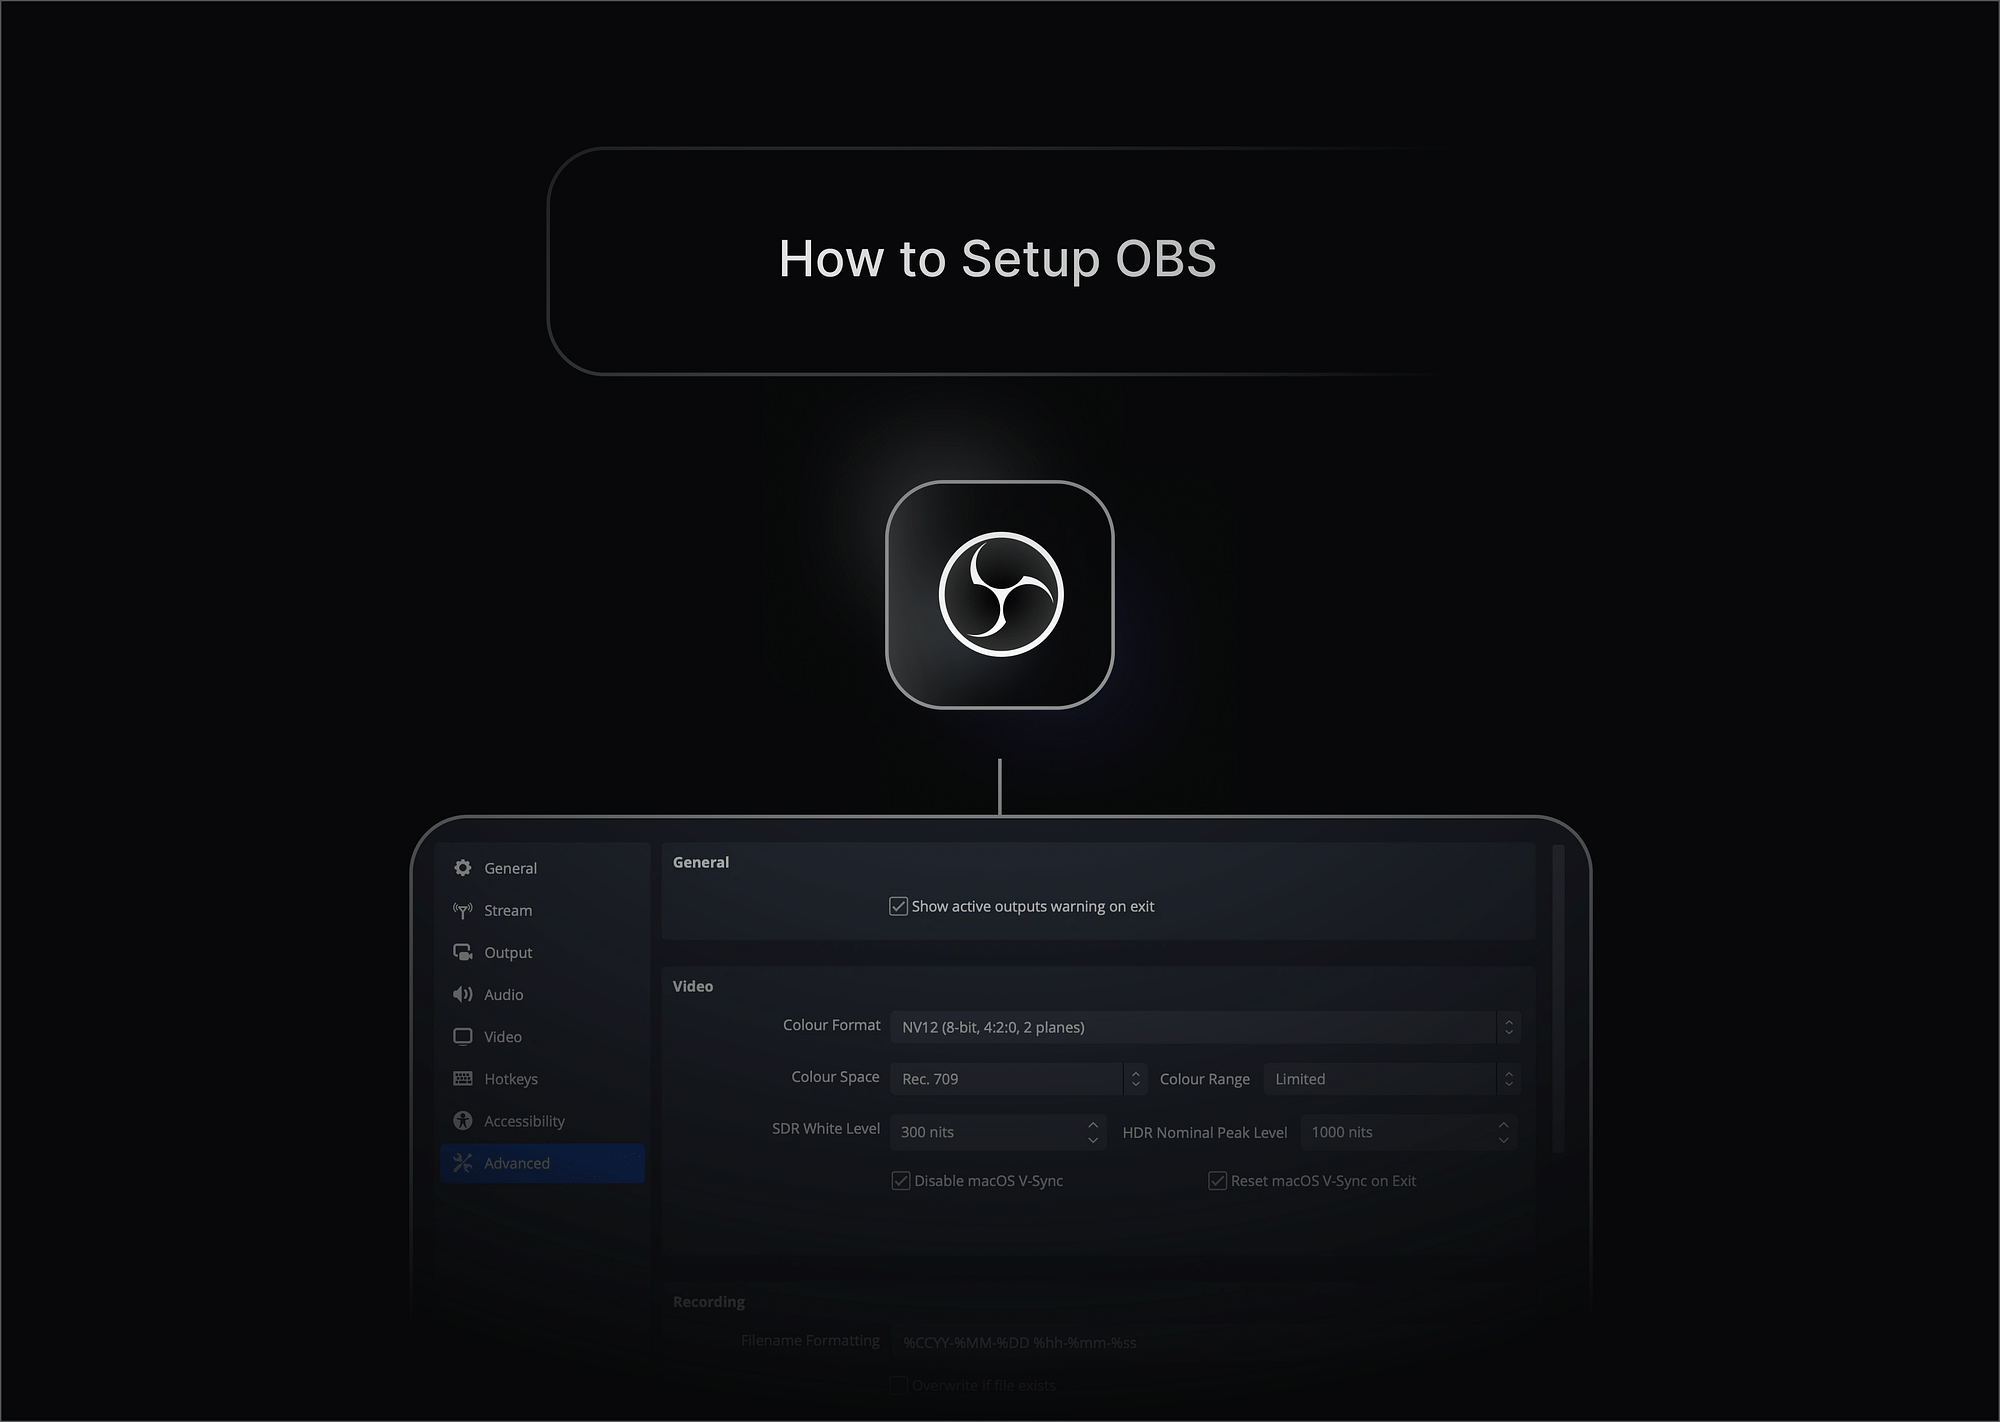
- Go to Settings > Video.
- Set Base (Canvas) Resolution to match your monitor resolution (e.g., 1920x1080).
- Set Output (Scaled) Resolution to 1080p for high quality or 720p for smaller files.
- FPS (Frames Per Second): 30 FPS is fine for basic videos; choose 60 FPS for smoother recordings, especially gaming or motion-heavy content.
2. Setting up Output Formats and Encoders
- Navigate to Settings > Output > Recording.
- Recording Format: MP4 is popular but risky (file can corrupt if recording is interrupted). MKV is safer, and you can remux it to MP4 later inside OBS itself.
- Encoder:
- Use NVENC if you have an NVIDIA GPU (offloads encoding from your CPU).
- Otherwise, use x264 (CPU-based).
3. Selecting the Recording Path
- In the same Output tab, choose where your recordings will be saved.
- Make sure you pick a drive with enough storage space.
4. Scene and Source Setup for Screen Capture, Webcam, Audio
- In the main OBS window:
- Click the + under Scenes to create a new scene.
- Under Sources, add:
- Display Capture (for entire screen)
- Window Capture (for specific apps)
- Video Capture Device (for webcam)
- Audio Input/Output Capture (for mic and system sound)
And just like that, your basic OBS Studio setup for recording is complete!
How to Set Up OBS for Streaming
Once you've finished setting up OBS for recording, it's time to move into the world of OBS streaming. Setting up OBS for live streaming properly ensures your content reaches your audience clearly and without interruptions. Whether you’re aiming for Twitch, YouTube, Facebook Live, or another platform, here’s how to set up OBS for streaming the right way.
1. Connecting Streaming Platforms
To start using OBS for live streaming, you first need to link it with your streaming service.
- Open Settings > Stream in OBS Studio.
- Under Service, select the platform you want to stream to — options include:
- Twitch
- YouTube
- Facebook Live
- Twitter/Periscope
- Restream (for multi-streaming)
- Custom (for RTMP servers)
Important:
OBS offers direct integration for popular platforms, making it easy for beginners. When you choose your service, OBS automatically optimizes some of the backend settings for that platform.
2. Entering Stream Keys
Every streaming platform uses a unique Stream Key — basically a password that lets OBS broadcast to your account.
- Go to your chosen streaming platform’s creator settings:
- Twitch: Settings > Stream > Primary Stream Key
- YouTube: YouTube Studio > Settings > Stream > Stream Key
- Facebook Live: Live Producer > Stream Setup > Stream Key
- Copy the stream key.
- In OBS Studio, paste it into Settings > Stream > Stream Key.
IMPORTANT: Never share your stream key. Anyone who has your stream key can stream on your channel without your permission. Treat it like a password!
Pro Tip: Some platforms (like Twitch and YouTube) now offer account linking with OBS, meaning you don't even have to manually copy/paste your stream key — you just log in directly.
3. Recommended OBS Stream Settings
Once your platform is connected, it’s time to fine-tune your OBS studio settings for the best performance.
Open Settings > Output > Streaming, and configure:
- Bitrate (Video Quality vs Bandwidth Usage):
- 2500–4000 kbps for 720p @ 30fps streams (good for beginners and lower internet speeds).
- 4500–6000 kbps for 1080p @ 60fps (ideal for professional-quality streams).
Tip: Always ensure your internet upload speed is at least 1.5 times your stream bitrate.
- Encoder:
- NVENC (NVIDIA hardware encoding) is recommended if you have an NVIDIA GPU — it offers high quality without overloading your CPU.
- x264 (software encoding) uses CPU processing and is good if you have a powerful CPU but no dedicated GPU.
- Rate Control: Choose CBR (Constant Bitrate) to maintain stable quality across your entire stream.
- Keyframe Interval: Set it to 2 seconds — it’s required by most platforms like Twitch and YouTube.
With these OBS stream settings, you’ll be all set for a smooth, high-quality broadcast!
Setting Up OBS Stream for Twitch
When focusing on how to setup OBS for Twitch, there are a few specific tweaks that can dramatically improve your streaming quality, discoverability, and viewer engagement.
Twitch has slightly different needs compared to YouTube or Facebook, so let’s walk through the essentials for an optimal OBS stream setup on Twitch.
1. Twitch-Specific Setup Tips
- Use the NVENC Encoder (New Version): Twitch recommends using the updated NVENC (new) encoder if you have an NVIDIA GPU.Why? It delivers almost indistinguishable quality compared to x264 but uses much less CPU, allowing your games and OBS to run smoothly.
- Recommended Bitrate:
- 4500–6000 kbps for 1080p 60fps Twitch streams.
- 3500–5000 kbps if you’re streaming at 720p or have slower internet speeds.
- Set the Preset and Profile:
- Preset: Choose Quality or Max Quality (if your GPU can handle it).
- Profile: Set to High for better video compatibility across different devices.
Pro Tip: Lower latency is crucial for Twitch to keep your chat interactive and real-time — aim for minimal buffering.
2. Chat Integration, Overlays, and Alerts
Twitch is heavily community-driven. It's not just about gameplay or content — it's about interacting with your viewers in real-time. That's why integrating chat, overlays, and alerts is vital.
- Chat Integration:
- Use services like Streamlabs or StreamElements.
- They offer browser-based chat overlays that can be added as a Browser Source in OBS.
- This way, your viewers (and you) can see the chat on-screen.
- Overlays and Alerts:
- Customize your stream with overlays that show:
- Recent followers
- Donations
- Subscriptions
- Bits cheers
- You can drag-and-drop these elements inside OBS easily by adding browser sources.
- Pre-built themes (free and premium) are available on Streamlabs/StreamElements to make your channel visually stunning with minimal effort.
- Customize your stream with overlays that show:
Tip: Test your alerts before going live to make sure everything triggers correctly!
3. Optimal Twitch OBS Settings
Since Twitch audiences expect smooth, interactive streams, fine-tuning your video settings is critical.
- Resolution Settings:
- 1920x1080 (1080p) for high-end streams.
- 1280x720 (720p) if your internet speed is limited or you’re targeting mobile viewers.
- Frames Per Second (FPS):
- 60 FPS for fast-paced content (FPS games, action streams).
- 30 FPS is fine for slower or casual content (talk shows, creative streams).
- Keyframe Interval: Always set to 2 seconds (this is mandatory for Twitch's encoding standards).
- Audio Settings: Twitch recommends a 160kbps bitrate for audio with a sample rate of 44.1kHz for compatibility across all devices.
- Color Format: Stick to NV12 and 709 color space for vibrant, Twitch-friendly visuals.
Carefully setting up OBS for Twitch with these tweaks allows you to deliver a stream that makes your channel look more polished and professional. Viewers are much more likely to stick around — and return — when your stream looks and sounds great!
OBS Audio Setup
While crisp visuals catch the eye, it’s clear, balanced audio that truly keeps your viewers engaged. A professional-sounding stream builds trust, increases watch time, and elevates your content quality immediately. Here’s a complete guide to getting your OBS audio setup just right.
1. Choosing Input/Output Audio Devices
To start, you need to tell OBS which audio devices to capture.
- Go to Settings > Audio inside OBS.
- Under the Global Audio Devices section, configure:
- Desktop Audio: Choose your system’s speakers or headphones (where you hear your computer’s sounds). This ensures game sounds, music, and notification sounds are captured.
- Mic/Auxiliary Audio: Select your microphone (USB mic, headset mic, or audio interface input).
Pro Tip: If you're using an external mic (like a Blue Yeti or a Rode mic), make sure to select that specifically instead of the default "Default" device, to avoid OBS accidentally switching devices.
Also, if you want to avoid capturing system sounds (for example, during a silent recording), you can set Desktop Audio to Disabled.
2. Managing Desktop and Mic Audio Levels
Now that your sources are selected, it’s crucial to balance your audio levels for a professional output.
- On the main OBS window, you’ll see the Audio Mixer panel.
- Each active audio source (Desktop Audio, Mic/Aux) has a volume slider.
- Adjust the sliders carefully:
- Keep your desktop audio slightly lower than your microphone so your voice remains the primary focus.
- Your mic should typically peak around -10 dB to -5 dB on the volume meters — loud enough to be clear without risking distortion.
- Background music, if any, should sit much lower, around -30 dB to -20 dB, to avoid clashing with your speech.
Pro Tip: Avoid letting any audio source hit the red zone (0 dB or higher) — it will sound distorted to your audience.
You can also mute, solo, or adjust balance (left/right panning) for each source if needed.
3. Adding Filters: Noise Suppression, Gain, Compression
Even with the best mic, raw audio usually needs a little polishing. Thankfully, OBS lets you add professional-grade audio filters easily.
Here’s how:
- Right-click your microphone source inside the Audio Mixer.
- Select Filters > Click the + button to add a new filter.
Recommended filters:
- Noise Suppression
- Removes low-level background sounds like computer fans, AC noise, or street hums.
- OBS offers two options:
- RNNoise (better quality, slightly heavier CPU usage)
- Speex (more customizable)
- Gain
- Boosts the overall input volume if your microphone is naturally quiet.
- Useful if even at maximum slider levels, your mic feels too soft.
- Compressor
- Evens out audio dynamics — loud sounds are toned down, and quiet sounds are amplified.
- This makes your voice consistently audible even if you move slightly away from the mic or speak louder in moments of excitement.
- Key settings:
- Threshold: Around -18 dB
- Ratio: 3:1 or 4:1 for voice
- Attack/Release: Adjust based on how snappy you want the compression to kick in.
Advanced Tip:You can also explore adding a Limiter filter after the Compressor to ensure your audio never exceeds a certain volume, preventing sudden peaks or clipping.
Why OBS Audio Setup Matters
In a competitive content world, bad audio can drive viewers away faster than bad video. Viewers will forgive a slightly blurry video but will rarely tolerate crackly mics, loud background noises, or inconsistent volume.
With a carefully crafted OBS audio setup, including choosing the right devices, balancing audio levels properly, and applying smart filters, you can deliver clear, professional sound — turning casual viewers into loyal fans.
Useful Features and Tips for Beginners
Starting with OBS for beginners can feel overwhelming at first, but OBS Studio is packed with powerful features that make both recording and streaming easier — once you know where to look! Whether you’re gearing up for your first live stream or simply recording your screen, these features and tips can help you work smarter, not harder.
Features You Should Definitely Use:
1. Hotkeys: Streamlining Your Workflow:
One of the handiest features for beginners is OBS’s robust hotkey system.
You can assign keyboard shortcuts for almost every important action:
- Start/stop streaming
- Start/stop recording
- Switch between scenes
- Mute/unmute your microphone
- Hide/show specific sources
You’ll find these settings under Settings > Hotkeys.
Setting up hotkeys lets you focus on your content without scrambling around your screen during a live session. It’s an essential part of any smooth OBS stream setup.
2. Studio Mode: Polished, Professional Transitions:
Mistakes happen, but Studio Mode helps you minimize them!
With Studio Mode, you get two screens:
- Preview (on the left): Set up and see your next scene before your audience does.
- Program (on the right): What your viewers are currently seeing.
This is extremely useful for live streaming events, game streams, or webinars where you need smooth, professional scene changes.
(Find it by clicking the "Studio Mode" button in the main OBS interface.)
Use it to double-check scene layouts, camera framing, and audio setups before transitioning live!
3. Plugins and Extensions: Expanding OBS’s Powers:
The true strength of OBS lies in its open-source nature — meaning you can add powerful plugins to customize and supercharge your setup.
Some must-try OBS plugins include:
- OBS WebSocketAllows you to control OBS remotely — for example, from a smartphone or a second PC. Perfect if you want to run your stream hands-free or manage complex scenes while focusing on content delivery.
- StreamFXOne of the most popular plugins, StreamFX adds beautiful effects like blur, dynamic transitions, and 3D transformations. It’s great for creating a visually stunning stream or recording without needing expensive software.
Other notable mentions:
- Move Transition Plugin: Smoothly animate scene elements when you switch.
- Spectralizer: Adds a real-time audio spectrum visualizer to your stream.
If you're serious about getting the most out of your OBS studio settings, exploring plugins can take your stream from basic to brilliant!
Pro Tips for Beginners:
1. Always Test Before Going Live:
Before every important stream or recording, do a short local recording or private stream to test:
- Audio levels
- Video quality
- Scene transitions
- Stream stability
Testing beforehand helps you catch small mistakes that could otherwise ruin a live session.
2. Keep OBS Studio Updated:
The OBS team frequently rolls out updates that fix bugs, improve performance, and add exciting new features. Always check for updates before important events — running outdated versions could lead to unnecessary crashes or incompatibilities.
Enable auto-updates or manually check at obsproject.com to stay current.
3. Use Performance-Friendly Settings:
If you're using a mid-range or older machine, it's crucial to optimize your OBS studio setup for smoother operation:
- Lower your output resolution (e.g., 720p instead of 1080p).
- Reduce FPS to 30 instead of 60.
- Choose hardware encoding (NVENC/AMD) if available, to offload processing from the CPU.
- Close unnecessary background apps before streaming or recording.
This ensures you deliver stable and high-quality content without taxing your system.
4. Organize Your Scenes and Sources Neatly:
A chaotic list of scenes and sources can cause panic during a live stream.
Here’s how to stay organized:
- Name your scenes and sources clearly (e.g., "Intro Screen," "Main Cam," "Game Capture").
- Group related sources into folders (right-click > Group Selected Items).
- Arrange your scenes in the order you plan to use them.
A clean setup saves time and reduces mistakes, especially when switching scenes mid-stream.
5. Monitor Your Stream Health in Real-Time:
OBS provides real-time stats like dropped frames, CPU usage, and bitrate stability.
- Enable View > Stats to keep an eye on your system performance while streaming.
- If you notice high dropped frames or encoding overload, adjust settings immediately to avoid major disruptions.
Conclusion & Final Thoughts
Mastering your OBS Studio setup takes a little time, but it’s absolutely worth it. Whether you're setting up OBS for recording casual videos or doing a full OBS stream setup for Twitch or YouTube, this guide has given you all the basics (and some pro tips!).
Keep experimenting, tweaking your OBS studio settings, and soon you’ll feel like a streaming pro. And remember — setting up OBS for streaming or recording is not just technical; it’s about creating the experience you want your audience to have.
Happy streaming and recording!
FAQs
1. Can OBS be used for Zoom/Google Meet?
Yes! You can use OBS as a virtual camera to send enhanced video (with overlays, effects) into Zoom, Google Meet, and others.
2. What’s the best bitrate for streaming with OBS?
4500–6000 kbps is best for 1080p 60fps streaming. For 720p, 2500–4000 kbps works fine.
3. Is OBS really free?
Yes, OBS is 100% free and open-source, supported by a global community of developers.
4. Is OBS good for beginners?
Absolutely! OBS for beginners may seem overwhelming at first, but it's very beginner-friendly with plenty of tutorials and resources available.
5. What is the best output for OBS streaming?
Use MP4 for uploading ease but record initially in MKV to avoid file corruption risks.
6. How do I set OBS to ultra-low latency?
In OBS, set the Keyframe Interval to 2 seconds, lower your buffer size, and on platforms like Twitch/YouTube, select "Ultra Low Latency" in the stream settings.