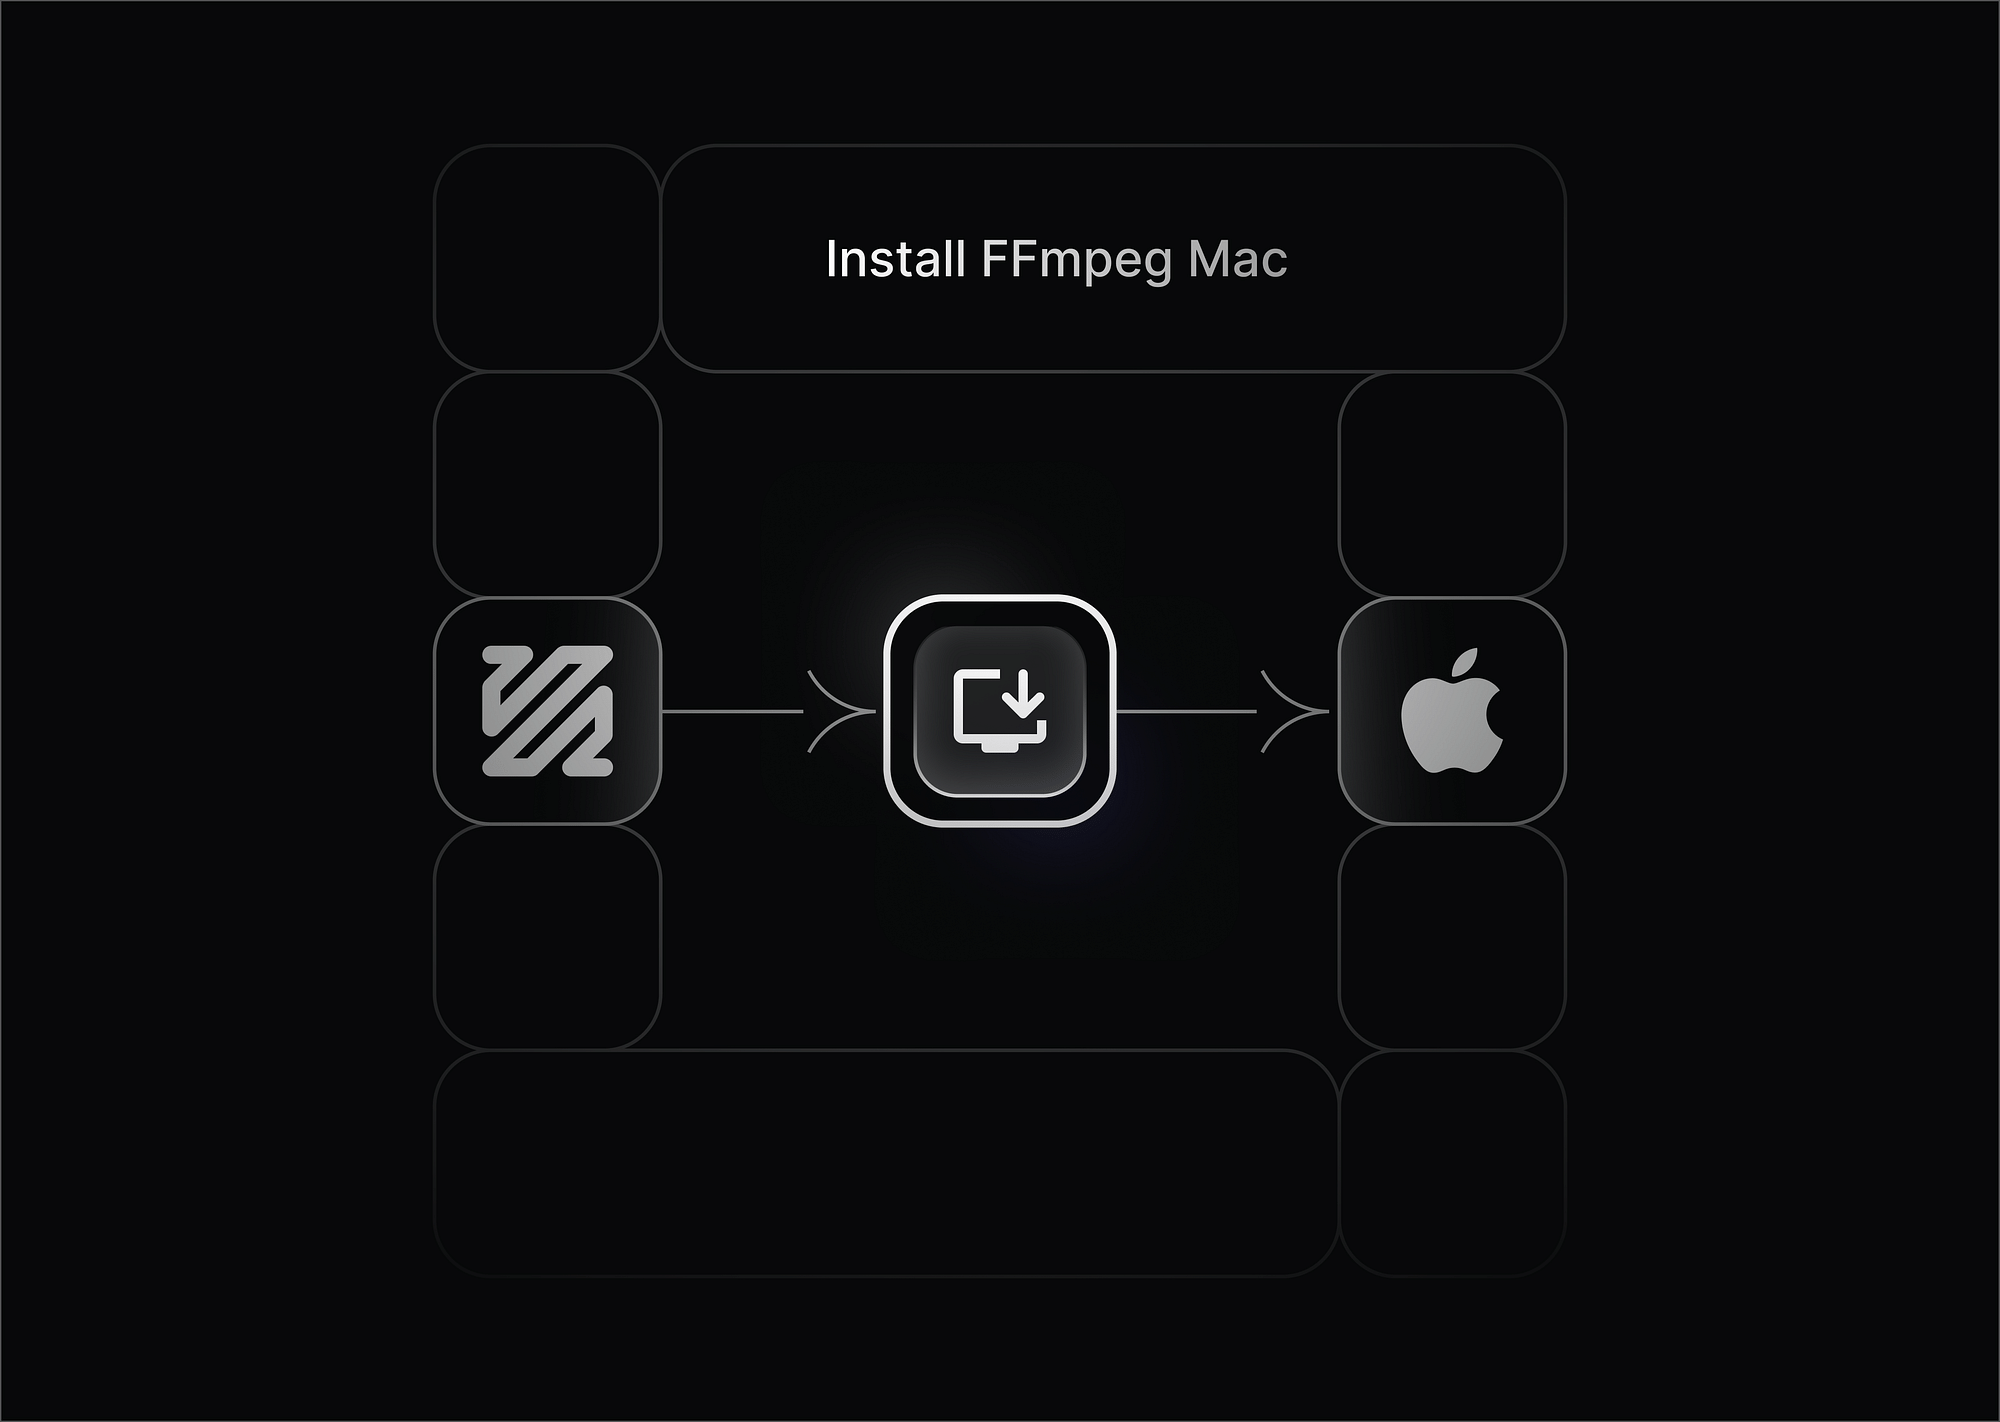
FFmpeg is a powerful open-source framework used to record, convert, stream, and manipulate audio and video content. Whether you're an editor working with multimedia files, a developer building a media-based application, or simply a hobbyist trying to convert video formats, FFmpeg offers a robust toolkit to get the job done.
However, for many macOS users, the process of installing FFmpeg might appear a bit technical—especially for those unfamiliar with the Terminal.
This guide will walk you through how to install FFmpeg on Mac using three popular methods: Homebrew, manual installation without Homebrew, and pip for Python users.
Let’s begin by ensuring your system meets all the necessary prerequisites.
Prerequisites
Before proceeding to install FFmpeg on mac, it is important to ensure your system has the essential components and permissions required for a smooth installation. Below are the key prerequisites:
macOS Version Compatibility
FFmpeg is compatible with most recent macOS versions. Ideally, you should be running macOS Mojave (10.14) or later. To check your system version, click on the Apple icon in the top-left corner of your screen and select "About This Mac."
Basic Knowledge of Terminal
Installing and running FFmpeg requires interacting with the macOS Terminal, which is a command-line interface used to perform tasks more efficiently than through the graphical interface. You can launch Terminal by navigating to Applications > Utilities > Terminal. Familiarity with basic Terminal commands will be helpful, although this guide will provide all the necessary steps clearly.
Administrator Privileges
Installation methods such as using Homebrew or downloading binaries manually require admin rights. If you're using a work computer or a shared device, ensure you have administrative access to install software.
Xcode Command Line Tools
If you are using Homebrew or plan to build FFmpeg from source, you will need Apple’s Command Line Tools or Xcode installed. These tools provide compilers and other essential utilities.
You can install them by running the following command in Terminal:
xcode-select --installOnce these requirements are in place, you are ready to begin the installation.
How to Install FFmpeg on Mac?
There are multiple ways to install FFmpeg on macOS, depending on your use case and technical preferences. This guide outlines three common and reliable methods.
Method 1: Install FFmpeg on Mac Using Homebrew
One of the most straightforward ways to install FFmpeg is through Homebrew, a package manager for macOS that simplifies the process of downloading and managing software through the Terminal.
What is Homebrew?
Homebrew is an open-source package manager that allows you to install and manage software from the command line. It automates the downloading, unpacking, and configuration process, making it particularly user-friendly for beginners.
Step-by-Step Installation Using Homebrew
Here’s how you can go about the installation using homebrew in a step-by-step manner:
1. Install Homebrew (if it’s not already installed):
In Terminal, paste the following command and press Enter:
/bin/bash -c "$(curl -fsSL https://raw.githubusercontent.com/Homebrew/install/HEAD/install.sh)"This command downloads and installs Homebrew, which may take a few minutes.
2. Install FFmpeg via Homebrew: Once Homebrew is successfully installed, you can install FFmpeg with a single command:
brew install ffmpegThis will download FFmpeg along with its necessary dependencies and configure everything for you.
3. Verify the Installation:
To ensure that FFmpeg is installed properly, run:
ffmpeg -versionYou should see output displaying the FFmpeg version number and configuration settings.
4. Add FFmpeg to PATH (if needed): If the ffmpeg command is not recognized after installation, you may need to add it to your system’s PATH:
export PATH="/opt/homebrew/bin:$PATH"Add this line to your shell configuration file (.zshrc or .bash_profile) to make the change permanent.
This is the most recommended method for most users, especially those who want an easy, updatable, and secure installation process.
Method 2: Install FFmpeg on Mac Without Homebrew
If you prefer not to use a package manager, it’s entirely possible to install FFmpeg on mac manually by downloading a pre-built binary.
Step-by-Step Manual Installation
Here’s how you can go about step-by-step with this method of installation:
1. Download a Static Build: Visit the official FFmpeg website at ffmpeg.org/download.html. Under the macOS section, choose a reliable static build. Popular sources include:
- Evermeet.cx
- Gyan.dev
2. Move the File to /usr/local/bin: After downloading, open Terminal and move the binary to a directory included in your system’s PATH:
chmod +x ~/Downloads/ffmpeg
sudo mv ~/Downloads/ffmpeg /usr/local/bin/ffmpeg
Or, if it’s a .zip:
unzip ~/Downloads/ffmpeg.zip
chmod +x ffmpeg
sudo mv ffmpeg /usr/local/bin/
3. Make the Binary Executable: Assign executable permissions to the binary:
sudo chmod +x /usr/local/bin/ffmpeg4. Verify the Installation:Run the command:
ffmpeg -versionYou should now see version details, indicating that FFmpeg has been successfully installed.
This method gives you more control over the installation and is suitable for users who want a minimal setup without additional package managers.
Method 3: Install FFmpeg via pip (for Python Users)
If your work with FFmpeg is primarily within Python scripts or projects, installing it via pip may be the most efficient option.
When Should You Use pip to Install FFmpeg?
Using pip to install FFmpeg is particularly suitable in scenarios where you are working within Python-centric workflows. This method does not install FFmpeg system-wide but rather makes it available within your Python environment. Consider using this approach in the following situations:
- When using FFmpeg through Python libraries If your project involves Python packages like moviepy, imageio, pydub, or ffmpeg-python, these libraries often rely on FFmpeg to process media files. Installing FFmpeg via pip ensures compatibility and simplifies integration, especially when you're running scripts that handle video or audio encoding and decoding directly within Python.
- When working in virtual environments Developers frequently use Python virtual environments (e.g., venv or conda) to isolate project dependencies. Installing FFmpeg using pip keeps it contained within that environment, reducing the risk of conflicts with other software on your system and maintaining a clean development setup.
- When a system-wide FFmpeg installation is unnecessary If you don’t need to use FFmpeg commands in the Terminal or across various applications, installing it locally within your Python environment is more lightweight and avoids altering global system paths. This is especially useful for quick scripts, small projects, or educational purposes.
In essence, the pip method is ideal for Python developers who want to use FFmpeg on macOS in a targeted, self-contained manner without impacting the broader system configuration.
Step-by-Step Guide for Python Users
Here’s how you can go about installing FFmpeg using the Python route:
1. Ensure pip is Installed and Updated: Run the following in Terminal:
python3 -m ensurepip --upgrade2. Install the FFmpeg Plugin via pip: Use pip to install imageio[ffmpeg], which includes a bundled FFmpeg binary:
pip install imageio[ffmpeg]3. Download FFmpeg within Python: Open a Python interpreter and run:
import imageio_ffmpeg
print(imageio_ffmpeg.get_ffmpeg_exe())
4. Verify Installation:You can now use FFmpeg functions inside Python scripts. However, to use FFmpeg globally in Terminal, you'll need to set the binary path explicitly.
This method is ideal for developers working in Python environments who prefer keeping system-level installations minimal.
Common Errors and How to Fix Them
Although the process of installing FFmpeg on Mac is relatively straightforward, users—especially those new to the Terminal—may encounter certain errors during or after installation. These are typically related to incorrect system configuration, missing dependencies, or unrecognized commands. Below are some of the most frequently reported issues and step-by-step solutions to resolve them.
1. “ffmpeg: command not found” on Mac
What It Means:
This error indicates that your system is unable to locate the FFmpeg binary. It usually occurs when:
- FFmpeg has not been installed successfully,
- The binary is not placed in a directory listed in your system’s PATH,
- Or the Terminal session hasn't been refreshed after installation.
How to Fix It:
First, verify whether FFmpeg is installed. If you used Homebrew, you can try reinstalling it:
brew reinstall ffmpegIf you installed it manually, ensure the FFmpeg binary is located in a directory like /usr/local/bin.
Then, update your PATH environment variable so your system knows where to look for FFmpeg:
export PATH="/usr/local/bin:$PATH"To make this change permanent, add the above line to your shell configuration file:
- For Zsh users (macOS default from Catalina onward): ~/.zshrc
- For Bash users (older macOS versions): ~/.bash_profile
You can use the nano text editor to add the line:
nano ~/.zshrcAfter saving the file, reload the configuration:
source ~/.zshrcThen, run:
ffmpeg -versionIf everything is configured correctly, FFmpeg’s version information will be displayed.
2. PATH-related Issues
What It Means:
Even if FFmpeg is installed, the Terminal may still not recognize it if the system’s PATH variable does not include the directory where FFmpeg resides. This is a common issue, especially when binaries are manually placed in directories not automatically included in PATH.
How to Fix It:
Identify where FFmpeg is installed by running:
which ffmpegIf it returns nothing, it means FFmpeg isn’t in your PATH.
Add the directory where FFmpeg resides to your PATH manually. For instance, if you placed FFmpeg in /usr/local/bin, add the following line to your shell configuration file:
export PATH="/usr/local/bin:$PATH"If you're using a static build stored somewhere else (e.g., ~/Downloads/ffmpeg), consider moving it to /usr/local/bin and setting the correct permissions:
sudo mv ~/Downloads/ffmpeg /usr/local/bin/sudo chmod +x /usr/local/bin/ffmpegThen, verify the installation again using ffmpeg -version.
3. “brew: command not found”
What It Means:
This error indicates that Homebrew, the macOS package manager used to install FFmpeg (and many other tools), is not installed or your shell cannot locate it.
This could happen if:
- You haven’t installed Homebrew,
- You’ve installed it but your system can’t find the brew command because its path isn’t added to the shell configuration.
How to Fix It:
Step 1: Install Homebrew (if not already installed)
Run the following command in Terminal:
/bin/bash -c "$(curl -fsSL https://raw.githubusercontent.com/Homebrew/install/HEAD/install.sh)"Step 2: Add Homebrew to Your PATH
Depending on your chip (Intel or Apple Silicon), the default install path may differ:
Apple Silicon (M1/M2):
echo 'export PATH="/opt/homebrew/bin:$PATH"' >> ~/.zshrc
Intel Macs:echo 'export PATH="/usr/local/bin:$PATH"' >> ~/.zshrc
Step 3: Reload the configuration:
source ~/.zshrcStep 4: Now test:
brew --versionIf successful, you can proceed to install FFmpeg using:
bash
CopyEdit
brew install ffmpeg
Preventing These Errors in the Future
To minimize the chances of encountering these issues again:
- Always reload your Terminal after installation.
- Familiarize yourself with your shell type (Zsh or Bash) and configuration file location.
- Use which ffmpeg or echo $PATH to debug command availability issues.
- When working across multiple Python environments, ensure you're not confusing pip-based installs with system-level installations.
How to Uninstall FFmpeg from Mac?
If you no longer require FFmpeg, it can be uninstalled easily using the method corresponding to your installation.
If Installed Using Homebrew:
Run the following command:
brew uninstall ffmpegThis will remove FFmpeg and any unused dependencies installed with it.
If Installed Manually:
Run the following command in Terminal:
sudo rm /usr/local/bin/ffmpegAlso, check for any PATH references in .zshrc or .bash_profile and remove them.
Conclusion and Final Thoughts
For most macOS users, especially those new to command-line tools, Homebrew is the recommended method to install ffmpeg. It significantly simplifies the installation process, ensures proper configuration, and integrates well with other tools that might rely on FFmpeg. Once installed, users are encouraged to experiment with FFmpeg commands and explore its extensive capabilities—ranging from simple media conversions to complex encoding and filtering tasks. To delve deeper into what FFmpeg can do, refer to the official FFmpeg documentation, which provides detailed guidance on syntax, options, and use cases for professionals and enthusiasts alike.
FAQs
1. Can I install FFmpeg without Homebrew on Mac?
Yes, you can manually download and install a pre-built FFmpeg binary from trusted sources like Evermeet or Gyan.dev. This method avoids using a package manager.
2. How to check if FFmpeg is installed on Mac?
Open Terminal and type ffmpeg -version. If FFmpeg is installed correctly, you’ll see version details and configuration settings.
3. Is FFmpeg safe to use on macOS?
Yes, FFmpeg is a widely-used open-source project. When downloaded from official sources or via Homebrew, it is secure and trusted by professionals globally.
4. How to update FFmpeg on Mac?
If installed via Homebrew, run brew upgrade ffmpeg. For manual installations, you’ll need to download and replace the binary with the latest version.
5. Does FFmpeg work on M1 Mac?
Yes, FFmpeg supports Apple Silicon. Homebrew and static builds are now fully compatible with M1 and M2 chips, ensuring stable performance.