You have already made the decision.
Maybe your current platform buffers on every third play. Maybe the analytics dashboard costs too much to unlock. Maybe you are launching a paid course and your host does not support DRM, meaning anyone with the URL can share your content freely.
Whatever the reason, you are ready to switch, and that is when the real anxiety begins.
What happens to four years of watch time data? What about the embed codes scattered across your blog, help center, course modules, and email sequences? What if students lose access mid-cohort because a lesson link breaks at the wrong moment?
These concerns are legitimate. They are also the exact reasons most teams delay a migration for months after they have already decided to move.
This guide gives you a complete execution framework of what to export before you touch a single file, how to move an entire library in bulk, how to update embed codes without losing your mind, and what to do when a course library with active students is involved.
If you are still evaluating which platform to move to, Gumlet's guide on choosing a video hosting platform covers that decision in full. This guide picks up where that decision ends.
Key Takeaways
- Most video hosting platforms do not transfer historical analytics to a new provider. Export every CSV your current platform allows before you cancel or downgrade your plan. Once access is gone, that data is gone permanently.
- API-based bulk upload is the fastest method for libraries with 100 or more videos. Google Drive and Dropbox imports are the best option for mid-size libraries without developer support.
- Embed codes must be updated everywhere they appear: your CMS, LMS, landing pages, email sequences, and any app that references a video. Auditing all embed locations before starting is not optional.
- Course library migrations need separate handling for student access continuity, folder structure, and access rule replication before cutover.
- A 500-video library, properly planned, can be live on a new platform in 5 to 10 business days. A library of 5,000 videos realistically takes 3 to 5 weeks with a dedicated owner.
Why Video Migrations Stall and Why That Needs to Stop
Most teams do not stall on a video migration because the technical work is too hard. They stall because they cannot get a clear answer to three questions before they start:
- Will I lose my analytics?
- Will all my embeds break?
- Will my students or viewers be disrupted?
Each of these fears is valid, but each one is also a sequencing problem with a known solution. The analytics question comes down to exporting the right data before cancelling anything. The embed question is an operational project, not a technical mystery, and it becomes manageable the moment you audit your embed locations before moving a single file. The disruption question, especially for course creators, is solved by planning a parallel running period and timing the cutover correctly.
The root cause behind all three fears is the same: migrations are treated as a single event when they are actually a four-stage sequence: export, configure, transfer, and update. Run those stages in the right order, and the risks shrink considerably.
What You Can Save and What You'll Have to Let Go
This is the section most migration guides skip or soften. It deserves direct treatment because the analytics question is one of the primary reasons teams delay switching platforms at all.
The honest answer is that you will lose some data. The more useful answer is that you have more control over how much you lose than you probably think, provided you act before the migration begins rather than after.
What You Can Export Before You Switch
Most professional video hosting platforms give you access to your performance data in exportable form, even on standard plans. Before initiating a migration, go into your current platform's analytics dashboard and download everything available.
1. Video-level performance CSVs
Typically include total view counts, average watch time, play rate, and traffic source breakdowns for each video in your library. This is the most valuable export you can make as it gives you a historical baseline you can reference even after moving to a new platform.
2. Viewer-level data
Where available, captures session-level records tied to individual viewers or email addresses. If your current platform offers this export, take it.
3. Dashboard screenshots
Low-tech but effective. If your platform generates engagement trend graphs, monthly play rate curves, or audience retention overlays, take high-resolution screenshots before you close the account.
What You Will Lose Regardless
1. Real-time event logs tied to the old player
These are stored against your old platform's internal video IDs. When those IDs no longer exist, the event chain breaks, and your new platform starts a fresh log from the first play on the new player.
2. Heatmap and session-level visualisations
The frame-by-frame viewer drop-off overlays that show where people rewatch or abandon a video, are platform-generated visuals, not raw exportable data. They live in the rendering layer and cannot be migrated.
3. Attribution chains tied to old embed instances
Attribution chains are non-transferable. If your current platform tracked which specific embed on which page drove a lead or conversion, that attribution resets when you update the embed code.
The One Step You Cannot Skip
Export everything before you cancel or downgrade your plan. This is the single most common mistake in video migrations. Teams upload all files to the new platform, cancel the old subscription, and only then realise that the analytics export function was locked behind the plan tier they just cancelled.
The rule is simple: do not touch billing on your old platform until every export has been downloaded and stored.
The performance history you are protecting is not a reporting artefact; it is documented evidence of content ROI. According to a 2024 Kaltura survey, 92 percent of businesses report that video has become important to how they communicate with customers, yet fewer than half have a documented process for preserving video analytics before a platform switch. The gap between those two numbers is exactly where migrations go wrong. Treat your export step accordingly.
If you want to minimise the gap between losing your historical baseline and rebuilding a new one, the platform you migrate to matters considerably. Gumlet's analytics dashboard surfaces real-time engagement data, including play rate, watch time, viewer drop-off, and traffic source breakdowns, from the moment your first video goes live.
Start your free trial and you can have a functioning analytics baseline running before your old platform subscription even lapses.
Pre-migration Checklist: Do This Before You Move a Single File
The single biggest mistake in a video migration is starting with the upload. Teams get excited about the new platform, create an account, and start dragging files in before documenting where their current videos live, what metadata needs to be preserved, or which embed locations will break the moment the old player goes dark. This checklist should be completed in full before any files are moved.
1. Count and Categorise Your Library
Record the total number of videos and split them into two groups: actively embedded on live pages versus archived or unlisted. Prioritise the active library for migration. Archived content can follow in a second batch, which reduces pressure on the initial cutover window.
2. Export Your Analytics Now
Download every CSV your current platform allows while your plan is still active. Store files in a clearly labelled folder by platform name and export date so you can reference them after the migration is complete.
3. Audit Every Embed Location
Create a spreadsheet with five columns: page URL, video title, video ID on the current platform, embed location type (CMS, LMS, email, app, or landing page), and a status column to track updates during migration. This document becomes your single source of truth for the entire embed update process.
4. Record Your Metadata
For every video in your active library, note the title, description, tags, and whether a custom thumbnail is in use. Many platforms allow you to export this as a CSV. If yours does not, copy it manually for your top 20 to 30 most important videos at minimum.
Inconsistent tagging on the new platform hurts discoverability and is difficult to fix retroactively at scale.
5. Confirm File Availability
Check whether your current platform allows you to download original source files. Vimeo only allows downloads if the video owner has enabled that option, and original quality files may not be available on lower-tier plans. Wistia similarly restricts file downloads depending on your plan level. If original files are not downloadable, your migration may require re-transcoding from a lower-quality version.
If your current platform does not allow file downloads at any plan tier, check whether it exposes a public embed URL or a direct video URL that a third-party tool can fetch. Some platforms render a playable URL in the video player source even when the download button is disabled. This is not a guaranteed path, but it is worth checking before you assume the only option is re-transcoding from a screen recording.
Vimeo restricts original-quality downloads to Pro plans and above, and only when the video owner has enabled downloads on that specific video. Wistia restricts file access on its free tier. If you are migrating from either platform on a lower-tier plan, budget time to re-export from your local originals rather than relying on platform downloads.
6. Configure the New Platform Before Moving Any Content
Domain mapping, player branding, access rules, folder structure, and DRM settings should all be in place before the first video arrives. Migrating into an unconfigured environment means reapplying settings video-by-video after upload or going live on a platform that is not properly secured.
7. Plan Your Cutover Window
For course libraries with active students, choose a period between cohorts or during a known low-activity window. For marketing websites, coordinate with your SEO team so that 301 redirects for any indexed video pages are set up simultaneously with the embed updates.
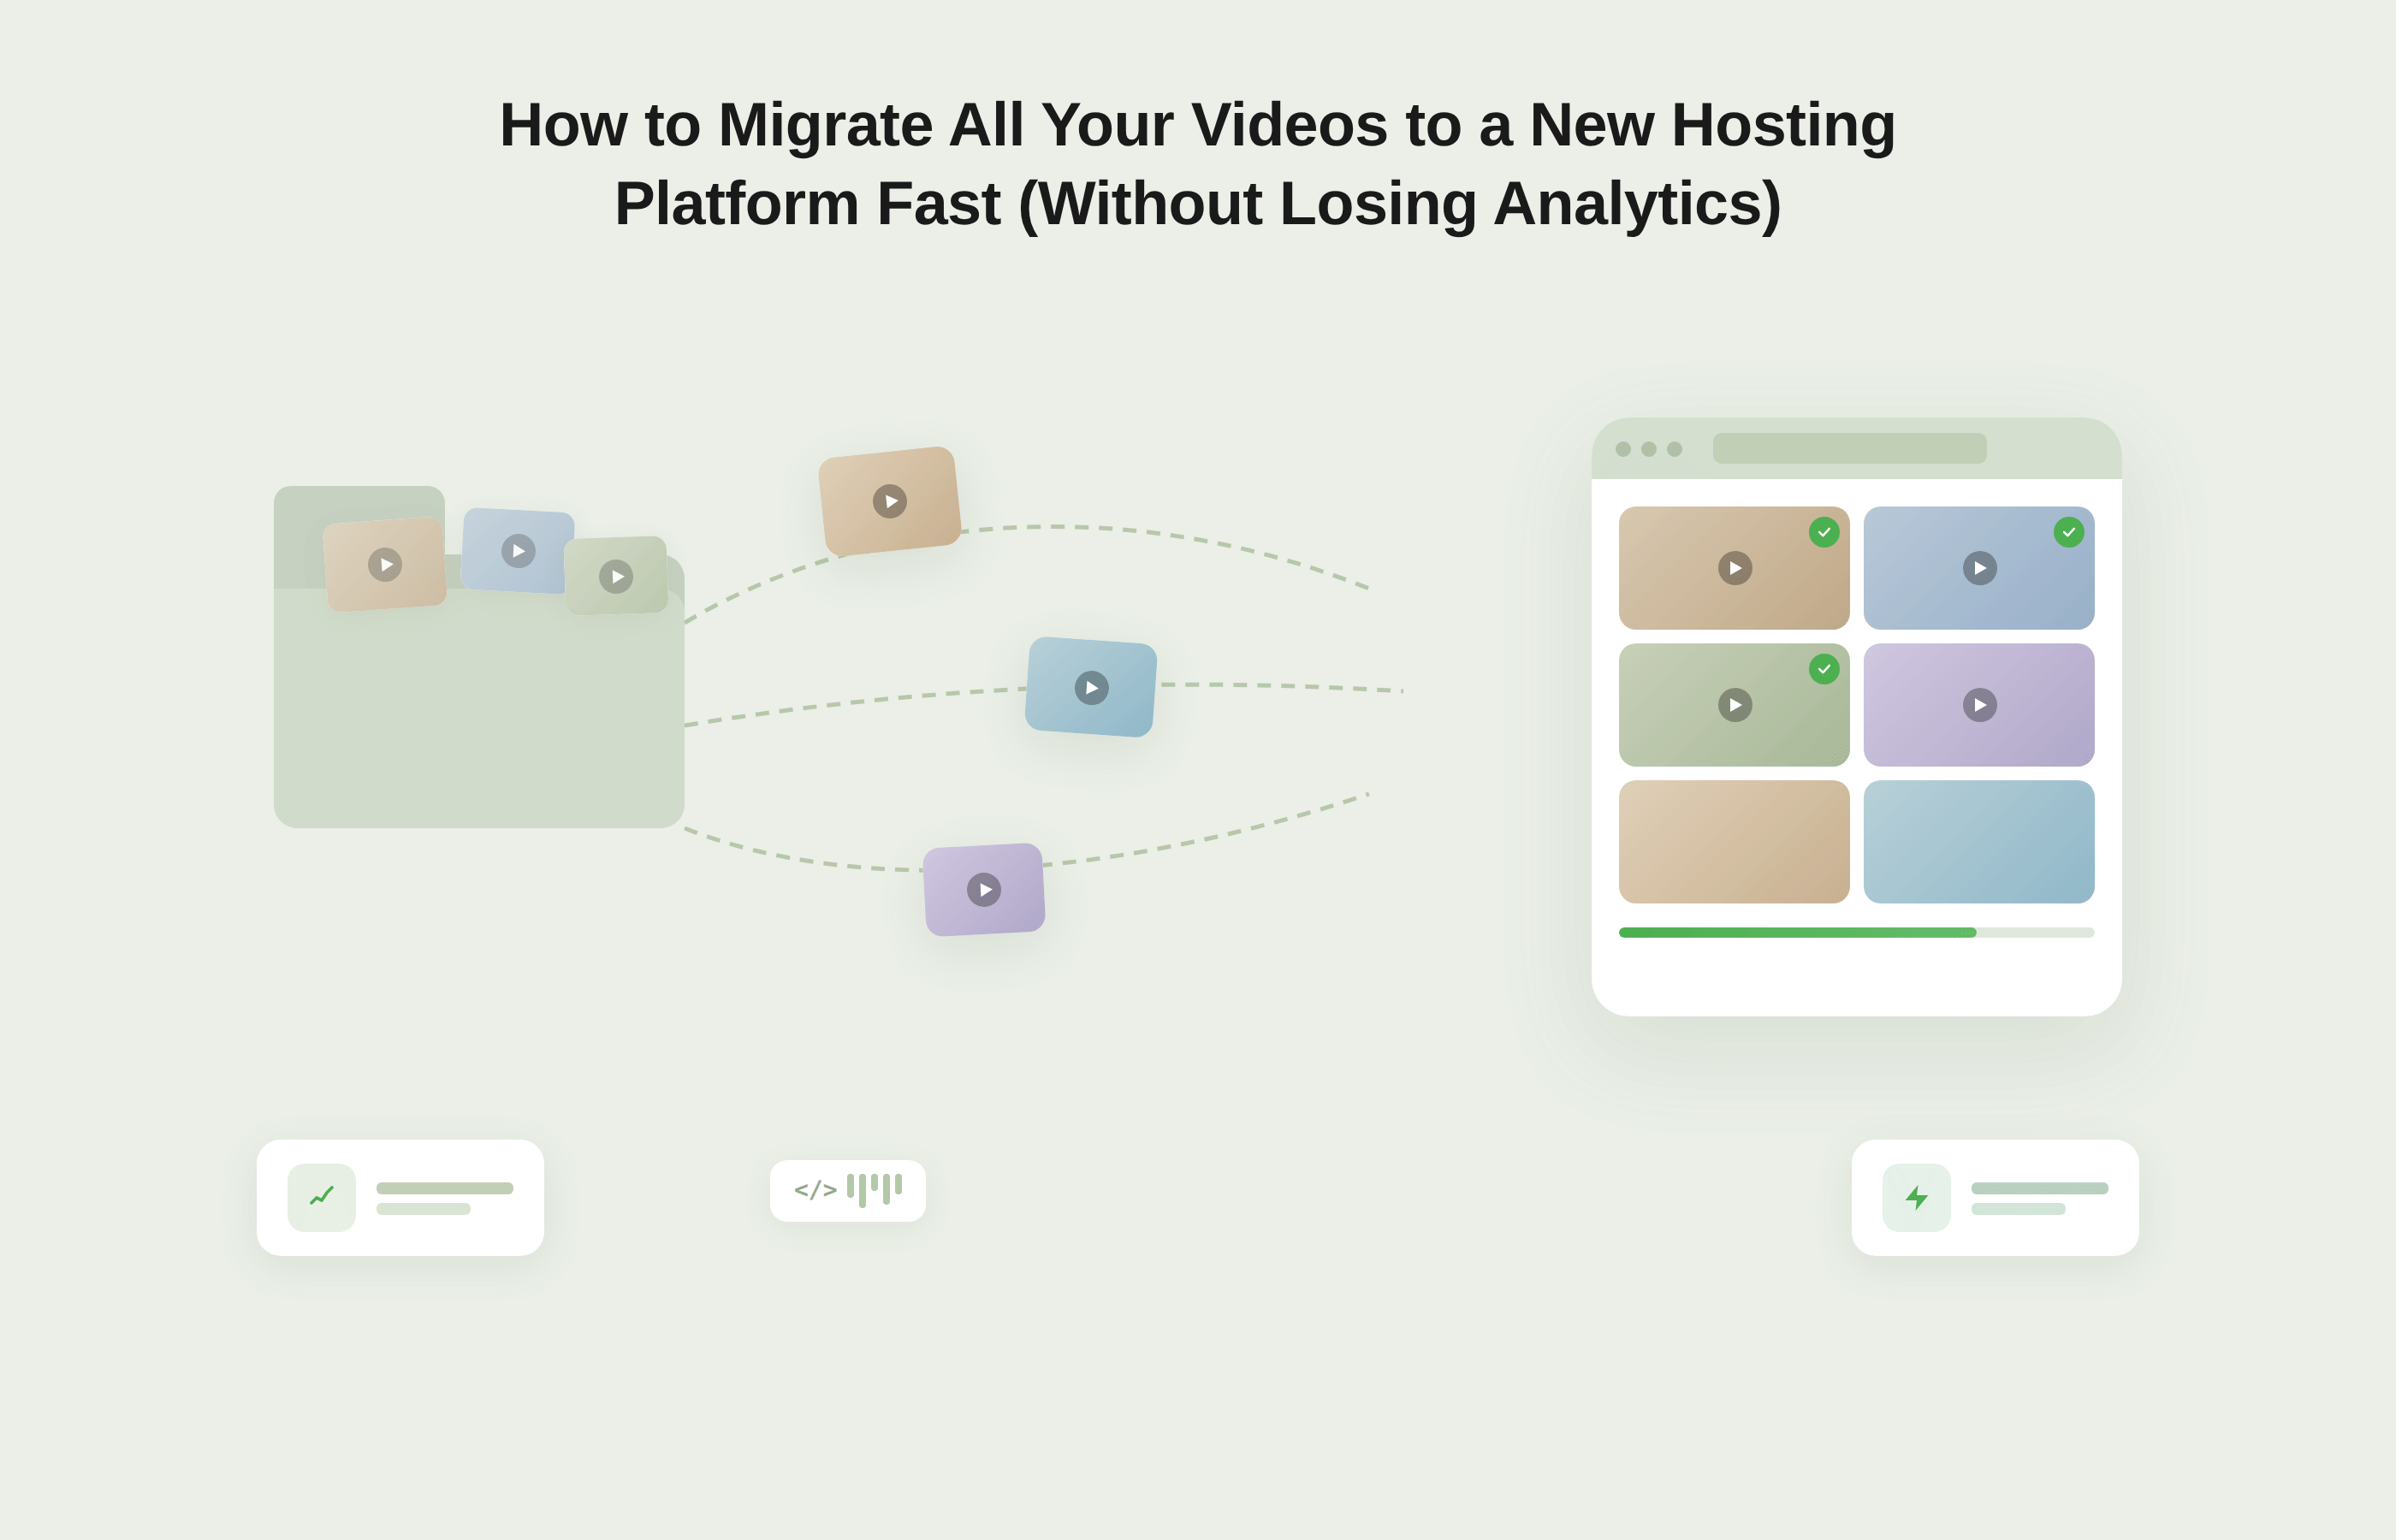
Bulk Upload Options: API, Google Drive / Dropbox, and Direct Transfer
Once the checklist is complete and your new platform is configured, the file transfer begins. The method you choose depends on library size, whether original source files are accessible, and whether you have a developer available.
Method 1: API Upload
API-based bulk upload is the most scalable migration method available. Most professional platforms expose an upload API that accepts either a direct file upload or a source URL. You point the API at a publicly accessible video URL and the platform fetches, transcodes, and stores the file on your behalf.
A developer can write a batch script that loops through a list of video URLs exported from your old platform and submits each one to the new platform's API, passing the title, description, and tags as parameters in the same call. The practical advantage is that this runs unattended. A script processing 500 videos can run overnight and deliver a nearly complete, metadata-rich library by morning.
Gumlet's Upload API accepts both direct file uploads and URL-based ingestion, with webhook support that fires a notification when each video finishes transcoding and is ready to embed, which allows you to automate the entire ingest pipeline without manual intervention at each step.
Best for:
Libraries with 100 or more videos, or any migration where metadata needs to be transferred alongside the files.
Method 2: Google Drive or Dropbox Import
Some platforms offer native import functionality that pulls files directly from a connected Google Drive or Dropbox folder, bypassing the need to download files to your local machine and re-upload them. This is the most practical option for non-technical users who want bulk migration without scripting.
One detail worth getting right first: file names in your cloud folder will often become the video titles on the new platform. Spend 30 minutes cleaning up folder and file names before importing, and you will save considerably more time on the other side.
Best for:
Libraries of up to 200 videos stored in cloud storage, or for creators who have downloaded files locally and re-uploaded them to a cloud folder before migrating.
Method 3: Direct File Upload
Direct upload, either one at a time or in batches via a drag-and-drop dashboard, is the simplest method and the slowest one at scale. For a library of 30 to 40 videos it is entirely reasonable. Beyond that, it introduces unnecessary manual effort and increases the risk of upload errors going unnoticed.
Where direct upload adds value is in quality control for your 10 to 15 highest-priority videos: upload those manually, review immediately after transcoding, and then run a bulk migration for the rest.
Regardless of which method you use, ask your new platform how long transcoding takes for a file at your expected resolution and duration. Platforms with GPU-accelerated parallel transcoding handle large batches significantly faster than those processing files sequentially, and the difference directly affects your go-live date.
Best for:
Libraries under 50 videos, or when you want maximum per-video control during upload.
Updating Embed Codes at Scale: The Step That Breaks Most Migrations
Uploading your videos to a new platform is the visible part of a migration. Updating every embed code that references the old platform is the invisible part and it is where most migrations quietly fall apart.
A library of 300 videos might have 600 embed instances spread across locations added over several years by different team members across different tools. With your embed location audit in hand, the update process becomes systematic rather than reactive.
1. Updating Embeds in a CMS
For websites built on WordPress, Webflow, Contentful, or any other content management system, the fastest approach is a global search for the old platform's embed string. Every video hosting platform generates embed codes with a recognisable pattern, typically a script tag or an iframe with a specific domain and video ID. Search your CMS for that domain string and every page containing an old embed will surface immediately.
In WordPress, the Search & Replace plugin or a direct database query via WP-CLI can find and replace embed strings across your entire content library in minutes. In Webflow, the global search function in the Designer panel locates Embed elements containing specific text.
In headless CMS platforms like Contentful or Sanity, a developer can query the content API for entries containing the old embed pattern and run a bulk update via the management API. Always test updates in a staging environment before pushing to production: a bulk find-and-replace that introduces a formatting error will break every video on every page it touches simultaneously.
2. Updating Embeds in an LMS
Learning management systems require a different approach because the content structure is more rigid and the stakes of a broken embed are higher. In platforms like Teachable, Thinkific, and Kajabi, video content lives inside individual lesson pages, each of which needs to be opened and the iframe source URL updated through the HTML editor.
For Moodle and LearnDash, which are self-hosted and database-driven, a developer can run a direct database search for the old embed pattern and execute a bulk replacement across all course content at once, the most efficient path for large course libraries.
Regardless of the LMS, test every updated embed within the platform itself, not just by opening the raw embed URL in a browser. Some LMS platforms apply iframe sandboxing policies that can block video players not explicitly whitelisted, and a player that works on a standalone web page may fail silently inside an LMS lesson until you adjust content security settings.
3. Updating Embeds in Email Sequences
Video in email is almost always implemented as a static thumbnail image linked to a video URL rather than a true embed, because most email clients do not support inline video playback. For active sequences and templates that have not yet been sent, update the linked URL in your email platform before the old platform goes dark.
If your old platform generated indexed video landing pages under custom URLs, as Wistia and some other platforms do, set up 301 redirects from those URLs to the new equivalent pages. This preserves any SEO equity those pages accumulated and prevents dead links in any emails or social posts that referenced them.
The Instant Replace Advantage
One feature worth evaluating on your new platform is instant video replacement: the ability to swap the underlying source file without changing the embed code. Platforms that support this allow you to update a video's content without touching a single embed instance on any page.
The practical difference during a migration is significant. Without instant replacement, the update sequence runs like this:
upload to a new platform → get new embed code → find every page where the old embed lives → update each one → verify.
Every step after the upload depends on human execution across multiple environments. One missed embed on a course lesson or a landing page that stopped getting traffic two years ago means a broken player that no one finds until a student or a customer reports it.
With instant replacement, the sequence compresses:
upload to new platform → confirm playback → replace source on the existing embed.
The embed code never changes. Every page that referenced the old player continues to work automatically, because the URL stayed the same and the underlying file was swapped behind it. For a 300-video library with embeds spread across a CMS, an LMS, and an email sequence, that difference is measured in days of QA work, not hours.
For the specific case of migrating course content, instant replacement also gives you a clean rollback path. If a transcoded file has a quality issue or an audio sync problem after upload, you can revert to the original source without touching a single lesson page.
For a technical breakdown of how embed codes work across different implementation environments, Gumlet's guide on how embed codes work is a useful reference.
Course Library Migrations: What EdTech and Online Educators Need to Handle Differently
A course library migration is not a video migration with a few extra steps. When a marketing video embed breaks for a few hours, the consequence is a missed view.
When a lesson video breaks mid-cohort, the consequence is a student who cannot access content they have paid for, a support inbox that fills up overnight, and a trust deficit that takes considerably longer than a hotfix to repair. Three dimensions make course migrations distinct and each one requires its own handling.
1. Student Access Continuity: Timing the Cutover
The most important decision in a course library migration is when to switch.
The answer is almost universally between cohorts: during the gap between one group completing a course and the next group beginning. For self-paced courses with no defined cohort structure, identify your lowest-traffic window using your current platform's analytics.
The approach that eliminates the most risk is a parallel running period of 3 to 7 days, during which both platforms are active simultaneously. During this window, you upload and configure all videos on the new platform, update and test every LMS embed in a staging or preview environment, and confirm each lesson plays correctly within the LMS before flipping the switch.
The old embeds remain live for students throughout. Only once every lesson is verified on the new platform do you update the live embed codes and retire the old host. The overlap cost (paying for two platforms briefly) is almost always worth it.
2. Folder Structure: Mirror Your Course Architecture Before You Upload
One of the most avoidable mistakes in a course library migration is uploading all videos as a flat, unorganised library and sorting them out afterwards. A library of 400 videos that lands in a single unsorted folder is extraordinarily difficult to navigate, assign to lessons, or audit for completeness.
Build your folder or collection structure on the new platform before a single video is uploaded. Map it directly to your course architecture: one top-level collection per course, with sub-collections mirroring your module structure. This discipline pays dividends beyond the migration itself.
A well-structured library is easier to maintain, easier to hand off to a new team member, and significantly easier to audit when a student reports a specific lesson is not loading correctly.
3. Access Rules and DRM: Replicate Before You Go Live
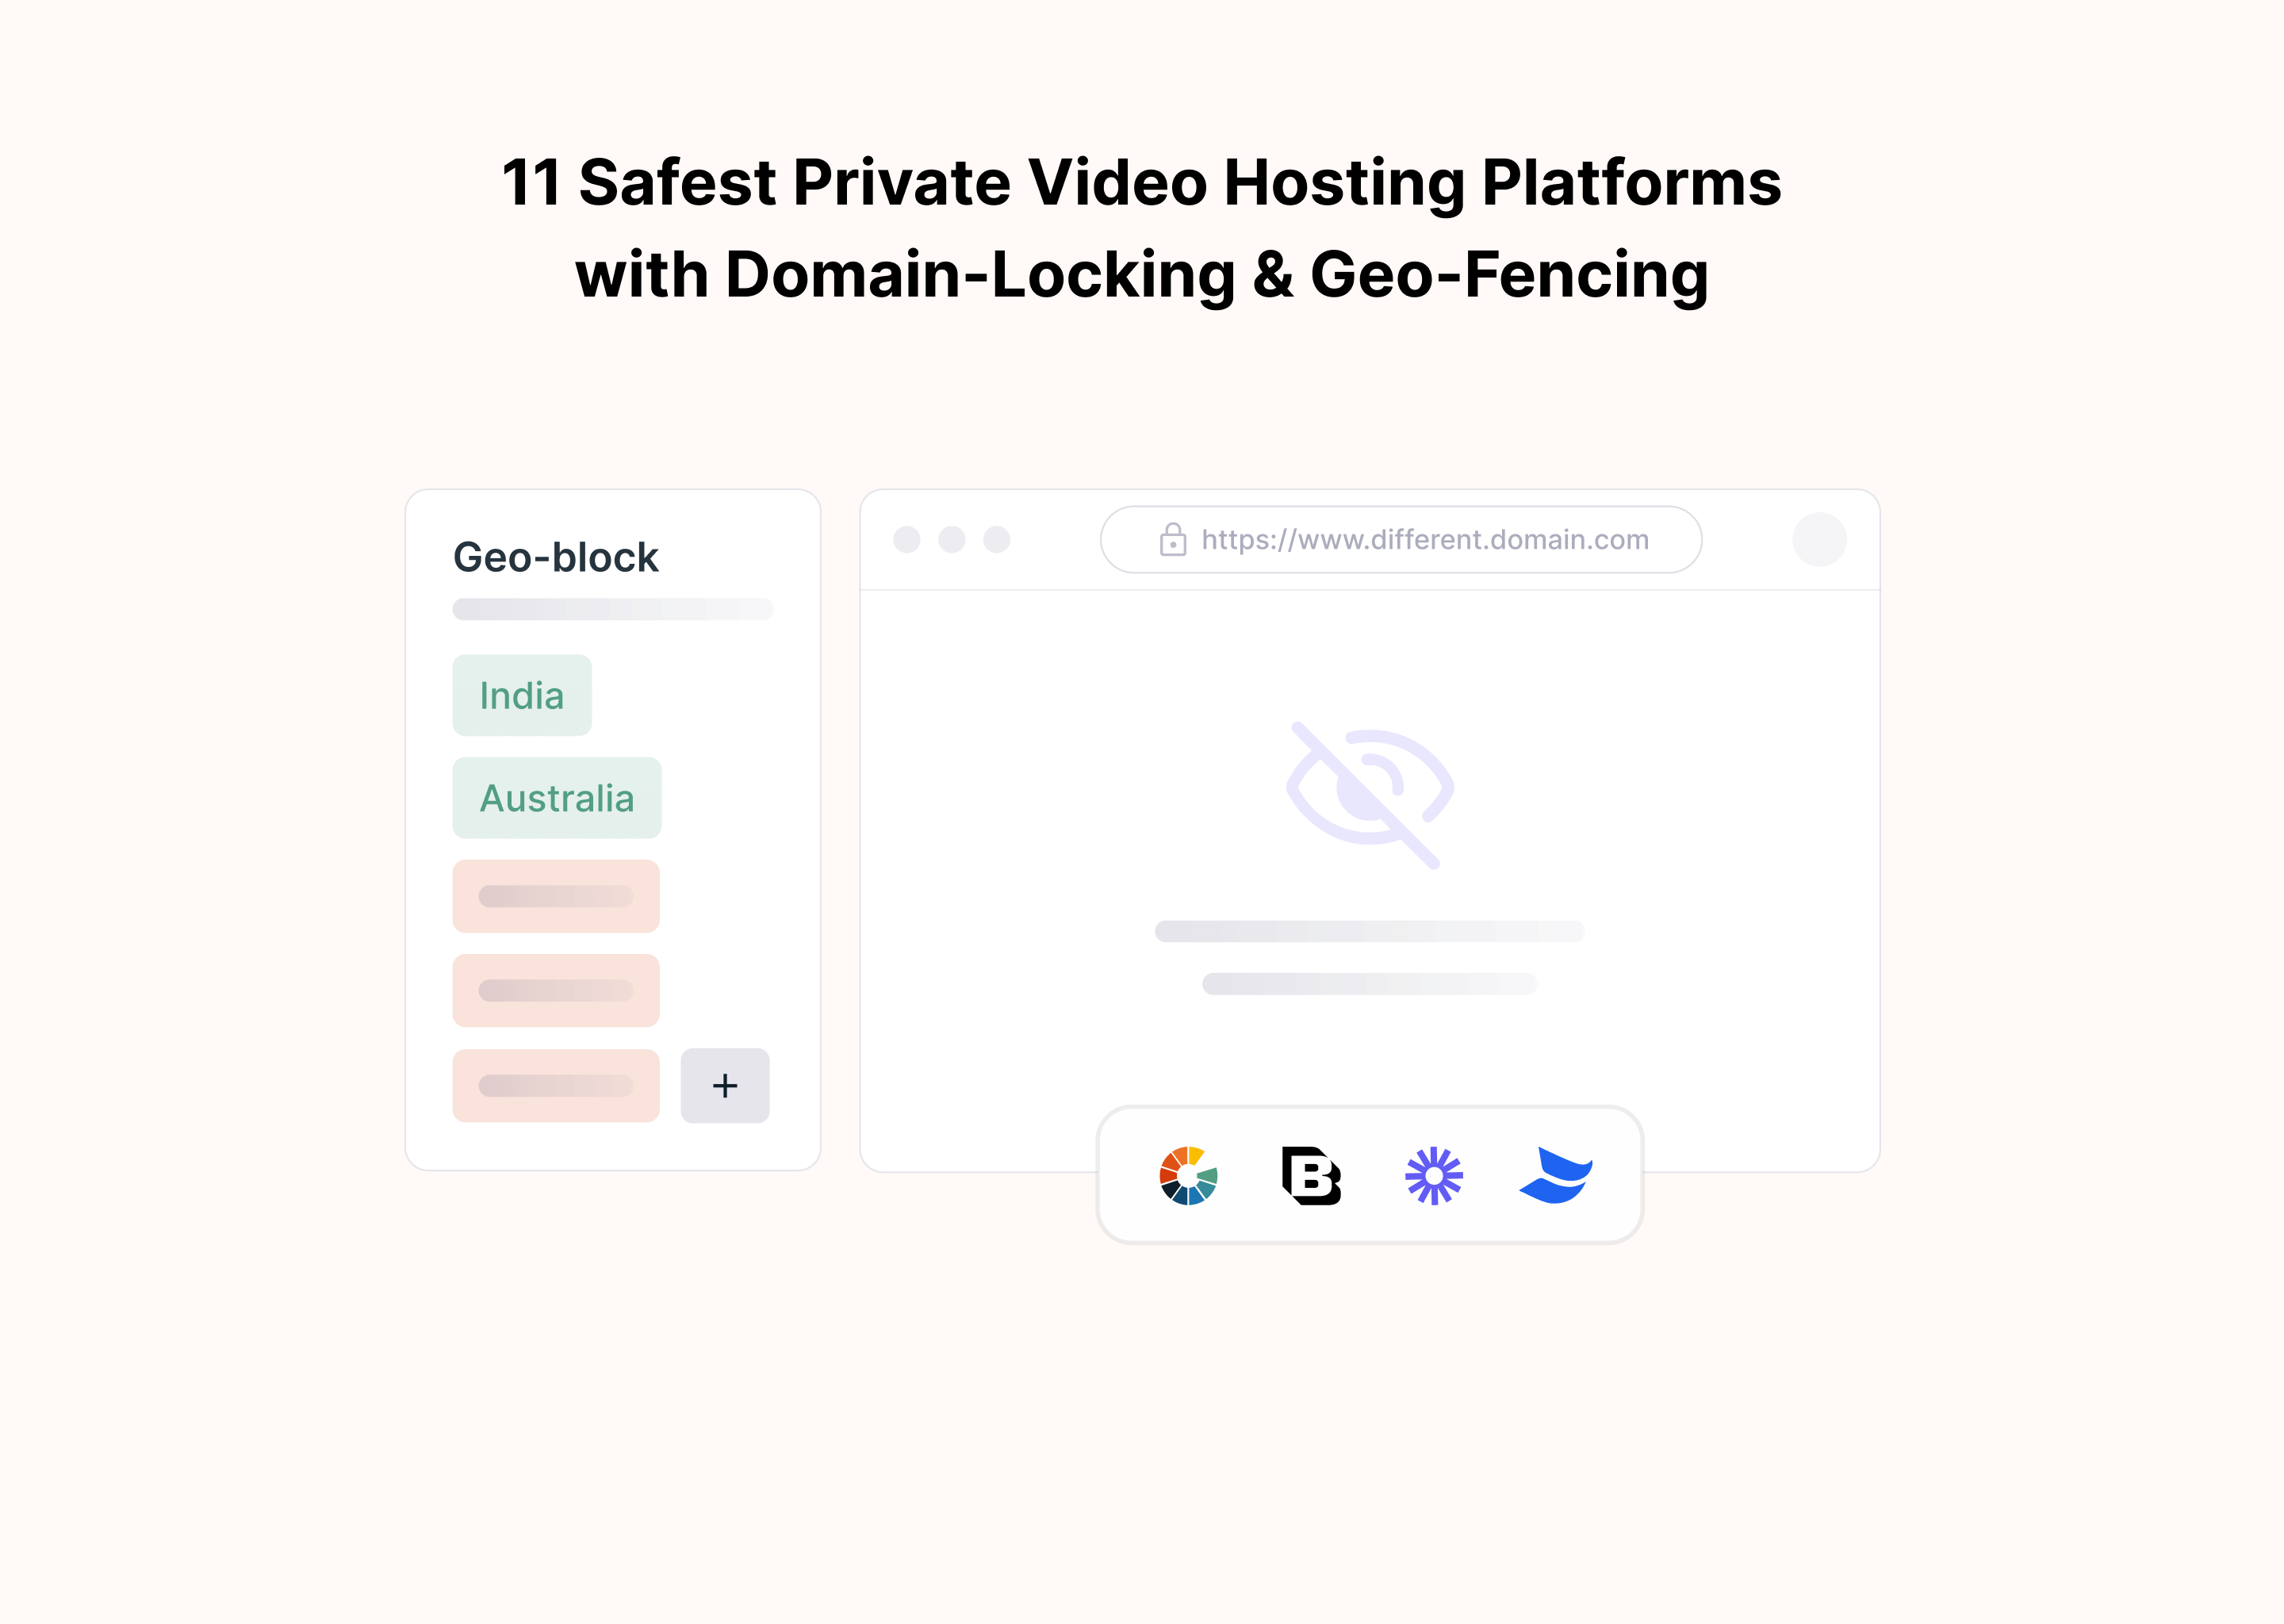
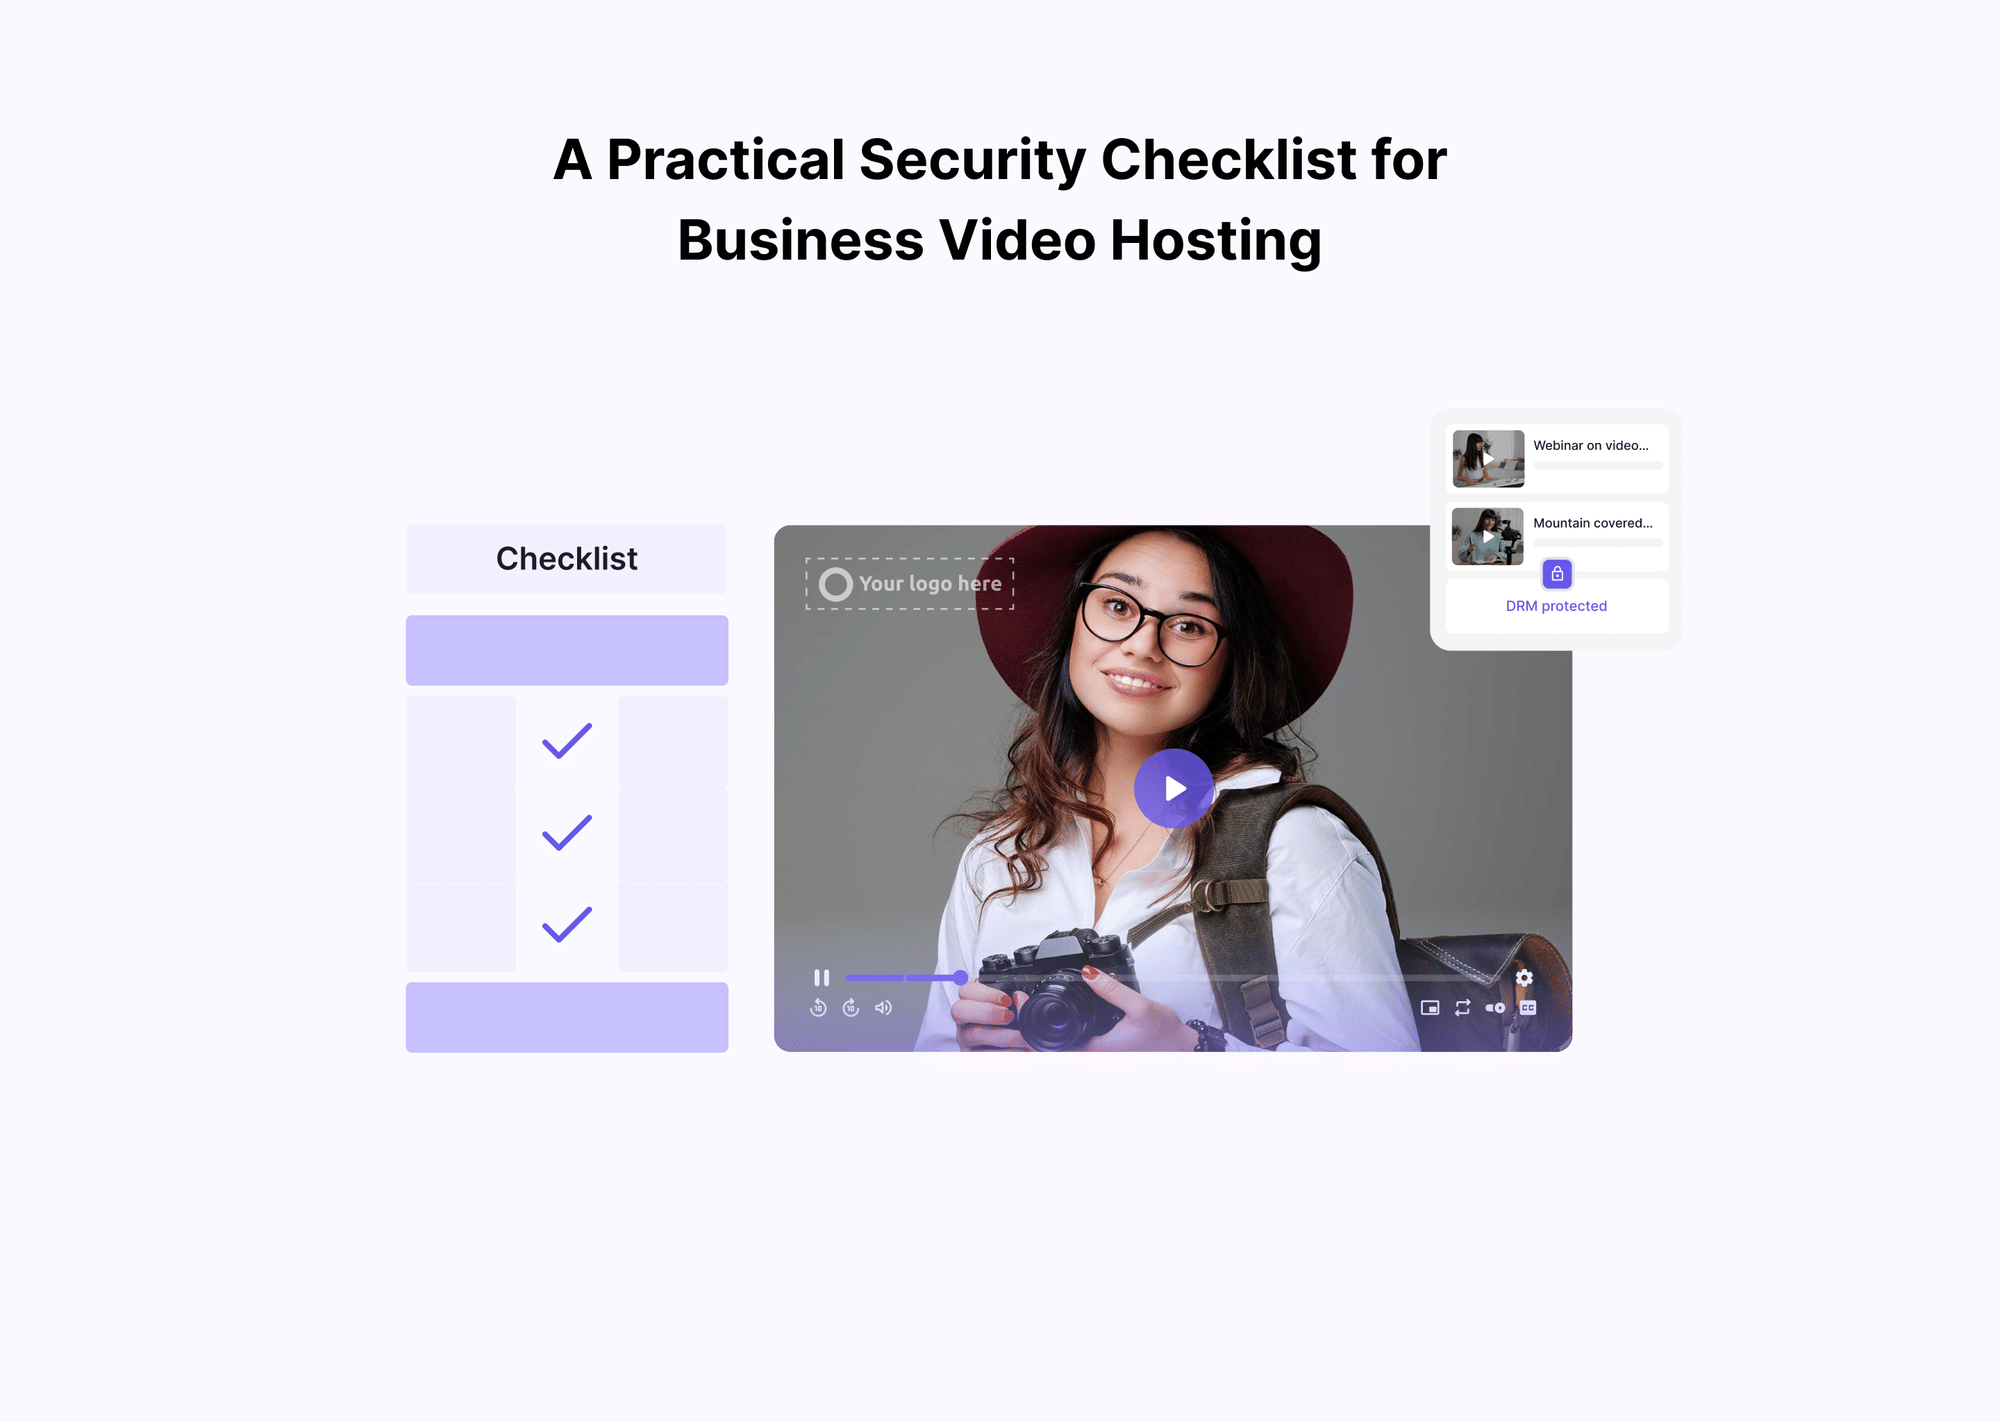
If your current setup restricts course video playback through domain restrictions, signed URLs, password protection, or DRM (Digital Rights Management), those rules must be fully replicated and tested on the new platform before the old embeds are retired.
A migration that accidentally makes paid course content publicly accessible, even for 24 hours, is not just a revenue problem. It is a content security incident that can result in your material circulating on file-sharing platforms before you can issue a takedown.
The correct configuration order for video access control:
- Domain restrictions: Set which URLs are permitted to load the player
- DRM (Widevine / FairPlay): Encrypt the stream at the delivery layer
- Token-based or signed URL access: Restrict playback at the video or collection level
Each layer depends on the one below it being active first. Configuring token access before domain restrictions are in place means a valid token can be generated and used from any domain, including one you did not intend to permit.
Test each layer independently by attempting to load the video outside its permitted domain and confirming that the player rejects the request.
For course creators moving to Gumlet, domain restriction, Widevine and FairPlay DRM, tokenised URLs, and dynamic watermarking are all available within the platform's security suite.
The watermarking capability is particularly relevant for high-value course content: it overlays a unique, session-specific identifier tied to the viewer's user ID or email directly onto the video, meaning that if a student records and redistributes a lesson, the source account is traceable.
Gumlet's guide on stopping course video piracy covers the full layered approach in detail.
According to Statista, the global e-learning market is expected to surpass 400 billion dollars by 2026. The operational complexity of managing and migrating video content within that ecosystem is growing in proportion, which is precisely why course library migrations deserve a dedicated plan rather than being treated as a subset of a general video migration.
For teams migrating a course library that needs LMS integrations, per-minute pricing that scales with library size, and security controls built for paid educational content, Gumlet is worth evaluating as a befitting video hosting platform choice before you commit to a timeline.
Sign up for a Free Trial with Gumlet
Test the full upload, embed, and access rule workflow against your actual course structure before moving any live content.
How Long Will This Actually Take? Migration Timelines by Library Size
Migration duration depends on four variables: library size, upload method, embed complexity, and transcoding speed on the new platform. The estimates below assume a reasonably well-organised library, a configured destination platform, and a single person managing the migration with developer support available for API work.
Migration Timeline Overview
| Library Size | Planning & Audit | Upload & Transcode | Embed Updates | QA & Go-Live | Total |
|---|---|---|---|---|---|
| Up to 50 videos | 0.5 days | 2 to 4 hours | 1 to 2 hours | 0.5 days | 1 to 2 business days |
| 200 to 500 videos | 1 to 2 days | 4 to 8 hours | 2 to 4 days | 1 to 2 days | 5 to 10 business days |
| 1,000 to 5,000 videos | 2 to 3 days | 2 to 3 days | 3 to 5 days | 3 to 5 days | 3 to 5 weeks |
The variable that most consistently extends migration timelines beyond initial estimates is not upload speed or embed volume; it is the discovery, mid-migration, of video content that was not in the original audit.
Videos embedded in a forgotten microsite, an old landing page still receiving organic traffic, or a customer onboarding email set up by a team member who has since left.
Build a discovery buffer into your timeline: half a day for libraries under 50 videos, two days for libraries of 200 to 500, and treat the parallel running period as your built-in discovery window for libraries over 1,000. Do not retire the old platform until the full QA pass is complete.
Frequently Asked Questions About Video Hosting Migration
1. Will I lose my video analytics when I switch hosting platforms?
You will lose some analytics data, but not all of it. Historical event logs, heatmap visualisations, and platform-generated trend graphs are tied to the old platform's internal data architecture and do not transfer.
What you can preserve is the underlying performance data: total view counts, average watch time, play rate by video, and traffic source breakdowns are typically exportable as CSV files from most professional platforms. The critical rule is to export everything before you cancel or downgrade your plan. Once your account is closed or moved to a restricted tier, access to those exports may disappear permanently.
2. What is the fastest way to migrate a large video library?
API-based bulk upload is the fastest method for libraries with 100 or more videos. By scripting a batch job that pulls each video from a source URL and submits it to the new platform's upload API, along with metadata in the same call, a developer can process hundreds of videos overnight with no manual intervention.
For non-technical users or libraries stored in cloud folders, native Google Drive or Dropbox import is the next fastest option, as it skips the download-and-reupload step entirely.
3. How do I update embed codes across my entire website after a video migration?
Start by running a global search in your CMS for the old platform's embed domain or video ID pattern, then replace each instance with the new embed code. In WordPress, a database-level search and replace via WP-CLI or the Search & Replace plugin is most efficient. In Webflow and Contentful, the global search function surfaces all Embed elements containing a specific string.
For LMS platforms like Teachable and Thinkific, each lesson's HTML editor needs to be updated individually unless your LMS is self-hosted and database-driven, in which case a developer can execute a bulk replacement at the database level. Always test updates in a staging environment before pushing to production.
4. Can I migrate my course library without disrupting active students?
Yes, provided the cutover is timed and executed correctly. Run both platforms in parallel for three to seven days, keeping old embeds active for students throughout. Update every LMS lesson embed in a preview environment, verify each video plays correctly within the LMS, and only then update live embed codes. For cohort-based courses, timing the final switch between cohorts removes the risk entirely.
5. Do I need a developer to migrate my video library?
Not for small libraries. Dashboard-based imports from Google Drive or Dropbox, manual bulk uploads for libraries under 50 videos, and per-lesson embed updates in a standard LMS all require no coding. For libraries of 200 or more videos, having a developer write an API upload script will compress the timeline from days to hours and significantly reduce metadata errors.
For self-hosted LMS platforms like Moodle or LearnDash, a developer is effectively necessary to execute a database-level embed replacement efficiently. The general rule: the larger the library and the more environments the embeds span, the more developer involvement moves from optional to practically essential.
Your Migration is a Sequence, Not a Single Event
The teams that execute video migrations cleanly are not the ones with the largest budgets or the most technical resources.
They are the ones that treat the migration as a controlled sequence rather than a single event.
Export before you cancel. Configure before you upload. Upload before you update embeds. Update embeds before you retire the old platform.
Each stage depends on the one before it, and compressing any stage in the interest of speed is where migrations accumulate problems that take weeks to clean up.
The reward for doing this correctly is video infrastructure you actually control: analytics that flow into your attribution stack, embed codes that do not break when you update a video, DRM and domain restrictions that keep paid content inside the boundaries you define, and a library structured well enough that a new team member can navigate it without a guided tour.
The place to start is not the upload. It is the pre-migration checklist in this guide. Work through it completely, and every stage that follows becomes a predictable execution rather than a reactive scramble.