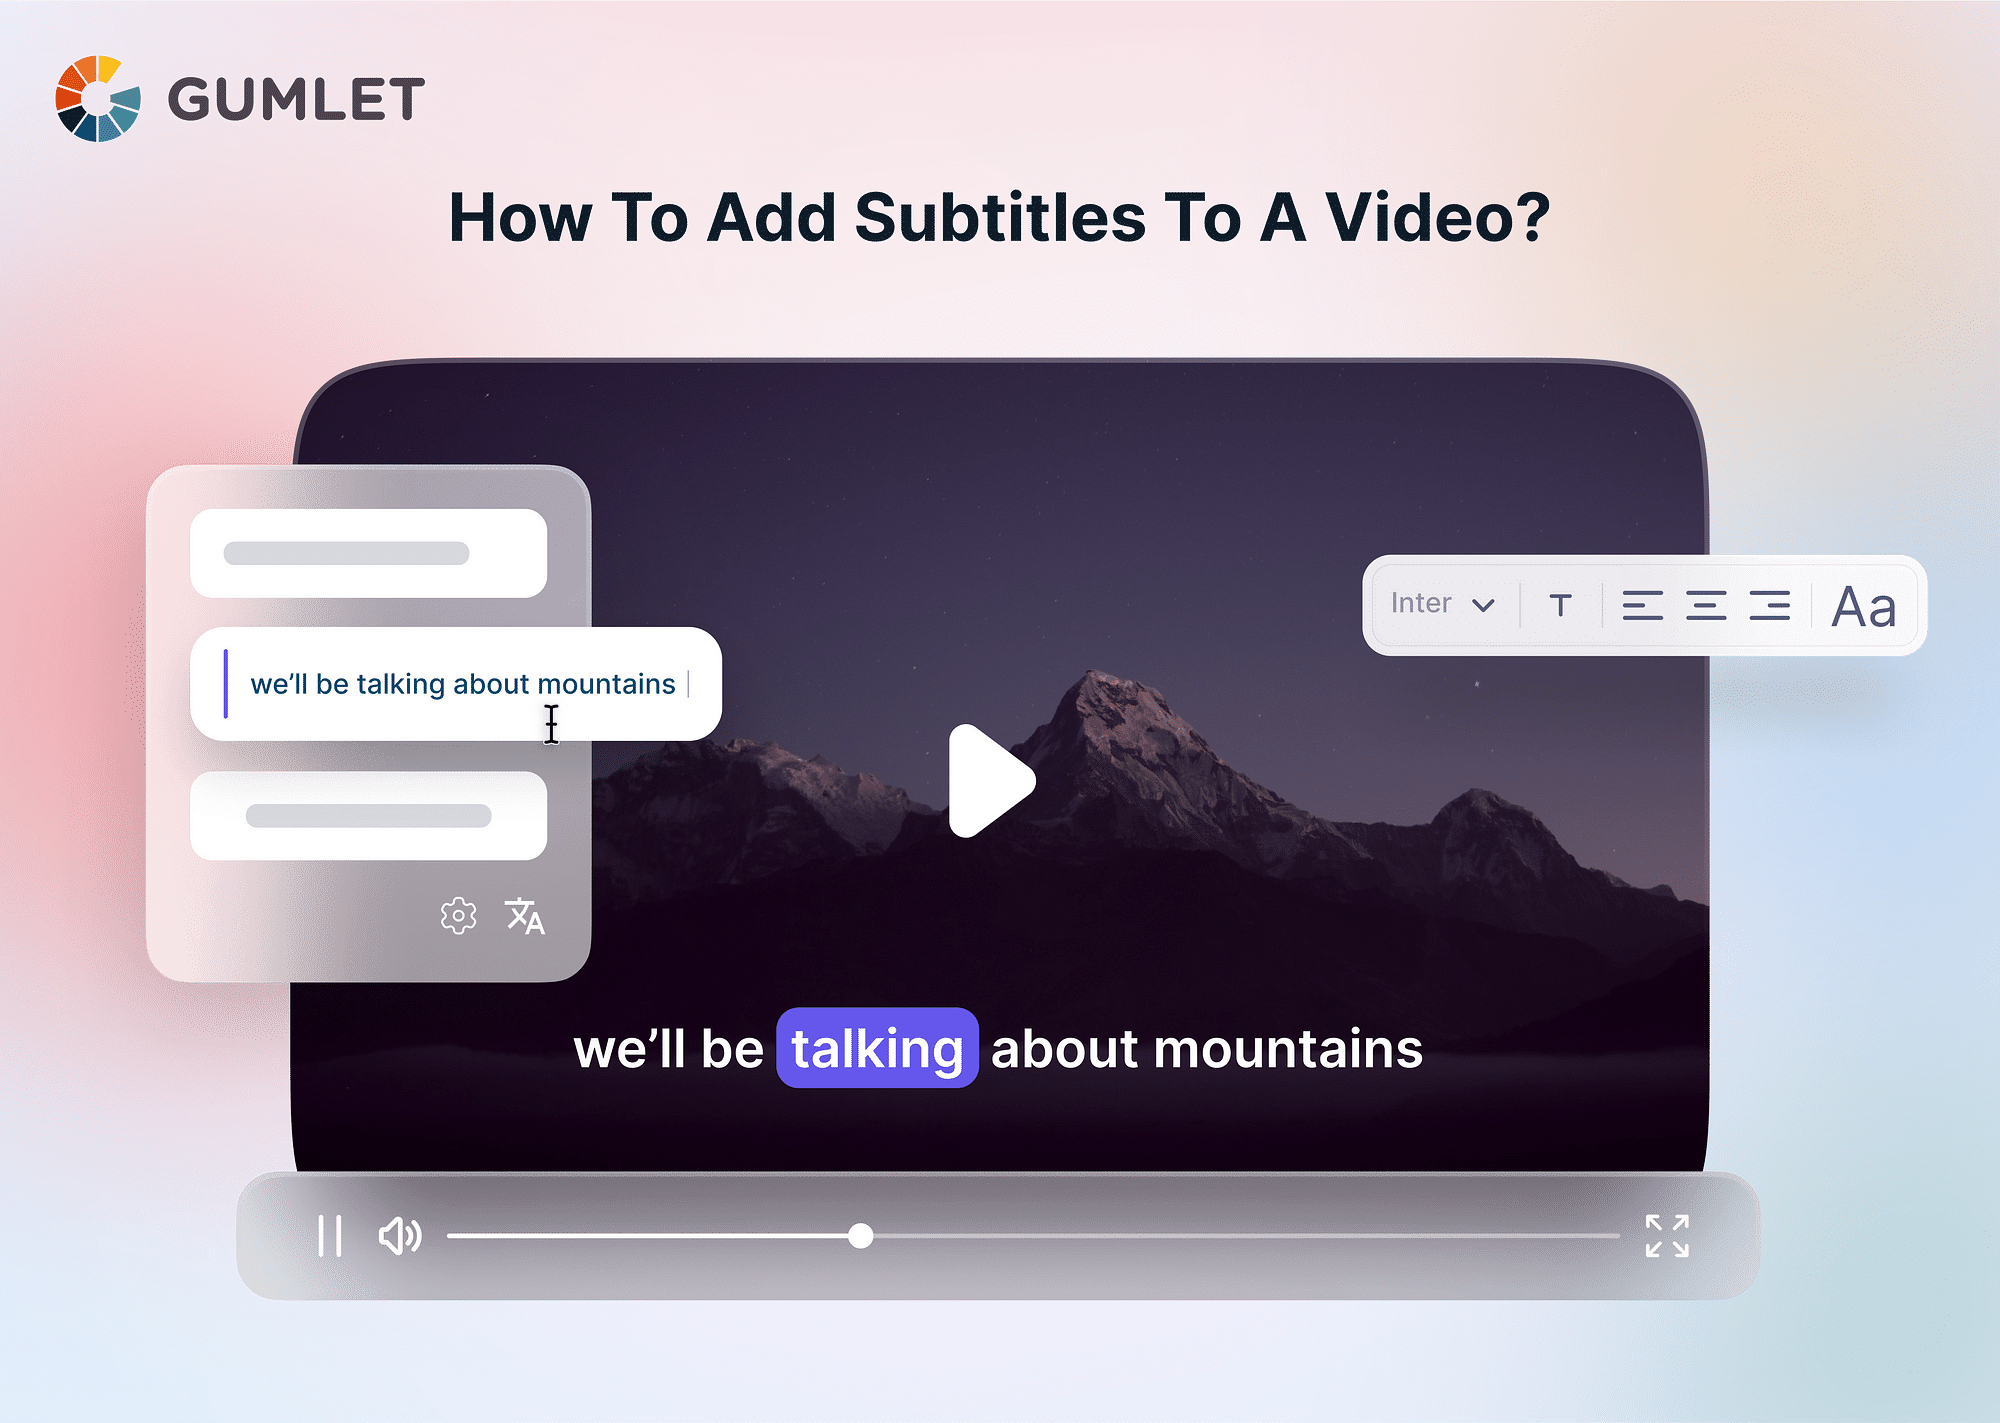
Subtitles are a great way to make your videos more accessible to a wider audience. They can also be helpful for people who are deaf or hard of hearing or for people who are watching your videos in a noisy environment. There are a few different ways to add subtitles to your videos.
Before jumping into the addition part, you must choose what kind of subtitles you want. You can either hard-embed subtitles into the video or use a subtitles SRT file. Let's understand which type is better for you.
Schedule a Demo with Our Video Expert!
Discover how Gumlet can help you build a cutting-edge video streaming infrastructure.
Hard Embedded Subtitles vs. Subtitles SRT file: What to choose for your videos?
When deciding on subtitles for your videos, consider the pros and cons of hard-embedded subtitles and subtitles in SRT (SubRip) file format.
Hard-Embedded Subtitles:
- Pros: Seamless integration with the video, ensuring subtitles are always visible and cannot be turned off. Suitable for platforms that do not support external subtitle files. This is ideal for viewers who are deaf or hard of hearing or who are watching in a noisy environment.
- Cons: Editing or updating subtitles requires re-encoding the video, making it time-consuming. Reduced flexibility for viewers who prefer customizing subtitle display. This means that the subtitles' font, size, and color cannot be changed.
Subtitles SRT File:
- Pros: Separate SRT files offer easy editing and updates without affecting the video itself. Viewers can toggle subtitles on/off as per their preference. SRT files are more customizable than hard-embedded subtitles. Viewers can change the subtitles' font, size, and color to their liking.
- Cons: Requires external SRT file support on the video platform. It may not be suitable for platforms or devices that don't support this format. SRT files are not always visible. Viewers must manually turn them on, which can be inconvenient.
Here are two additional factors to consider when making your choice:
- Your target audience: If your target audience is deaf or hard of hearing, then hard-embedded subtitles are a must-have.
- Your budget: If you are on a tight budget, SRT files may be a better option, as they do not require additional encoding.
SRT files are preferable for flexibility and ease of editing, whereas hard-embedded subtitles are suitable for platforms where external subtitle support is limited or unnecessary.
How to add subtitles to a video?
How to add subtitles to a YouTube video?
There are two ways to add subtitles to a YouTube video:
Hard-Embedded Subtitles:
Here are the steps on how to add hard-embedded subtitles to a YouTube video:
- Open your video editing software.
- Import your video file.
- Select the "Subtitles" or "Closed Captions" track.
- Add your subtitles.
- Export your video file.
- Upload your video to YouTube.
Subtitles SRT File:
Here are the steps on how to add SRT files to a YouTube video:
- Create an SRT file.
- Upload your SRT file to YouTube.
- Link your SRT file to your video.
How to add subtitles to a video in Premiere Pro?
Here are the steps on how to add subtitles to a video in Premiere Pro:
- Open your video in Premiere Pro.
- Go to Window > Captions.
- In the Captions panel, click New Caption Track.
- In the New Caption Track dialog box, select the Format and Style of your subtitles.
- In the Text field, type your subtitles.
- To adjust the timing of your subtitles, drag the Start and End handles.
- To add more subtitles, click Add.
- When you are finished adding subtitles, click Close.
- Export your video.
Here are some keyboard shortcuts that you can use to add subtitles in Premiere Pro:
- Ctrl+T to create a new caption track.
- Ctrl+Enter to add a new subtitle.
- Shift+Left and Shift+Right to adjust the start and end time of a subtitle.
- Ctrl+A to select all subtitles.
- Ctrl+X to delete all subtitles.
How to add subtitles to a video in Canva?
Here are the steps on how to add subtitles to a video in Canva:
- Open your video in Canva.
- Click Text in the left-hand sidebar.
- Click Add Subtitle.
- In the Subtitle text box, type your subtitle.
- To adjust the timing of your subtitle, drag the Start and End handles.
- To add more subtitles, click Add.
- When you are finished adding subtitles, click Save.
Here are some keyboard shortcuts that you can use to add subtitles in Canva:
- T to add a new subtitle.
- Shift+Left and Shift+Right to adjust the start and end time of a subtitle.
- A to select all subtitles.
- X to delete all subtitles.
You can also use Canva's auto-caption feature to add video subtitles. To do this, click Video in the left-hand sidebar and then Auto-Caption. Canva will then automatically generate subtitles for your video. You can then edit the subtitles as needed.
How to add subtitles to a video in VLC?
Here are the steps on how to add subtitles to a video in VLC:
- Open your video in VLC.
- Go to View > Subtitles > Add Subtitle File.
- In the Open File dialog box, select the subtitle file that you want to add.
- The subtitles will be added to the video.
- To adjust the timing of the subtitles, go to View > Subtitles > Subtitle Delay.
- Enter the desired delay in milliseconds.
- To change the font or size of the subtitles, go to View > Subtitles > Subtitle Style.
- Select the desired font and size.
- To test the subtitles, click Play.
Here are some keyboard shortcuts that you can use to add subtitles in VLC:
- Ctrl+S to save the subtitles.
- Ctrl+L to load the subtitles.
- Ctrl+D to delete the subtitles.
Recommended free tools to add subtitles online
- Kapwing: Kapwing is a free online video editor with a subtitle editor. Kapwing allows you to add video subtitles in various formats, including SRT, VTT, and TXT.
- Subtitle Edit: Subtitle Edit is a free and open-source subtitle editor that you can use to add subtitles to your videos. Subtitle Edit supports various subtitle formats, including SRT, VTT, and TXT.
- Aegisub: Aegisub is another free and open-source subtitle editor that you can use to add subtitles to your videos. Aegisub supports various subtitle formats, including SRT, VTT, and TXT.
- Google Cloud Speech-to-Text is an API that allows you to transcribe audio into text. You can use this API to transcribe your videos and create subtitles. Google Cloud provides it and uses deep learning models to recognize speech. It supports a wide range of languages and has a free tier, allowing for 60 minutes of monthly usage.
- Flixier is an online video editing platform that allows you to add subtitles to your videos in various ways. You can add subtitles manually or use Flixier's automatic subtitle generation feature. Flixier also allows you to edit your subtitles, adjust their timing, and export them in various formats.
FAQs
What are the best formats for subtitles?
The best formats for subtitles are SRT and VTT. SRT is a simple text format that most video players support. VTT is a more advanced format that supports features like styling and timing.
Is VTT or SRT better?
SRT and VTT are both good formats for subtitles. SRT is simpler and more widely supported, while VTT supports more features. If you need a simple format that is widely supported, then SRT is a good choice. If you need a more advanced format that supports styling and timing, then VTT is a good choice.
How do you auto-generate subtitles online?
Many online tools can auto-generate subtitles. Some of the most popular tools include Rev, YouTube Studio, and Flixier. These tools use AI to transcribe your video and create subtitles.