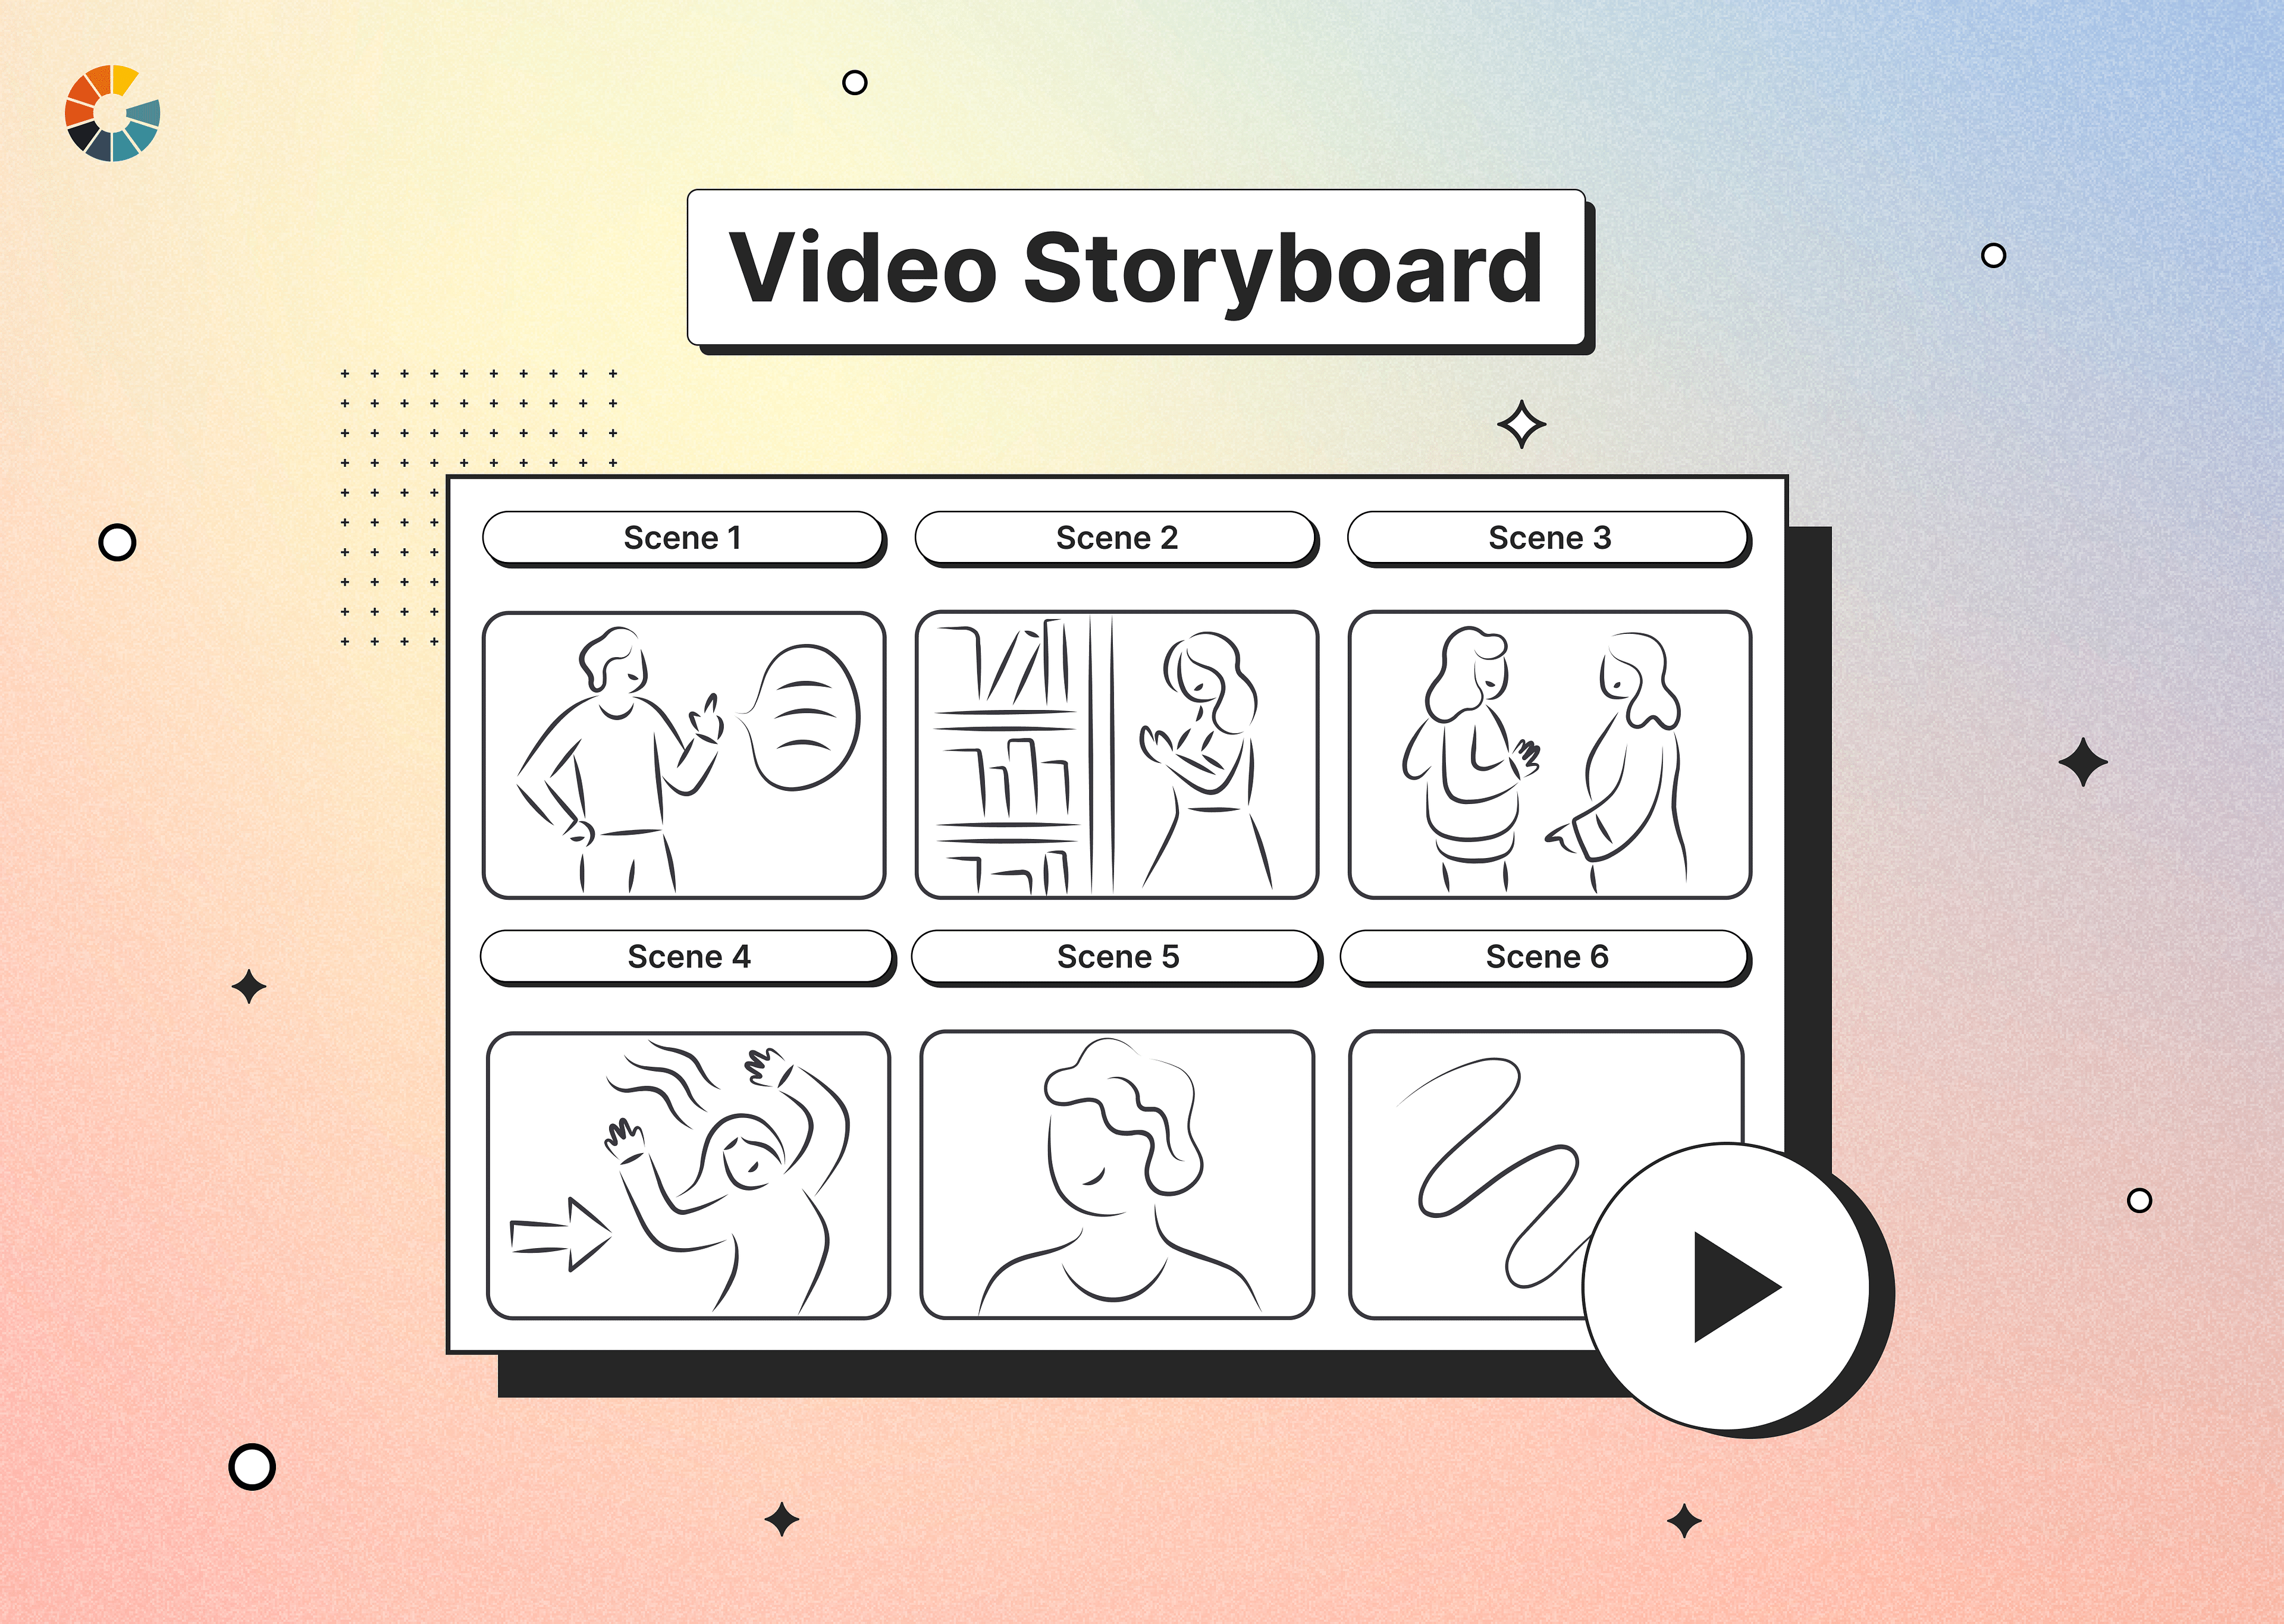
What is a Video Storyboard?
A video storyboard is a visual roadmap that comes in greatly handy in the pre-production process of creating a video. It serves as a visual outline, much like a comic strip, illustrating key scenes and details of the upcoming video. Each frame within the storyboard provides a snapshot of the characters, narration, and any accompanying visual element present in the scene.
The primary purpose of storyboarding is to identify and address any inconsistencies between the initial concept for the video and the script. Creators can visually assess the flow of the narrative and easily identify and edit scenes that may not align with the overall vision before entering the filming stage.
Key Elements of Video Storyboard
The following are the primary elements of a video storyboard:
Description/Notes
Description or notes involve adding textual explanations to the panels to explain details such as the environment, scene specifics, or dialogue. Creators should always aim for succinct descriptions to avoid visual clutter and use them judiciously (such as only conveying crucial information or details that are not readily apparent in the drawings).
Movement Arrows
Movement arrows serve to visually represent character or camera motion within the storyboard. When you opt for arrows over text descriptions, it helps you conserve space for more details.
Panel
The panel can be thought of as a bounding box that gives insight into the screen. Its size should always be adjusted based on the aspect ratio of the final production.
Shot Details
There are two pointers to this:
- Shot Numbers: Label your shots with numbers so you are able to work with your crew collaboratively. If you use physical paper, these numbers will help you rearrange shots if pages mix up.
- Shot Angles: Having camera shot angles in storyboards will help guide the production crew in composing the scene as you expect it. Use common shot types that are clearly understandable for the audience.
Flow
This shows how each panel and shot transition contributes to the overall narrative of the video. There should be a logical progression of visuals to engage viewers and maintain coherence in your storytelling.
Sequence
Like flow, sequence is used to ensure a smooth and understandable storytelling experience. It means organizing shots in chronological order to align with the story's timeline.
Scene Location
You can choose to include this even though it's not widely used. You simply indicate the setting of the shot.
What are the benefits of using a video storyboard?
- The better the visualization, the more clarity you have on your video concept: Storyboarding provides a visual map of your video concept; it turns abstract ideas into tangible images. This allows you to observe the flow and coherence of the video since your video is clearly represented across every scene and frame.
- You communicate better with your crew and stakeholders: It serves as a visual reference that is easily understood. Team members can work collaboratively and offer input and suggestions before commencing production. This, in turn, promotes teamwork in the creative direction of your video.
- You can plan and structure your video significantly better: It encourages you to carefully consider key details such as timing, video structure, short order and angles, transitions—basically, the overall video composition. This helps in the efficient management of time and resources such as shot location, video elements, and actors.
- It allows you to produce videos efficiently: Before committing to the actual video shoot, you can test various concepts and make informed decisions using storyboards. This way, you can detect and correct errors early, thereby reducing the need for reworks and otherwise costly errors.
How to Storyboard a Video?
Here is a step-by-step guide to creating a video storyboard:
Step 1: Draft the video script
Begin by asking yourself crucial questions about your video's purpose. Who are you creating this video for, and what specific message do you want to convey? Understanding your target audience and key message will guide the entire storyboarding process. Then, take your time to draft a script that solidifies the foundational elements of your project. Make sure you set a timeframe for your key message, one that also aligns with the promotional channels you've chosen.
Step 2: Sketch out your storyboard
Next, draw or digitally create boxes for each shot or scene. In each panel, outline the order of sequences—identify when key characters or props will appear, what the video's theme will be, the setting, and more. Make sure you have space for descriptions or notes.
- Sketch out thumbnails: Kickstart the creative process by visualizing each scene through rough sketches or thumbnails. Consider the visual elements that will best communicate your message. What images, angles, and perspectives will captivate your audience and convey your intended emotions?
- Add annotations and notes: Make your storyboard more purposeful with crucial cinematographic elements. Add annotations in the margins or below each box, and contemplate camera angles, movements, transitions, and special effects you will use to further enhance the video message and create a more immersive viewer experience.
Step 3: Sequence and refine the storyboard
Once you have individual scenes sketched out, focus on arranging them in a sequential order. Take a moment to review your storyboard critically. Ask yourself—Does the sequence offer a logical progression? Does it effectively communicate your message and align with the overarching goals of your project?
Step 4: Online storyboard maker
Explore dedicated storyboard software or online tools (free or paid software) like Celtx and Storyboard That. Consider your preferences and project requirements when choosing a tool so you can best align with your needs.
- Celtx: It is a robust tool for collaborative video production to streamline teamwork. It allows you to define shots, arrange sequences, and transform your creative vision into a comprehensive outline for both cast and crew. It is free software with upgrades available for creators looking for advanced video production options.
- Storyboard That: It offers customizable templates with a 14-day free trial period. The platform's simplicity makes it easy to use, allowing you to share your storyboard online or download it as a high-resolution image or PDF file. While the basic features are free, upgrading to a premium account will unlock additional functionalities.
Step 5: Video Storyboard Template
To get some inspiration, you may consider exploring existing storyboard templates from similar brands as a reference. They can provide valuable insights into successful video storytelling within your niche and guide your video storyboards.
Here are a few good examples:
Scene #1
- Shot Description: A wide shot of a bustling city street.
- Camera Angle: Eye level, following the flow of traffic.
- Action/Dialogue: People walk by, cars honk, a street vendor yells out.
- Notes: Sunny day, lots of movement. Emphasize the busy atmosphere.
Scene #2
Location: [Location Details]
Time of Day: [Time, e.g., Morning, Afternoon, Night]
Shot Number: 1
- Description of Shot: [Brief description of what happens in the shot, e.g., Close-up of the main character’s face as they look out the window.]
- Action: [Specific actions taking place, e.g., Character slowly turns their head towards the window.]
- Camera Movements: [e.g., Pan, Tilt, Zoom, Static]
- Dialogue: [Lines or key dialogue that occurs in this shot]
- Sound Effects/Music: [Details of any sound effects or music that plays in this shot]
- Props/Set Dressing: [List of props needed and any set decoration details]
- Characters in Scene: [Names of characters present in the shot]
- Duration: [Approximate duration of the shot in seconds or frames]
Common Applications of Video Storyboarding
- Film and video shoots: Storyboarding streamlines film shoots, allowing flexible shot orders and efficient location use. It acts as a reference for crew communication, wherein everyone can adapt to changes in scenes or angles on the go.
- Educational and training material: Storyboards help coaches plan the content flow and align it to the curriculum. The educational messages can be relayed in a more effective and engaging manner. How? Educators can visualize experiments, include animations, and use step-by-step explanations to create compelling lessons that are easier for students to comprehend.
- Marketing campaigns: In advertising, storyboards contribute to successful campaigns as they guide ad planning from start to finish—this includes lighting, camera angles, dialogs, and more. Not to mention, this facilitates effective team collaboration since concepts can be worked out before scripting.
- Video game development: In game development, storyboarding provides a visual blueprint for the overall narrative, the characters involved, and the gameplay. Potential gaps in gameplay storyline can be identified, so creators can modify plot points as needed for better player engagement.
Tips to Create an Effective Video Storyboard
Here are some tips to create the perfect video storyboard:
- Ensure proper composition and framing: Use the storyboard as a visual test to confirm that your story is effectively communicated through images. Evaluate each frame's ability to visualize the narrative.
- Maintain continuity: Keep the video visually consistent from start to finish. The scenes should logically connect and have a coherent and engaging narrative.
- Focus on narrative pacing and timing: Aim for a cinematic experience—how will the camera move? Which angles will you capture? Where will the props be placed? Will people in the video move?
- Decide on a theme: Have a specific theme to enhance your storyboard’s impact. Integrate relevant visual elements like charts, graphics, character journeys, etc, to convey a cohesive message.
Conclusion
Taking intentional steps to craft storyboards can make a world of difference in the video-making process. As businesses look to create a long-lasting impact on their audience, it's important to invest time in mapping out shot details and ensuring storyline progression with appropriate visual elements to streamline their video production efforts.
FAQs
- How detailed should a video storyboard be?
The level of detail in a video storyboard varies based on the producer's and project's needs. Generally, it should provide a clear idea of each shot, including camera angle, size, movement, and crucial elements in the frame. Some may opt for more details, such as lighting and sound design, while others prioritize visual composition.
- What are some common mistakes to avoid when creating a video storyboard?
Some common mistakes include unclear visuals, overly complex shots, overlooking pacing and timing, neglecting shot continuity, and forgetting the audience's perspective.
- What is the difference between a shot list and a storyboard?
Although both serve similar purposes, a storyboard visually represents your script, while a shot list acts as a detailed checklist, where you track the logistical and technical details of the video.
- How many panels should my storyboard have?
Storyboards typically range from a few panels to several dozen, depending on how many specific scenes or shots you want to visualize. This depends on your project's complexity and the detail required.