
Recording video on a Mac is easier than you might think — especially since macOS comes packed with built-in tools like the camera and QuickTime Player. Whether you want to record a video message, create a vlog, capture an interview, or record yourself for a presentation, your Mac offers everything you need.
In this guide, we’ll walk you through how to record video on a Mac step by step, focusing specifically on how to record yourself on a Mac using its built-in camera. We’ll explain the tools available, provide visual examples (where applicable), and offer clear instructions — so even beginners can follow along confidently.
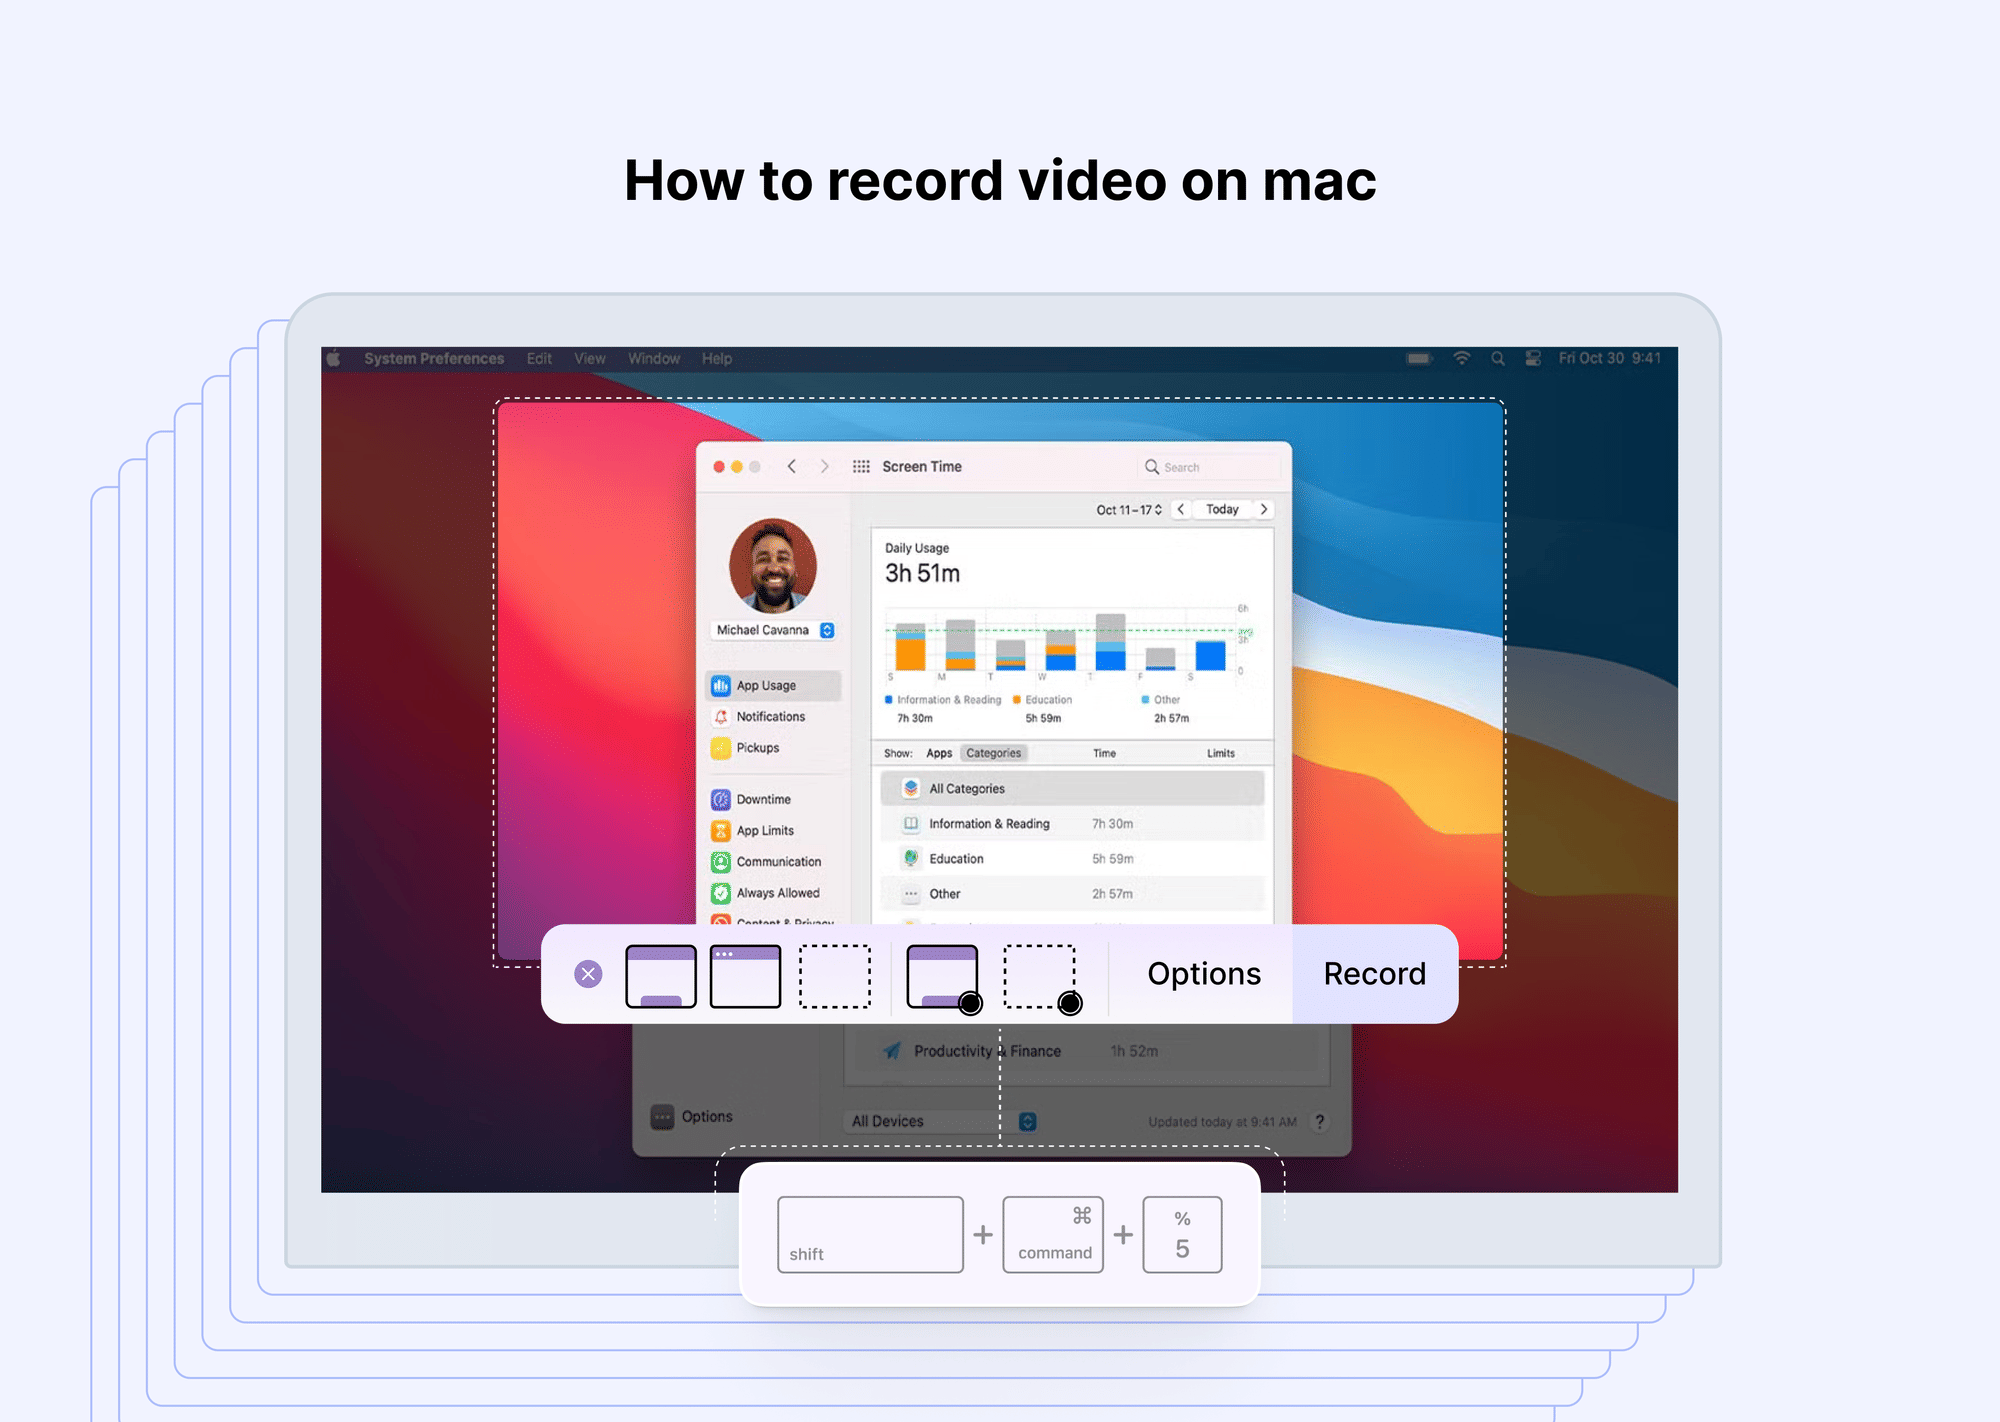
Please note that this article primarily focuses on recording video of yourself, rather than covering how to screen record on Mac or record audio on Mac.
Does Mac Have a Built-in Video Recorder?
Yes — Macs absolutely have built-in video recording capabilities that make it simple to capture high-quality footage of yourself without needing any extra software or hardware.
At the heart of this setup are two key tools: the built-in camera and QuickTime Player. Let’s break them down:
Built-in Camera: FaceTime HD Camera
Most modern Mac devices, including MacBook Air, MacBook Pro, iMac, and even the Mac mini (when paired with an external monitor with a camera), come equipped with a FaceTime HD camera. This camera is seamlessly integrated into the macOS ecosystem, allowing users to record video on a Mac effortlessly.
With a resolution that typically ranges between 720p and 1080p (depending on the Mac model), the FaceTime HD camera is more than adequate for casual recordings, video messages, vlogs, social media clips, or professional presentations.
When you want to record yourself on a Mac, this camera is automatically recognized by native apps like QuickTime Player and Photo Booth, ensuring smooth and instant access — no complicated setup, no extra downloads, no device pairing.
QuickTime Player: The Built-in Video Recorder
QuickTime Player is the central app for those asking how to record a video on Mac. This pre-installed macOS app does much more than play media files — it includes robust recording functions.
With QuickTime Player, you can:
- Capture video directly from your Mac’s camera
- Record audio simultaneously using the built-in microphone
- Save recordings in high-quality formats for easy editing or sharing
It’s beneficial for users wondering how to record video on a Mac without third-party apps. You open QuickTime Player, start a new movie recording, and you’re ready to go.
Photo Booth: Fun and Filters
Another often-overlooked built-in app is Photo Booth, which comes pre-installed on every Mac. While it’s mainly known for taking fun selfies with quirky filters, Photo Booth also allows you to video record on a Mac with just a few clicks.
This app is ideal for those seeking a casual or playful vibe, thanks to its built-in effects, backgrounds, and masks. For those looking to capture a video on a Mac for lighthearted content or personal moments, Photo Booth provides a straightforward and no-fuss solution.
Why This Matters
For anyone wondering how to record on a MacBook or how to record yourself on a Mac without paying for premium video tools or buying a webcam, these built-in solutions are ideal. They let you create video content right out of the box — whether for professional use or just for fun.
By combining the FaceTime HD camera, QuickTime Player, and Photo Booth, Apple ensures that every user has easy access to reliable, user-friendly video recording tools. This makes the Mac a powerful platform not just for work but also for creativity and communication.
If you’re ready to dive deeper, the next section will give you step-by-step instructions on how to record a video on a Mac using these tools!
How to Record Video on Mac
Recording yourself on a Mac is simple, thanks to the excellent built-in tools macOS provides. Whether you’re creating a professional video, a personal vlog, or just experimenting, the two most common methods are using QuickTime Player and Photo Booth.
This section will guide you carefully through each process so you understand how to record a video on Mac, how to record yourself on Mac, and how to record video on Mac — no extra software required.
Using QuickTime Player to Record Video
When people ask how to record on a MacBook or how to record themselves on a Mac, QuickTime Player is usually the recommended solution. Why? Because it’s built into macOS, lightweight, and designed to make recording a breeze.
Here’s the detailed step-by-step guide:
Open QuickTime Player
- Go to your Applications folder and launch QuickTime Player.
- Alternatively, press Cmd + Space to open Spotlight Search, type QuickTime Player, and hit Enter.
Start a New Movie Recording
- Once QuickTime is open, go to the top menu bar.
- This will open a new window showing your FaceTime HD camera feed; you should now see yourself on the screen.
Click File > New Screen Recording.
Select Your Camera and Microphone
- Next to the red record button, there’s a small arrow dropdown. Click it.
- From here, you can choose:
- The camera (proper if you have external webcams connected)
- The microphone (helpful if you want to record audio along with the video — which most people do)
Adjust Recording Quality (Optional but Recommended)
- In the same dropdown, you’ll find an option for Quality.
- You can select High or Maximum depending on your needs.
- High balance file size and quality, great for casual recordings.
- Maximum gives the best quality but creates larger file sizes.
Start Recording
- When you’re ready, click the red record button.
- Speak, perform, or present whatever you want — you’re live!
- You can see yourself in the recording window as you work.
Stop and Save the Recording
- When you’re finished, click the stop button in the QuickTime menu bar (or press the Control + Command + Esc shortcut).
- Go to File > Save, enter your desired filename, choose a save location, and click Save.
- Your video is now stored on your Mac and ready to share or edit.
With these simple steps, you’ve learned how to record video on Mac in a professional, high-quality way — all using the native QuickTime Player.
Using the Camera App or Photo Booth
If you’re looking for a more playful or casual recording experience, Photo Booth is a fantastic built-in option. This app is especially fun because it includes filters, effects, and instant previews. It’s perfect if you’re wondering how to take a video on a Mac for social media or just for fun.
Here’s how to video record on a Mac using Photo Booth:
Open Photo Booth
- Go to the Applications folder and open Photo Booth.
- Alternatively, use Spotlight Search (Cmd + Space) and type 'Photo Booth'.
Switch to Video Mode
- Click it to switch to video mode.
Photo Booth defaults to photo-taking mode, but at the bottom-left of the window, you’ll see an icon of a video camera.
Start Recording
- Press the large red record button in the center of the window.
- Your recording will begin immediately — have fun, try filters, or record naturally.
Stop and Save the Recording
- Press the record button again to stop.
- The video will automatically appear as a thumbnail inside the Photo Booth app.
- To save or share, simply:
- Drag the video thumbnail to your desktop, or
- Right-click the thumbnail and choose Export or Export Original.
While Photo Booth may not offer the advanced controls of QuickTime Player, it’s an excellent choice for anyone who wants to quickly record a video on a Mac with minimal setup and maximum fun.
How to Share Your Recorded Video on Mac
Once you’ve recorded your video, you’ll probably want to share it! Here are several easy methods:
- Email: Attach the video file directly to Mail.
- AirDrop: Share effortlessly between Apple devices (Mac, iPhone, iPad) — right-click the video, select Share > AirDrop.
- Messages: Drag the video into the Messages app and send.
- Cloud Storage: Upload to iCloud Drive, Dropbox, or Google Drive.
- YouTube / Social Media: Upload directly via your browser or dedicated apps.
Troubleshooting Common Issues When Recording Video on Mac
Although recording a video on a Mac is usually smooth, you may occasionally encounter some hiccups. Don’t worry — most problems have straightforward solutions, and you don’t need to be a tech expert to fix them.
Here’s a detailed guide to help you troubleshoot common issues when using QuickTime Player, Photo Booth, or the FaceTime HD camera to record yourself on a Mac or record video on a Mac:
Camera Not Working
If you open QuickTime Player or Photo Booth and the camera doesn’t turn on, or if you see a black screen instead of your video feed, likely another application is already using the camera.
What to do:
- Check if apps like Zoom, FaceTime, Google Meet, or Teams are running in the background.
- Quit those apps completely (right-click their icons in the Dock and select Quit or use Cmd + Q).
- Reopen QuickTime or Photo Booth and check if the camera now activates.
If the issue persists, try restarting your Mac — this can reset camera connections and resolve hidden conflicts.
QuickTime Errors
Sometimes, QuickTime Player may freeze, crash, or display error messages when you try to record a video on a Mac. This can happen due to software bugs, outdated system files, or minor glitches.
What to do:
- Make sure your Mac is running the latest macOS version. Go to Apple Menu > System Settings > General > Software Update to check for updates.
- Restart your Mac, as this can clear temporary system issues.
- If the problem continues, try repairing disk permissions using Disk Utility (found in Applications > Utilities).
Permission Issues
If you open QuickTime Player or Photo Booth and get a message saying the app doesn’t have access to your camera or microphone, you need to adjust your system privacy settings.
What to do:
- Go to System Preferences (or System Settings on newer macOS versions) > Security & Privacy > Privacy tab.
- Click on "Camera" and ensure that "QuickTime Player" and "Photo Booth" are checked.
- Do the same for the Microphone section if you want to record audio with your video.
- After making changes, restart the app to apply the new permissions.
Low Disk Space
Recording high-quality video files can take up a lot of storage space, especially if you’re working in Maximum quality mode in QuickTime. If your Mac runs out of space, you may encounter errors or the app may stop recording unexpectedly.
What to do:
- Check available storage: Go to Apple Menu > About This Mac > Storage.
- Delete unnecessary files, move large videos or documents to an external drive, or upload them to cloud storage (like iCloud or Google Drive).
- Empty the Trash to entirely free up space.
Final Thoughts
Learning how to record yourself on a Mac is empowering, whether for work, entertainment, or personal projects. Thanks to tools like QuickTime Player and Photo Booth, you don’t need any expensive software or equipment.
Try it out, experiment with different setups, and explore the sharing options to get your videos out into the world. The Mac ecosystem is designed to make the process smooth, intuitive, and enjoyable.
FAQs
How do I record my video on my Mac?
You can use QuickTime Player (File > New Movie Recording) or Photo Booth to record yourself on a Mac using the built-in camera.
Does Mac have a built-in video recorder?
Yes! The combination of the FaceTime HD camera and QuickTime Player acts as a built-in video recorder on Mac.
Is there a video camera on a Mac?
Most MacBook, iMac, and Mac mini models include a built-in FaceTime HD camera for video recording and calls.
How do I record a video on my Mac with a background?
To change your background, you’ll need to use third-party apps or virtual backgrounds provided by video conferencing software. The native tools don’t include background editing.
How do I stop screen recording on Mac?
Click the stop button in the menu bar or use the shortcut Cmd + Ctrl + Esc.
How to record the screen on a Mac?
Press Cmd + Shift + 5 to open the screen recording tool on your Mac and select the desired recording options.
How to record audio on a Mac?
Use QuickTime’s New Audio Recording or Voice Memos app to record audio on a Mac.
Can I record audio while recording video on a Mac?
Yes! When using QuickTime Player or Photo Booth, the built-in microphone captures audio alongside video.