Have you ever tried sending a video from your iPhone only to be greeted with a “file too large” message? Whether you’re emailing a clip, sharing it on WhatsApp, or posting to social media, oversized videos can be a headache. The good news is you don’t need to be a tech expert to shrink your files. In this guide, you’ll discover several beginner-friendly ways to compress video size on iPhone, making it easier to share memories without compromising quality.
How to Compress a Video on iPhone?
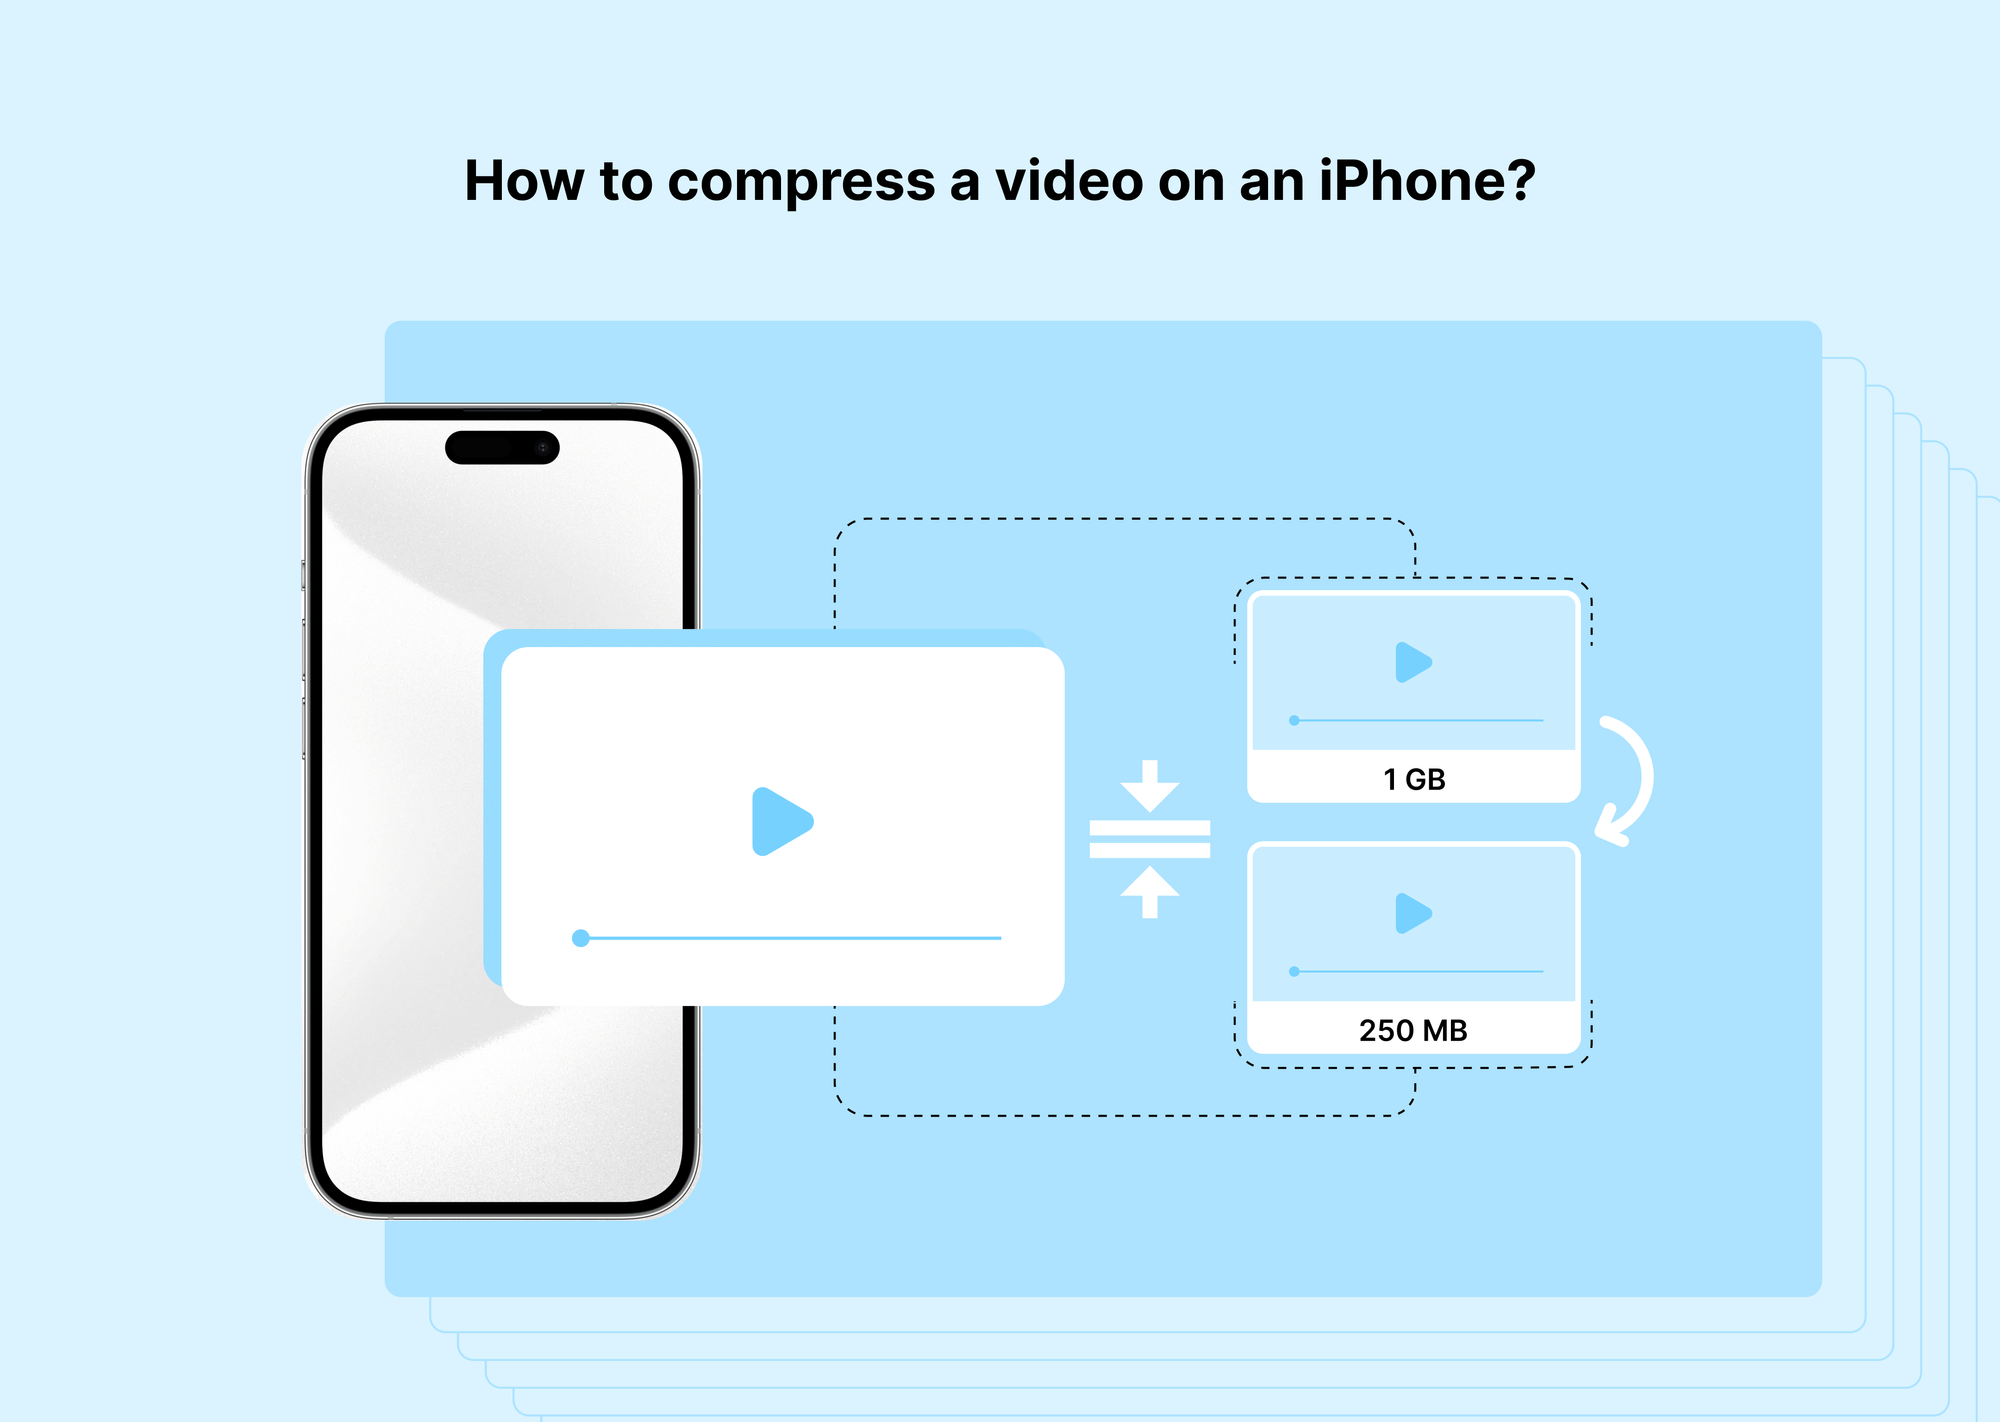
If you’re wondering how to compress a video on iPhone efficiently, here are the most effective methods you can try right away to shrink your videos for easier sharing, storing, and uploading.
Method 1: Compress Videos for Email and Messaging Apps
Many people discover the need to compress iPhone video for email or messaging the moment they try to send a long clip and hit a frustrating error. Apps like WhatsApp and most email services have strict file size limits because their servers and delivery systems are built to handle thousands of files per second. For example:
- WhatsApp: limits videos to about 16 MB per file, which is often just a minute or two of HD video.
- Email providers: commonly cap attachments at 20–25 MB. If your video exceeds this, it either fails to send or takes forever to upload.
To avoid this, you’ll need to compress video size on iPhone by adjusting a few settings. Here’s how:
- Lower the resolution: Instead of sending 4K video, select 720p or 480p. These resolutions still look clear on a smartphone screen but drastically reduce file size.
- Reduce the bitrate: Bitrate controls how much data each second of video uses. A medium bitrate (around 5 Mbps) often strikes the perfect balance between quality and manageable size.
- Trim unnecessary footage: Cutting extra seconds from the start or end of the clip can quickly bring the file under the limit.
If you’re specifically wondering how to compress a video on iPhone for email, this method is the simplest way to make sure your file size falls below the attachment limit.
Method 2: Using iMovie App to Lower Video Resolution
iMovie is Apple’s free video editing app, and it’s one of the fastest tools for anyone trying to figure out how to compress a video on iPhone after recording. You don’t need any editing experience to get started.
Here’s a step-by-step guide:
- Open iMovie and create a new project.
- Import your video by tapping the plus (+) icon and selecting the clip you want to compress.
- Tap Done when your video loads into the timeline.
- Tap the Share button (the square with an upward arrow).
- Select Save Video.
- Pick a resolution—you’ll see options like 4K, 1080p, 720p, and 360p. For most purposes, 720p is a great compromise between clarity and file size.
Once you save the video, check the file size in your Photos app to confirm how much space you saved. This method is perfect if you want to compress video size on iPhone without downloading any extra apps.
Method 3: Using External Apps on the App Store
If you’d like more flexibility, there are several dedicated apps designed to help you compress a video on iPhone quickly and easily. Here are three highly-rated options:
Video Compress: Video Compress is purpose-built to shrink video files. You simply select your clip, drag a slider to adjust the compression level, preview the output, and save it back to your Photos. This app is a popular choice for anyone who often needs to compress iPhone video for email or social media.
Media Converter: Media Converter is a more advanced tool that lets you:
- Convert videos to different formats (MP4, MOV, etc.)
- Lower resolution and bitrate
- Trim or cut sections to further reduce size
If you want precise control over compression settings, Media Converter is ideal.
Filmr Pro Video Editor: Although Filmr Pro is mainly a video editing app, it’s excellent if you’re wondering if you can compress a video on iPhone while editing?
- Export your final video in different resolutions
- Change formats to reduce size
- Apply simple edits like trimming and cropping before compression
Each of these apps is beginner-friendly and an excellent solution for compressing large video files before sending them out.
Method 4: Gumlet
While Gumlet doesn’t technically compress your video files, it solves the same problem in a smarter way: letting you share massive videos instantly without worrying about file size.
How it works:
- Upload your video to Gumlet’s cloud storage platform.
- Get a secure shareable link.
- Send that link via email, WhatsApp, or any other messaging app.
Because you’re sharing a link instead of the raw file, you avoid all the common size restrictions. This is especially useful if you don’t want to reduce the video quality or spend time figuring out how to compress video size on iPhone manually. So even if you decide not to compress iPhone video for email, Gumlet ensures your recipient can access it quickly and easily.
Tip: Before you decide which approach to use, consider how your recipient will view the video and whether you need to preserve full quality or simply make the file small enough to send. By exploring these methods, you can confidently compress videos on your iPhone without feeling overwhelmed.
How to Check Video File Size Before and After Compression
Before you start exploring how to compress a video on iPhone, it’s essential to know exactly how large your file is. Checking the video size first helps you decide how much compression you need—whether you’re planning to compress iPhone video for email, social media, or simply to save storage space.
Here’s a simple way to find the file size in your Photos app:
How to find the file size in the Photos app:
- Open the Photos app on your iPhone and locate the video you want to compress.
- Tap the video to open it in full-screen view.
- Look for the info icon (a small circle with an “i” in the center) at the bottom or top of the screen, depending on your iOS version.
- Tap the info (i) icon, and you’ll see detailed information about your video file, including:
- Duration
- Resolution (for example, 4K or 1080p)
- File size in megabytes (MB) or gigabytes (GB)
By doing this, you’ll have a clear idea of whether the video is too large to email or share via messaging apps, so you can choose the right compression method.
Verifying compression effectiveness:After you compress video size on iPhone—using iMovie, a compression app, or another tool—it’s just as important to check the new file size to see how much space you saved.
To do this:
- Go back to your Photos app and locate the newly compressed version of the video (usually saved as a separate file).
- Tap the video and open the info panel again.
- Compare the before and after file sizes to verify that compression worked as expected.
For example, if your original clip was 200 MB and after compression it’s now 40 MB, you’ll immediately see how effective the process was. This step is especially helpful if you’re learning how to compress a video on iPhone after recording or want to ensure your video meets the size limits for email attachments.
Taking a moment to confirm your results means you won’t waste time re-compressing files or struggling with failed uploads. Whether you’re compressing a single video or managing multiple clips, checking file size is a quick and reliable way to measure success.
Tips for Compressing Videos on iPhone Without Losing Quality
Reducing file size doesn’t mean you have to accept a pixelated, grainy video. When you learn how to compress a video on iPhone, the goal is to find the right balance between smaller files and great visuals. Here are some practical tips to help you compress video size on iPhone effectively—without sacrificing clarity:
Balance resolution and size: For most sharing needs, 720p resolution hits the sweet spot. It keeps your video sharp enough for phones and tablets while reducing file size considerably compared to 4K or 1080p. If you’re compressing iPhone video for email or social apps, 720p usually looks excellent and stays under most size limits. If you still need to make the file even smaller, you can step down to 480p, but check that the video doesn’t look too soft.
Avoid over-compression: When you’re exploring how to compress a video on iPhone after recording, it’s tempting to set the bitrate as low as possible to save space. But very low bitrates can lead to blocky artifacts and blurry motion. Instead, choose a medium compression setting in apps like Video Compress or Media Converter. You’ll keep clean visuals while still cutting down the megabytes.
Use HD only when necessary: Many iPhones default to recording in 4K or 1080p. While these formats look amazing, they also create huge files. If you don’t plan to watch your video on a large screen or edit it professionally, there’s no need to stick with ultra-high resolution. Before you compress video size on iPhone, ask yourself whether standard HD (720p) will work just as well. Scaling down is one of the simplest ways to get smaller videos without complex settings.
Plug in your phone or use slow Wi-Fi: Compression can take time and drain your battery, especially if you’re compressing long videos. To avoid unexpected shutdowns, plug your iPhone into a charger before you start. If you’re uploading your video to Gumlet or another cloud platform instead of compressing, consider switching to a slower Wi-Fi connection. This can prevent your phone from overheating and help manage large uploads more smoothly.
Preview before saving: Most compression apps let you preview your video before you finalize it. Always check a short segment to confirm that motion, text, and details still look clear. This way, you won’t have to redo your work later.
Following these tips makes it easier for you to compress a video on iPhone while keeping it watchable and share-ready. Whether you need to compress iPhone video for email, messaging, or just to free up storage, these best practices ensure you don’t lose the quality that makes your videos worth keeping.
Final Thoughts
As you’ve seen, there are plenty of simple ways to compress a video on iPhone, whether you’re sending a short clip through email or sharing longer recordings on social media. iMovie is an excellent option if you want to quickly lower the resolution without installing any additional software.
For more advanced control over file size and video quality, apps like Video Compress, Media Converter, and Filmr Pro make it easy to fine-tune settings and preview results before saving. And if you don’t want to compress your videos at all, Gumlet provides a convenient alternative by letting you upload large files and share them instantly via a secure link.
Finally, always remember to back up your original files before you compress video size on iPhone. Keeping an uncompressed copy means you can return to the highest quality version anytime you need it. With these tools and tips, you’ll be ready to reduce video size easily while preserving the moments that matter most.
FAQs
How do I reduce the size of a video file on my iPhone?
You can use iMovie to lower the resolution, a compression app like Video Compress, or upload the video to Gumlet to share without worrying about file size.
How to compress a video on an iPhone for email?
Export the video at 720p or lower resolution using iMovie, or use a compression app to meet email size limits (generally under 25 MB).
How do I minimize a video on my iPhone without losing quality?
Select moderate compression settings—don’t go below 720p—and avoid reducing bitrate too much. This keeps videos clear while still reducing file size.
How to compress a large video on an iPhone after recording?
Open the video in iMovie, select a smaller resolution, or try apps like Media Converter to adjust bitrate and resolution after you’ve recorded your footage.


